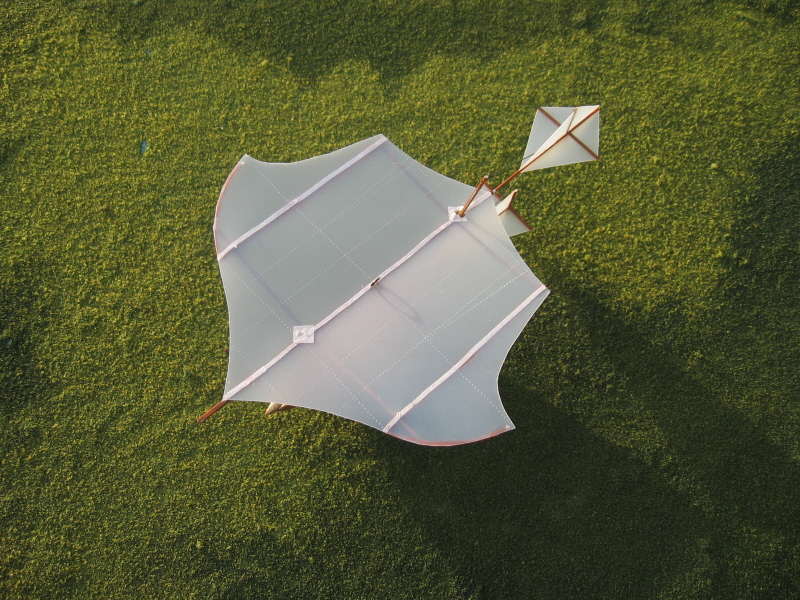
(The completed model is here:)http://wingsofintent.blogspot.com/2013/07/sir-george-cayleys-gliding-parachute.html
Since we are already involved with the pioneer period I
thought I’ll have a go with a true ancestor of manned flight: Sir George
Cayley’s gliding parachute of 1853.
Although usually understood as a pure glider, it seems that
Sir George envisioned it more as a way to descend from an air balloon in a
controlled and safe fashion.
Do you know who Sir George was? Nope, I am afraid he did not
create an app for your smart phone. Say again? Rock star? Hum, perhaps not.
Let’s do this, why don’t you go and research him and his
creations? it will be a rewarding experience. Sure, it will take a little time
and you will have to abandon the comfort of the couch, even better then.
I'll only say that he was from Yorkshire, that is where my wife comes from (this is another futile attempt on my part to demonstrate to her that modelbuilding is an interesting activity).
Anyway, there is out there a nice model kit created by
Aircraft in Miniature Ltd, in its series “Historic Wings”. It is a mainly
photoetched kit in 1/72 scale, accompanied by some accessories in white metal
and covering material.
Even with that nice little kit available I decided to go
some different way and use mainly styrene sheet and rods for its construction,
since I usually work with them and am familiar with its characteristics and
potential.
After a brief period gathering the usual amount of confusing
and contradicting information -that makes of research the truly entertaining
activity it is- I was ready for a version of my own.
The subassemblies: a gondola, the wing structure, the tail
and a sort of second, smaller tail used to steer the flying carriage. Other
parts like wheels and masts and covering and some rigging are in order too.
Now, whilst every drawing, model and museum reproduction has
its masts one leaning forward and the other backwards, the “Historic Wing”
model has both leaning backwards. This you may want to correct if you are
building that kit.
Here I demonstrate how to make rings with the magnetic power of your fingers:

Just for the heck of it I grabbed some Milliput and modeled the gryphon head present in some of the old drawings:
The sail is cut:
The tail feathers are prepared, whilst masts and spars are painted wood color:
The wheels are now ready to be painted:
The painted frame and the sail which was faintly embossed with a stitching pattern:
Tail under construction:
Finished tail and sail dry-fitted to the frame to appreciate the overall translucent effect:
The assembly that constitutes the steering device with its tiller is also finished, the wheels are painted a base color:
A view if the sub-assemblies so far:
The two masts are anchored on the gondola:
The sail is glued to the frame:
The tail is then glued too:
A slot is made at the fuselage bottom as per some Cayley drawings. The idea was to install some kind of breaking mechanism:
"Rib tape" is applied on the extrados and also some "reinforcement" patches, all done in rice paper:
The gondola is given a couple of layers of paint, a darker wash will be later applied:
After the wash:
The wheels are installed:
The gondola is attached to the frame:
Rigging under way: