(The completed model is here):
https://wingsofintent.blogspot.com/2019/08/bristol-type-72-racer-modified-avis.html
The chubby silhouette of the Bristol Racer at first sight doesn't look like a wonderful choice for a streamlined speed machine. Nevertheless it was thought that by encapsulating the whole engine some gain was to be had. Surface area vastly increased, though, and produced an aerodynamic shadow that spoiled the efficiency of wings and tail.
In any case, that strange choice has given us one of the most distinct shapes of early aviation, besides being irresistibly cute, and having you wanting to pinch its cheek.
So much in love I was with this thing that I ventured years ago to build a not particularly good vacuformed kit of it, posted here.
Some years later I even got a special set made by Arctic Decals to go with the kit (that provided no decals whatsoever, and had many other shortcomings. But hey, it was, after all a Bristol Racer, and who would kit it anyway?
Well, Avis just did!!!
But first, here is the old beast made with the vac kit:
https://wingsofintent.blogspot.com/2014/07/vacuformed-classic-plane-172-bristol-72.html
After the nice experience with Avis' Short Satellite, I just had to retrieve the box from the vault and start it.
So, let's see where this goes.
The box, known already by many:
Contents:
Detail:
The biggest parts are removed and cleaned up a bit:
Some parts will need your attention. I had to remove material from the inner rim on the part on the right, to let the relief on the part of the left get inside. Also the locating key has to be sanded a bit to allow the parts to be joined:
A small issue on this kit is the position of the fore legs of the L.G.
As you can see there is no recess, as it should be, for it, because it intersects the ventilation canals. What is wrong here is hard to tell: are those canals too long or too aft? is the LG position -or other parts- out of wack?:
As you can see the master maker started to carve the recess for the legs, but encountered the issue and did not proceed further:
But, if you align (fill) the two lower canals to match the external ones, you may create just enough room for the recess to be carved and so comfortably accommodate the LG legs:
Gotcha!!
Well, it always pays to research!
What do you know, here is how things are in reality:
https://www.agefotostock.com/age/en/Stock-Images/Rights-Managed/MEV-10992554/1
So no full circle where the wheel fits in, a different hot air exit vent arrangement, a long fairing between the legs' insertion at the belly of the fuselage, and so many other details!
Out now with the pencil to try to figure out the corrections!
The instructions indicate that 10 rods (to be provided by the modeler) should be inserted into pre-marked locations on the bulkhead, and so it is done. Cockpit floor and stick are added too:
The seat needs to be moved forward a bit in order not to interfere with the upper shell.
Some parts need thorough checking and refining on all the contact surfaces and frequent dry-runs are advised before committing to gluing anything. This is especially valid for all the front assembly of the model, constituted of many parts that have to achieve a good fit without gaps:
These two parts need to added to the fuselage. The instructions are not absolutely clear (to me at least) but if you follow the contour of the fuselage you will get it.:
Never work on a model late at night!
I messed up the drilling of one hole for the exhausts, so had to glue a styrene rod in place...
Then cut if flush and re-drill. Phew!
The single most important step for a very good fit of these parts is to carve a bit the inner side of this part, very carefully, with a rotary tool and a spherical bit or similar. This will allow enough space for the protrusions on part 8 to get all the way in. Otherwise part 14 sort of "rocks" on part 8:
Very good fit now:
I also got other of the Avis- releases, the Short S.1 Cockle:
Preparing for some airbrushing:
Will solve the bicycle spokes on the spinner with P.E. parts:
Some basic painting done:
I retrieved from the files the Arctic Decals set I had purchased long ago to replace the once I had made myself and applied on the vac kit. I never got around to do it, though.
Now it could be used. The kit's decals look fine, and in all very similar, but the AD set provides as a plus the writing for the wheels. Regarding translucency or opacity of the white in both decals, I won't know until I apply them. The AD set of course includes extensive useful info as usual:
It's good to know that you can purchase a new set if you botch the kit's one:

I understand now how the wheels get into that half circle cutout under
the wing, it's simple and clever. The wheels are lifted vertically
through the straight edge (closer to the fuselage, and as the first half
has went in, it rotates outwards, thus necessitating that half circle.
In consequence, the inner half of the circular cutout on the wing has
to be filled, but leaving the cut in its middle to allow the retracting
strut to operate.
Ah, nothing like figuring it out, n'est pas?
Once the paint has dried, I will proceed with this minimal corrections needed to have a more accurate model.
Cheers!
Disks are cut:
Then bent on a curve:
Marked:
Cut and later adjusted in position. Later on, when they are firmly glued, a small length has to be cut mirroring the aft LG legs for the fore LG legs. And what do you know, the anchoring position for those fore LG legs is indented in part 8, just behind a small tooth it has to lock part 14.
So the riddle is, theoretically, solved now:
Some additional painting, addition of the rudder pedals as well as seat belt:
The kit's wings have the rigging positions already marked, so I just drilled them using a thin drillbit:
The rigging locations are also drilled in the fuselage:
A nice sunset today:
I opted out of the kit's solution for the spinner...
...thus the protruding bit has to be obliterated:
And a new spinner axle location drilled:
And here is where those cuts should be made (very carefully, since they will weaken the area) to lodge the retracted LG. Once the cut is made, you could glue from inside/behind a little piece of styrene to bridge the gap and restore rigidity:
I chose to glue first what you see:
Then the interior. And yes, I had to shorten those rods a lot for this part to fit, so may be 8 or 9mm is a more realistic length for those than the 11mm stated in the instructions:
And then the upper part goes on, no issues:
The upper and lower fuselage parts of the wing root have to be squeezed together for a good gluing, in order to match the wing airfoil:
The location for the Pitot is drilled:
Short lengths of small diameter brass tube are cut to be later inserted as exhausts:
The little reinforcements for the LG seen in photos are added, and their lodging furrows carved on the fuselage skin:
Oh my, it does look like a bumblebee.
For those building this one: The root/wing joint is not very precise, and even after clamping the upper and lower components of the fuselage wing root/fairing it is marginally thicker. I advise a very cautious sanding of the inner faces of those roots/fairings before joining the fuselage upper and lower halves, checking with the wings (I did, but it wasn't easy holding everything to check, I don't have unfortunately many arms like an octopus):
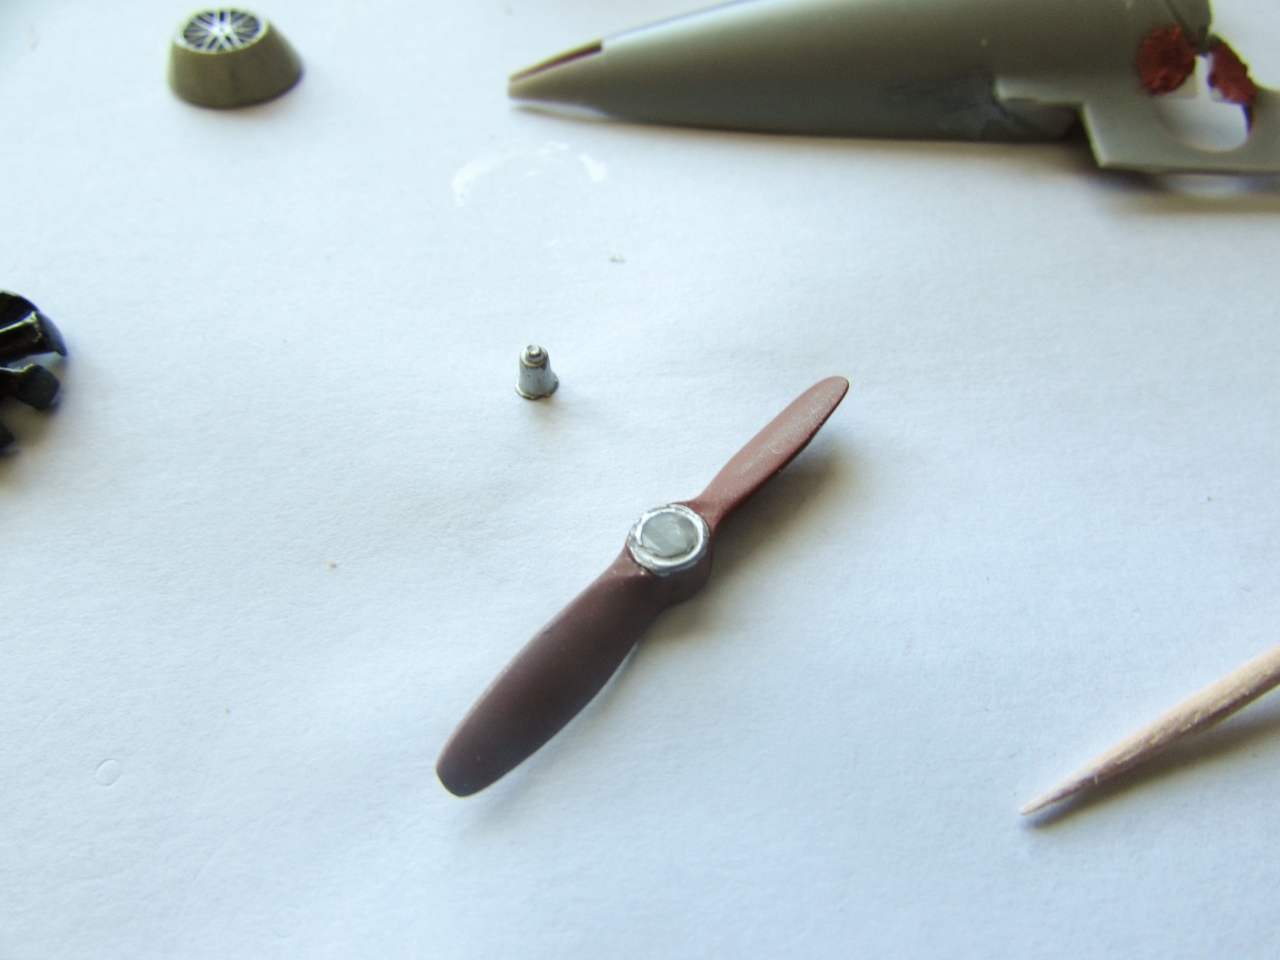
The prop is given a P.E. boss and an axle:
The axle's length is trimmed until it touches the center of the spokes at the front:
Such an adorable coochee-coochee!:
Have to work on those seams now:
Working patiently on some seams:
The LG legs are next. The struts are way too long, and should be shortened. They were further shortened after this photo, to circa 9mm. Their position on the legs is marked by a little dimple:
A small vent or fairing that can be seen in photos is added between the legs at the front:
A gloss white coat is applied as a base for the red:
My evil plan: I retrieved from its box the old vac model I made long ago of the Bristol Racer, and using Micro Set I stripped the old decals I made -that were not as white- since I have now two sets, the ones from the new kit and the Arctic Decals ones. I will apply the latter to the new model and the former to the old one, taking advantage to add the old one (and the new one) the fuel and oil caps and the two vents seen in photos:
The vac kit old mount received the caps and vents detail, and decals will follow:
The new one got its red paint and its waiting for final assembly, details and decals too:
Since I was at it I added the exhausts to the old model too as a way of practicing:
The new model is still drying, so I will have to wait a bit more for the decals and details (paint headrest, install rigging, assemble and install wheels, install prop, install exhausts, add Pitot, decaling. Ahhh...not as close to completion as it looks after all:
The fuel caps and vents, wheels, Pitot, rigging, decals and 18 exhausts are added from alu tube. Still to go are the windshield and prop/spinner assembly. The kit's decals are very nice, but are thin and do not "slide" easily, so handle, as usual, with care. I added the tire's white writing from the Arctic Decals set:
I used the Arctic Decals set to re-decal my old build (in the foreground) to a better standard than it originally was:
The size of one of those exhausts:
And with the addition of the last parts, the model is completed, and if things go well, tomorrow I will do and post the photo session: