
http://wingsofintent.blogspot.com/2017/02/172nd-houston-westland-g-acaz-everest.html
The other plane of the expedition, G-ACBR is here:
http://wingsofintent.blogspot.com/2016/08/everest-expedition-westland-pv-3-pv-6.html
This post will depict the modification of the same molds to obtain the other Everest plane, G-ACAZ.
I have seen quite a few of "G-ACAZ" modeled, but unfortunately without modifying the kit (or incorporating just one of the many needed modifications) and therefore not really accurate, although very nice models in some cases.
The main modification needed are:
G-ACAZ:
-Different landing gear
-No elevator or rudder trim tabs
-Fin/rudder with paint outline
-No wingtip skids
-Different wing tip and ailerons arrangement
-Completely different dihedral and wing sections
-Different strut locations
-An additional diagonal strut between the inner wing struts
-Absence of little cutout inside the large wing cutout above the pilot's head
-The lower wing cutout meets diagonally the fuselage, instead of meeting a straight short section as in G-ACBR
-There were no "zippers" on the fuselage sides of G-ACAZ.
-A small rectangular opening or window is seen on the fuselage side aft of the lower wing
-G-ACBR and G-ACAZ have different small "gizmos" on the center section of the top wing
there are many other small details. Look at photos.
This second kit is an "Air Lines" very old release.


I was sanding the prop when it snapped, even unprovoked:


Thew wings tips are now cut off:


The wingtips are glued:


The not-so-exciting task of filling and sanding those sinkholes and other blemishes starts. More unnecessary holes are plugged with heat-stretched styrene (in this case the landing gear rear legs that are now on the wing):


Work progresses:

The holes for the landing gear fore legs are plugged and a cutout is made for the photography window:

The modified wings are primed to reveal imperfections:

New landing parts:


As with the G-ACBR model, the nose (exhaust collector) of the kit's engine is removed to be later applied to an aftermarket item. The single "pipe" going to the cylinders' heads is inaccurate, since the Bristol Pegasus had two per cylinder:

The primer revealed many areas that needed a second pass:


White primer is applied before the color coat:

The rib demarcations that were dulled during filling and sanding are put back in place using tape and primer:


The rib demarcations will only now need a very gentle swipe with a soft nail polishing stick:

The cockpit interiors for both models advance a bit with more details:

A Bristol Pegasus engines, this time from Engines & Things from Canada, was purchased. A somewhat simpler and more affordable approach then the aftermarket engine for sister model G-ACBR. Both work:


The process of completing the interior goes on. As said, G-ACAZ will have the "cabin" doors closed, although a degree of detail will be provided anyway:

Some more detailing and painting ensues:


The fuselage halves are glued together.
A dry run of the engine (made a notch in the fus. to clear the carburetor) now with its exhausts -made of thick solder wire shaped to resemble the original- is performed to check fit and clearance:

The engine is painted black:


The former is about half the price and a tad less detailed. The latter needs the intake pipes added on the back of the engine. Both work, depending on what you want. Both need the whole engine front exhaust pipes, collector ring and the larger exhaust stacks made and added to them:

The fuselage is now closed:


A not-so-glamorous stage: puttying and sanding:

After sanding the putty, the observer's clear cover was tried, and it was found that the with of the part noticeably exceeds that of the fuselage's, by about 1 millimeter. This was also found for the part on G-ACBR. Instead of sanding the part and then having to restore its clarity, I tried pressing ever slightly the part with a clamp and dripping on it almost boiling water for about 10 seconds. Gradually the part softened and the width was reduced, so after four times the fit was good. The part did not lose clarity or deformed, but I don't recommend this, because there is danger of being scalded and the part may break or deform:

The clear part is glued to the fuselage. The other model I am making, G-ACBR, will have the hatch opened:

The windows and portholes are masked:


Primer on:

Wing and stab in place. Notice different wing root, aileron and wing tip, besides different dihedral, all needed for this version:


The decals from Mika Jernfors of Arctic Decals arrived, and they look great:

Metal horns are inserted in ailerons and elevators, rigging locations are drilled, and the control surfaces glued (not the vertical stabilizer, since it has an outline that had to be carefully painted). A protrusion seen in photos on the nose is added:


The mods that have to be made to G-ACAZ:

A small structure that goes after the tailskid is scratched. Noticed the single aileron control horn, double on G-ACBR:

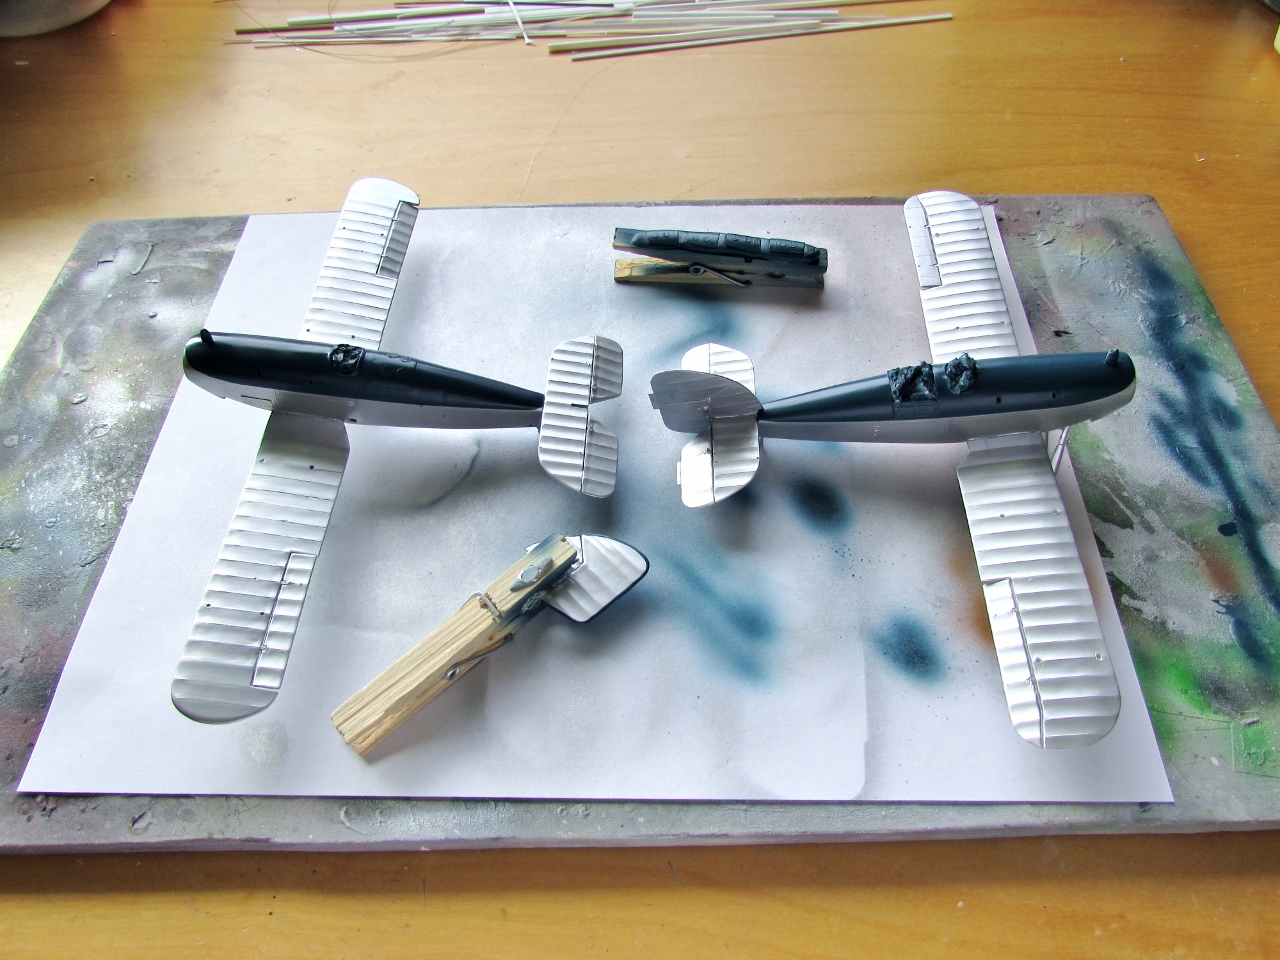
The base aluminium color is applied:

The
windshield, which is horribly thick, it's used to vac two sets of
replacements. On the side, placed on the clothespin, the masked hatch panels for G-ACBR:

Other metal hue is applied where the metal was exposed, and also on the
after-cabin doors (will be seen from inside). The struts are airbrushed
in their color too:


Some tidying-up and some mix trials for the fuselage top color:

Ready to proceed:

The masks from the Arctic Decals sets are applied and the deck and vertical stabilizer color is airbrushed:
The louvers visible in photos, the different oil cooler, one additional step and control cable exits are added:

Arctic Decals masks are also applied to the windshields:

Airbrushed:

A clear coat is applied and the smaller masks removed from windows and such. G-ACBR and G-ACAZ are nearing completion:


To be continued.....
Don't understand the 'peanut butter'
ReplyDeleteinterior colour. It was a metal-framed aeroplane, with aluminium and fabric covering. The instrument panel colour was a big clue....
Regards, Roger
Dear Roger
DeleteIt is not "peanut butter", it is Argentinian "Dulce de Leche", much, much better.
Partially true: the "cabins" were partially lined with wood panels -possibly to provide further insulation against the bitter cold at 9,000 meters heights-, as these were highly modified planes, not the standard Wapiti or Wallace. But you are correct regarding the pilot area, which (again, partially) had the original metal panels.
Have a good afternoon tea.
Your friend from the across the pond
Ok....I thought you had suddenly decided it was going to be 'Willy
DeleteWonka's Wallace' :0)