Who says Dragons don't do well in water?
Well, The Hobbit says it. But -whatever destiny befell to Smaug
the Chiefest and Greatest of Calamities- the ancient Chinese, according to
Jorge Luis Borges' "The Book of Imaginary Beings", had sky dragons
and water dragons, and even amphibian dragons.
The Dragon is among the planes that captivate me so much that I
have built them more than once.
Four D.H.88 Comet racers and three D.H.89 Dragon Rapides,
all of which are here somewhere.
These are the more recently converted Rapides:
https://wingsofintent.blogspot.com/2018/06/de-havilland-dh89-tainui-macrobertson.htmlhttps://wingsofintent.blogspot.com/2018/06/normal-0-false-false-false.html
This time -in an effort to further extricate modeling potential
from the kit- it'll be a seaplane.
The conversion of the old and venerable Heller kit into a
floatplane involves of course some changes:
1) Getting or fabricating the floats, either EDO or Fairchild, depending on what subject is being
modeled. But there are no accurate options for those in the market, so you have
to adapt/modify what there is available.
2) Modification of the bottom of the engine nacelles,
fairing the location of the landing gear according to photos.
3) Reshaping the vertical stabilizer extending the root of
the leading edge as per photos.
4) Researching and fabricating all the connecting float
struts.
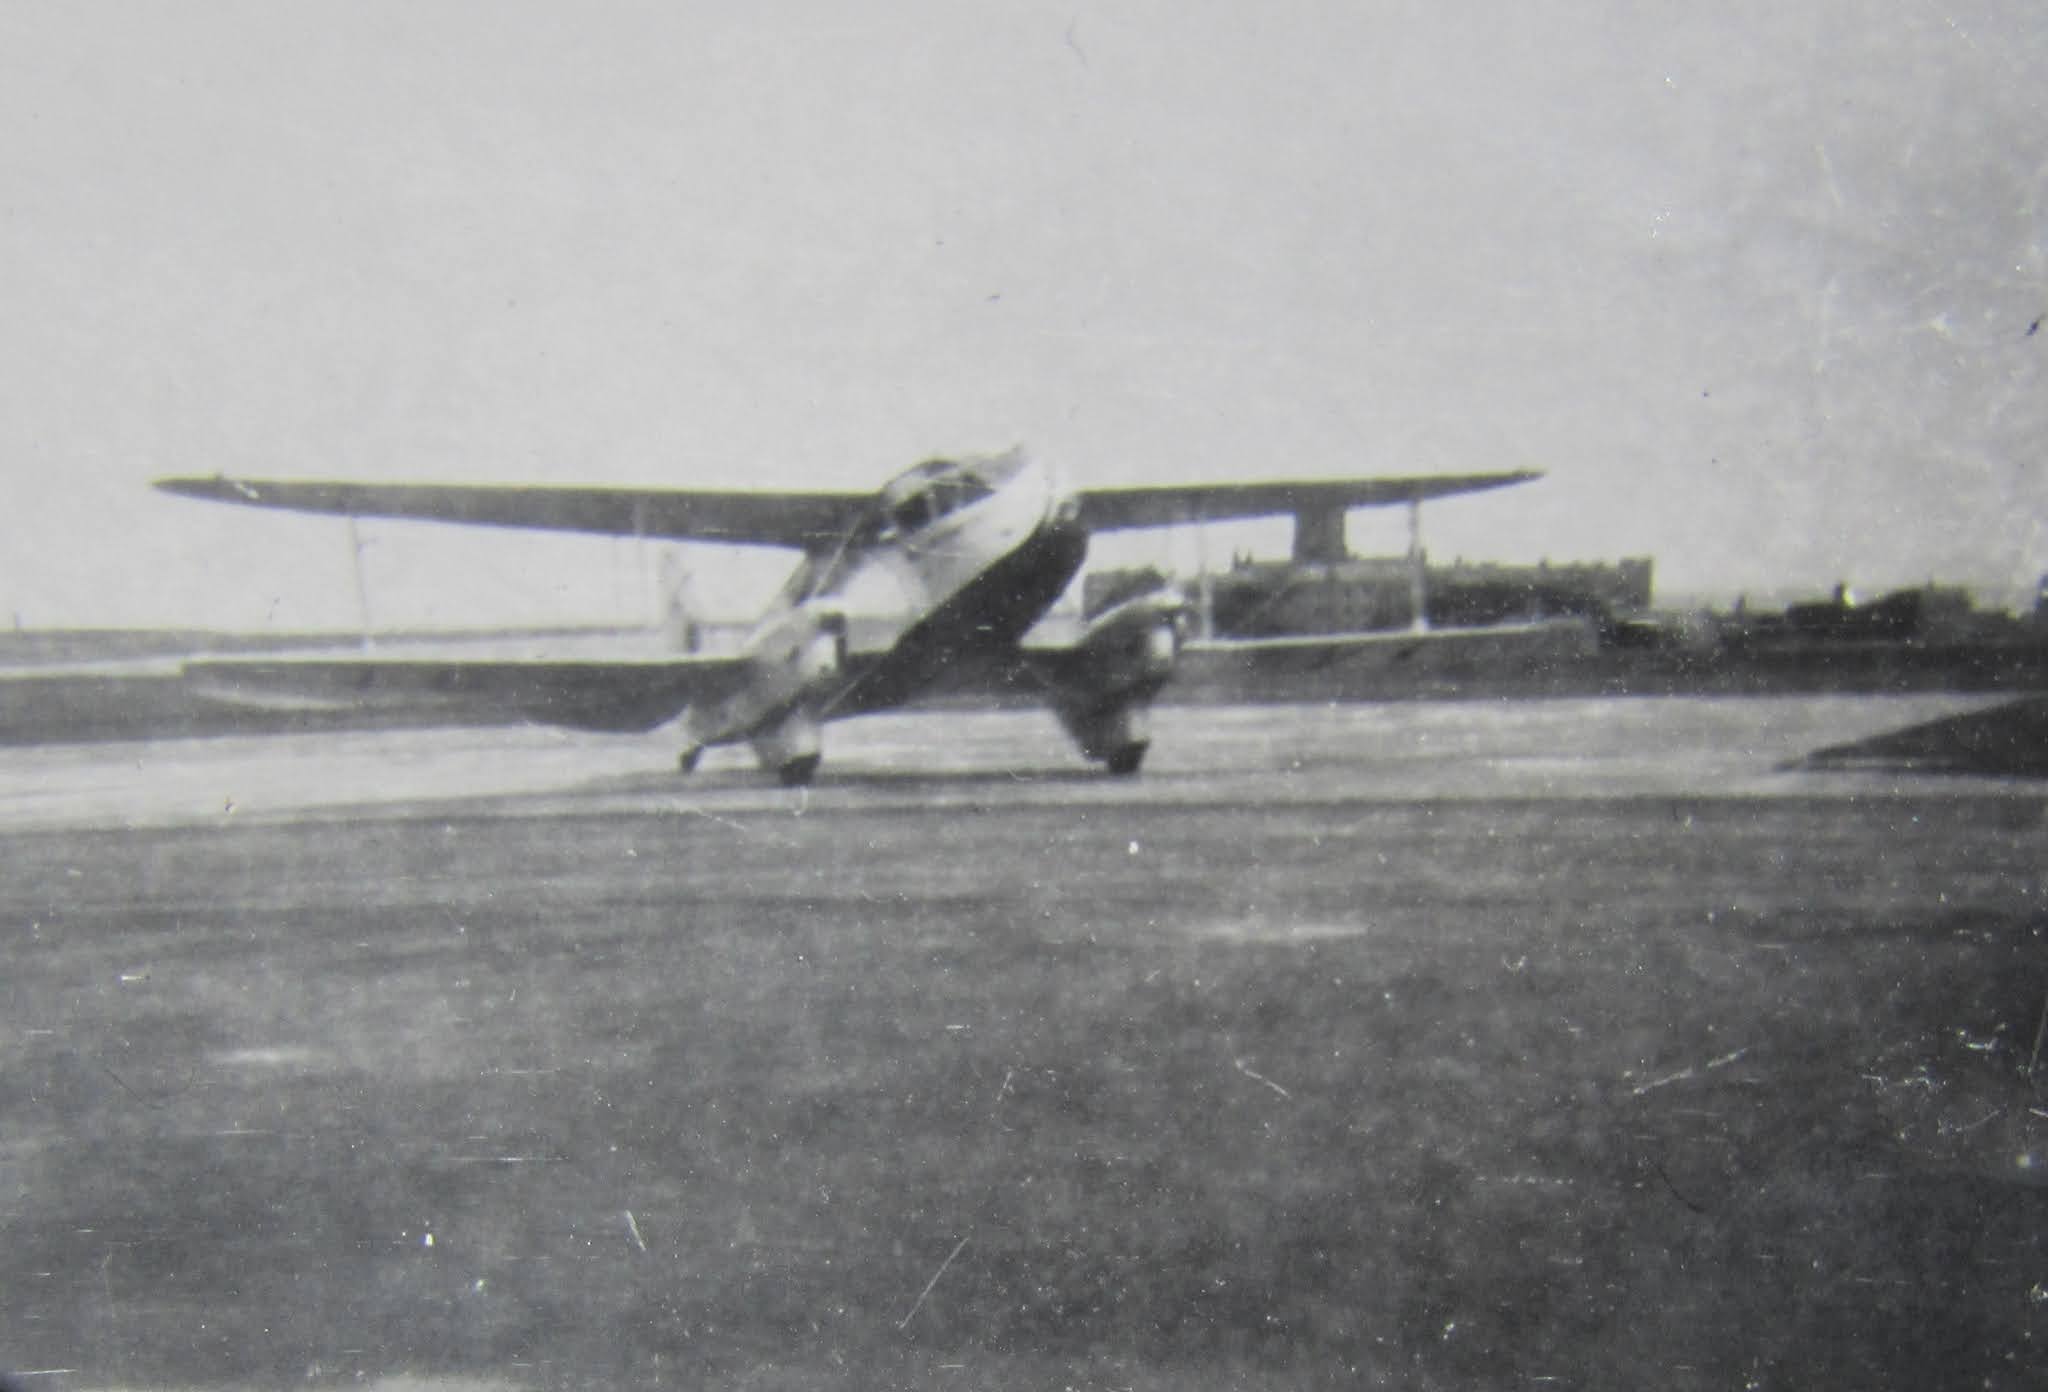
The first Rapide here then will be CX-ABI, an Expreso del
Plata machine, that operated in 1938 plying the Río de la Plata waters, uniting
Uruguay and Argentina (my country of birth), shuttling back and forth from
Colonia to Buenos Aires.
I was fortunate enough to find some photos and a description
of the colors.
I had in my stash already two other Rapide kits, one being
the Tasman limited edition upgraded kit. To that box I further added all I
could find: an Arctic Decals masks and "metal" frames set, a very nice P.E. Kuivalainen set, and some
other bits, just in case.


The subject for the second seaplane on Fairchild floats is
still undecided, although I already have a folder with candidates.
TThe second kit is an old release, but I added a set of vacuum-formed
floats from the Execuform kit of the Fairchild Super 71, which I built
long ago on skis (saving the floats), these are the correct ones to
cover other versions of the Aquatic Rapide.

I started building this model from the outside, so to speak.
Well outside in fact, acquiring and building a Revell (Matchbox) Noorduyn
Norseman. I built it on wheels, so I could snatch the floats. Those
unfortunately are quite inaccurate, and were modified to better approximate
them to reality.
Here is what you get with the Norseman kit:


Parts separation and clean up begins.
 The second pair of float halves are glued together. As it is sometimes the case with some
vacuformed parts, they will need their sort of roundish edges made
better. For this task I will use 90 degree angle styrene sticks. The top will need battens and the anchoring points for the struts. Rudder will need to be added too:
The second pair of float halves are glued together. As it is sometimes the case with some
vacuformed parts, they will need their sort of roundish edges made
better. For this task I will use 90 degree angle styrene sticks. The top will need battens and the anchoring points for the struts. Rudder will need to be added too:
 Some parts are glued and cleaned:
 The lower portion of the nacelles is removed:

 The door is very carefully removed. The nacelles are capped with a thick piece of styrene, to be later shaped and contoured to match photos:
 The door on the other side needed for the seaplane version is engraved:
 Since the opposite door will be posed open, the inner edges of the other door have to be engraved:
 The floor already received the rudder pedals, joystick and two bulkheads (the aft one just for rigidity, since it will be behind the new bulkhead, ahead of it.
The source states 8 people in total, 6 passengers, pilot and copilot. There was a sort of dingy or float, most likely stored in he compartment created behind the new bulkhead, used by the copilot to moor the plane. For that he had to remove his shoes, since his feet were in the water (again, according to source):
 The new bulkhead is given a door, so something can be seen behind.
As I did with the other Dragons, in a completely convoluted, unnecessary, time-consuming and nerve-wracking way, I removed the not very good legs of the seats, and drilled three new locations.
Once drilled, these were given new wire oversized legs. Then more wire lengths were used to replicate to some extent the additional metal frame of the seats.
That is seven lengths per seat. Once all is set, they have to be trimmed to proper size:


The source states 8 people in total, 6 passengers, pilot and copilot. There was a sort of dingy or float, most likely stored in he compartment created behind the new bulkhead, used by the copilot to moor the plane. For that he had to remove his shoes, since his feet were in the water (again, according to source):

As I did with the other Dragons, in a completely convoluted, unnecessary, time-consuming and nerve-wracking way, I removed the not very good legs of the seats, and drilled three new locations.
Once drilled, these were given new wire oversized legs. Then more wire lengths were used to replicate to some extent the additional metal frame of the seats.
That is seven lengths per seat. Once all is set, they have to be trimmed to proper size:


Phew!:
 The locating holes on the floor are filled:
 Unfortunately the hub/spinners of the props have an inaccurate cylindrical-conical shape:
 I had to do this on every Dragon I built:
 Reshaping at very low speed takes place:
 Et voilà!:
(These props are for the Canadian Dragon, the Uruguayan Dragon used Fairey-Reed pressed metal props that will require the same scratching I just did for the DH60)
 I am not using French to show off, my instructions are in French!
 Uruguayans know street food!


 The nacelles are closed:
 A dry run of the seats, which now look lighter and better:
 The transparencies -very decent per se- are given the traditional coat in acrylic floor polish:
 NOTE:
NOTE:
I have edited the text at the beginning, and will repeat it here since it's relevant:
The vac floats for the Canadian model floats, which I thought were coming form the generic Aeroclub sheet that many times have saved my scratch projects, actually came from the Execuform vac kit of the Fairchild Super 71, that used the same Fairchild floats as CF-AEO. I had built the Super 71 on skis, saving the floats, which now have found a new home, or... plane.

 Once you open a door in this kit, you will be looking at the windows' plastic strip on the other side.
To attenuate the undesirable effect of that, the windows are glued in place, masked, and the interior painted, thus the only clear and reflective surface will be the individual windows, not the strip.
Once you paint the interior, do not forget to remove the internal masks:
 Thus. The aft windows can be left unmasked as they were as we mentioned blanked out on these seaplanes:
 It's a good idea to protect the exterior with tape to avoid overspray mist attaching to the windows:
 If the task of cleanly separate the door as I have done looks too daunting, you may carve-out the space, and then cut a new door from clear stock as thick as the fuselage walls. Then you mask the window, paint, and presto:
 Whichever way you choose, it's nice to later on add a handle or any detail visible in photos:
 Some interior color is applied:
 Work proceeds on the fuselage:


 Lower wing in place. Not much, but I am also working at the moment in several other models, so it's a bit of attention to each in turn (so it never gets boring):
 Work starts on the second kit. This is a newer release molded in white plastic, something that makes it not very apt to spot things, due to the higher reflection rate. Some parts were a bit warped and there was a teeny tiny bit of flash here and there. The general quyality was good, though. I have built many a Dragon, and I am amazed as how different the nature of the plastic and the quality of the molding can be, depending on when and where the copies were made. This one was a special edition that had some extra perks and a comprehensive decal sheet -of which I already used some marks for "Tainui". Anyways, separation, clean-up, and even some gluing took place:
 Certain anachronisms of the kit have to be remedied, like the holes big enough to rig a rope through:

 The second model follows a similar path modifying the nacelles to hydro configuration, limiting and modifying the seats, adding a bulkhead, reshaping the spinners and blades, etc., but the door is opened on the other side:
 The second model also follows suit on the seat-improving department and propeller remodeling. A bit of déjà vu:
 Building several models at the time has its joys: I just found exhausts that I should have added to completed projects. It's never too late!
 Funnily enough, on one side of the wing, the bit that intends to represent the aileron linkages is misplaced by one bay
 They are removed from the wings of both models:
 The linkages should align with the strut:
 To add a bit of detail, the septum behind the engine nacelle front is carved a bit, and a cylinder glued:
 This way we have the impression of something going on inside the nacelles:
 More plugging of unnecessarily large holes:
 The Fairchild and EDO floats connect differently to nacelles and fuselage. The Uruguayan machine, that has EDO floats, needs a slot for the struts to anchor:
 The Canadian plane, with Fairchild Canada floats, has two asymmetric anchoring points:
 Both planes need a wind-driven generator in the upper left wing:


 Well, I hit a snag. The Special Edition kit (white plastic) has some upgrade parts as I mentioned. I did not plan to use them. But when I tried to use the kit's canopy, I saw it was a short draw, and large area had a void:
 I then resorted to the "upgrade" vacuum-formed part, but this was somewhat squashed:
 Presenting a depression at the top and a very thin left corner:
 Once carefully cut and straightened, it was clear that this was obviously molded upon a kit's canopy and therefore was too big for the opening.

 Now this presents and issue for which there is no easy solution.
The other upgrade parts (besides the nice and comprehensive decal sheet) you see in the bag are white metal nacelle fronts with a lip that some had, an instrument panel -superseded now by P.E. more recent offerings-, a green translucent film and some thin electrical cable:
 The fin leading edge extension needed for this version is dry-fitted:
 As I did with my previous builds of the Dragon, a new bottom and top will be provided for a more accurate look. Of the various approaches that I tried, the skin seems to be the more practical:
 Dry-fit:
 And again, of all the glues I tried doing this trick, thinly-laid 10-min epoxy worked the best, better than cyano glues and normal modeling cements.
The bottom skin and the engine nacelles are glued on:
 The assembly of the second model follows in the steps of the first, ready now for the initial interior airbrushing session:
 A bit of color:
 Top wing on. In all the Dragons I have tamed, the upper wing is a not a good match to the fuselage top, but in this case as stated a skin will go over anyway:
 Spreader bars are made from old Contrail stock (only a few short bits remain in my box, unfortunately).
It's important as you all well know that you get a nice basic alignment from all angles.
This planes had beaching wheels (4) according to photos, their axle locations have been already drilled in the floats:
 Now the vacuum-formed floats for the other model. As it is known, female molds produce sharper corners, but these were molded with male molds, therefore there is a roundness to them.
A slot is cut at the step:
 And tabs inserted, to be shaped later on:
 A "V" strip will be used for the chines and deck edges:
 While I remembered, I drilled the location for the stem of the mass balance, and inserted it:
 The beaching wheels in process:
 Water rudders for the Fairchild floats.
I have a number of photos of a museum example (the ones on the Fairchild Super 71), and although they are a good general reference for details, the water rudders they have do not correspond with photos contemporary to the planes they were in. I followed period photos for mine.
Yet another example that shows how very careful you have to be taking notes from restored planes and museum examples:
 Second model interior in progress:
 Almost ready:
 The incompletely-filled canopy:
 The affected area is excised:
 Beaching wheels ready. Fortunately, I found some strut material sent to me long ago (Thanks, John!):
 The exhausts are different in both models than the kit's offering, so their ends arecut off and re-done with stretched and hollowed sprue:

 The fuselage sides of the second model are glued together, and then the lower wing added.
The process of adding the relevant details to the floats (stiffeners, battens, braces, spreaded bars, beaching wheels' axle location, rudders, reinforcements, etc) has started:
 The spreadbar retainers in process:
 Engine nacelles are glued on, as mention before with their float struts anchoring points already drilled. The spreadbar retainers are glued to the floats. It is of note that only one spreadbar was present in this arrangement, the aft part of the floats connecting to the nacelles and fuselage directly:
 A panel from the missing space on the side is made from thin acrylic. The top missing panel will follow made with much thinner clear plastic, but only after painting is done, to avoid the stresses of masking the transparency in that area:

 The addition of the aft side in acrylic worked quite well, if with some dehydration (due to perspiration).
I shall re-hydrate with my sports drink of choice these days: Firestone's Luponic Distortion IPA:

 Spreadbar measured, cut, and tried out:
 A coat of primer to find out where we are...:
 The top skin of the first model is glued in place:
 The blending starts:

 The horizontal tail and the fin extension are in place:
 First coat of primer. Once again, the vinyl masks (this time from Thunderbird Models) that were located on curved surfaces started to lift in the middle of the airbrushing session. Not nice at all.
I would have paper masks over vinyl masks any time, but sometimes you use what you have at hand. I truly dislike vinyl masks, fine on flat surfaces, trouble most of them on curved ones.
Notice that the Dragon is about the same size of the Gamma:
 This is the general idea, the struts going into slots in the nacelles and into the floats. Additional struts will later connect the aft fuselage with the floats too:
 The short struts that connect the belly of the fuselage with the interior of the nacelles are absent in all seaplane photos I have for the chosen subjects. Those should be therefore not employed.
 If this post hasn't already dissuaded you from ever attempting this conversions, here is a small piece of wisdom: many times in modeling (and in life) when we try to skirt what we perceive as more work, we end up doing double or triple that work. I thought it would be convenient to leave the fin and just add the extension in place and blend it in situ. Well, it can be done, I did it, but it would be much more convenient to remove the fin on both fuselage halves, and make a new one from styrene sheet with the shape including the extension, and glue it later on:
 A couple details: readying the modified props and re-installing the float rudders in the retracted position:

I have done some extra digging, and found that actually at the very beginning the DH89 was just named Dragon Six, not Rapide, due to its engines.
It's only later on that it was called Rapide:

 The Heller kit has a small quirk: if you glue the horizontal they as it is, it will end up angling back, as it is shown below (exaggerating the angle):
 The root has to be re-angled:
 And then the pips drilled and re-inserted for a more secure fit:
 A few cleats for the the floats are fabricated:
 After application of the Arctic Decals masks, the second model is ready for the first mist of primer:
 The two models are now primed; the second one still needs the fin extension, and both will require a small number of touch-ups:

 Making cleats for floats (not all cleats are the same, so check your photos before making them):
Coiling fine styrene rod on a toothpick.
Put that into running boiling water for a few seconds (avoid hurting yourself, if not confident or overconfident, don't do it):
 The coil will retain its shape:
 Rings cut from the coil:
 Slivers cut from around the rings:
 Stems from stretched sprue glued to the slivers on the flat side.
Once the glue has set, may reinforce with a very tiny droplet of CA glue:
 And the fumy thing is that the Fairchild floats have a different cleat, more close to a tab and rod:
 (below an unrelated solution for a fellow modeler)
 With the shoes on (dry run). Smart!:
 A base color is applied to both models and ancillaries.
The model on the right is the silver/blue one from Uruguay, thus gloss light grey is used as the silver will be the first coat. The one on the left is the red/blue Canadian one, therefore white is used as red will be the first color to go on:
 Stretched clear sprue with rounded tips and colored is used to replace the pips in the kit that represent the nav. lights:
 All struts are grouped for painting:
 The wing struts located from the nacelle in, have the color of the fuselage and nacelles.
The ones on the outer side are the color of the flying surfaces. This is valid for both models.
The floats tips are painted black (later to be masked to paint the aluminium color), and the exhausts are given some touches with "burnt" hues of Alclad:
 Both sets of floats are painted. Still to add are the circular lids that access the compartments, the rudder rigging, and some rough surfaces to step on if and where appropriate:
 Aluminium paint is airbrushed on the Uruguayan model:

 I noticed a hairline gap on the Canadian model back, aft of the canopy, so more putty was applied.
I fabricated and added the four aileron linkages. For the other model I have the same features from a P.E. set:
 The Uruguayan model is masked and the second color, light blue, painted. The masking is sort of complex and involves a number of sections of masking tape and cling wrap.
The Canadian model gets its first color. Floats get a coat of acrylic varnish. Ancillaries are painted at this time too with their corresponding colors:
 The masks of the Uruguayan model are off. Fortunately all looks good.
The Canadian model did not have the light on the fuselage nose (where I am inserting now the handling stick), so before I apply the new color that has to be filled and blended-in:
 The second Dragon was masked, painted and the masks removed. Fortunately no accidents:
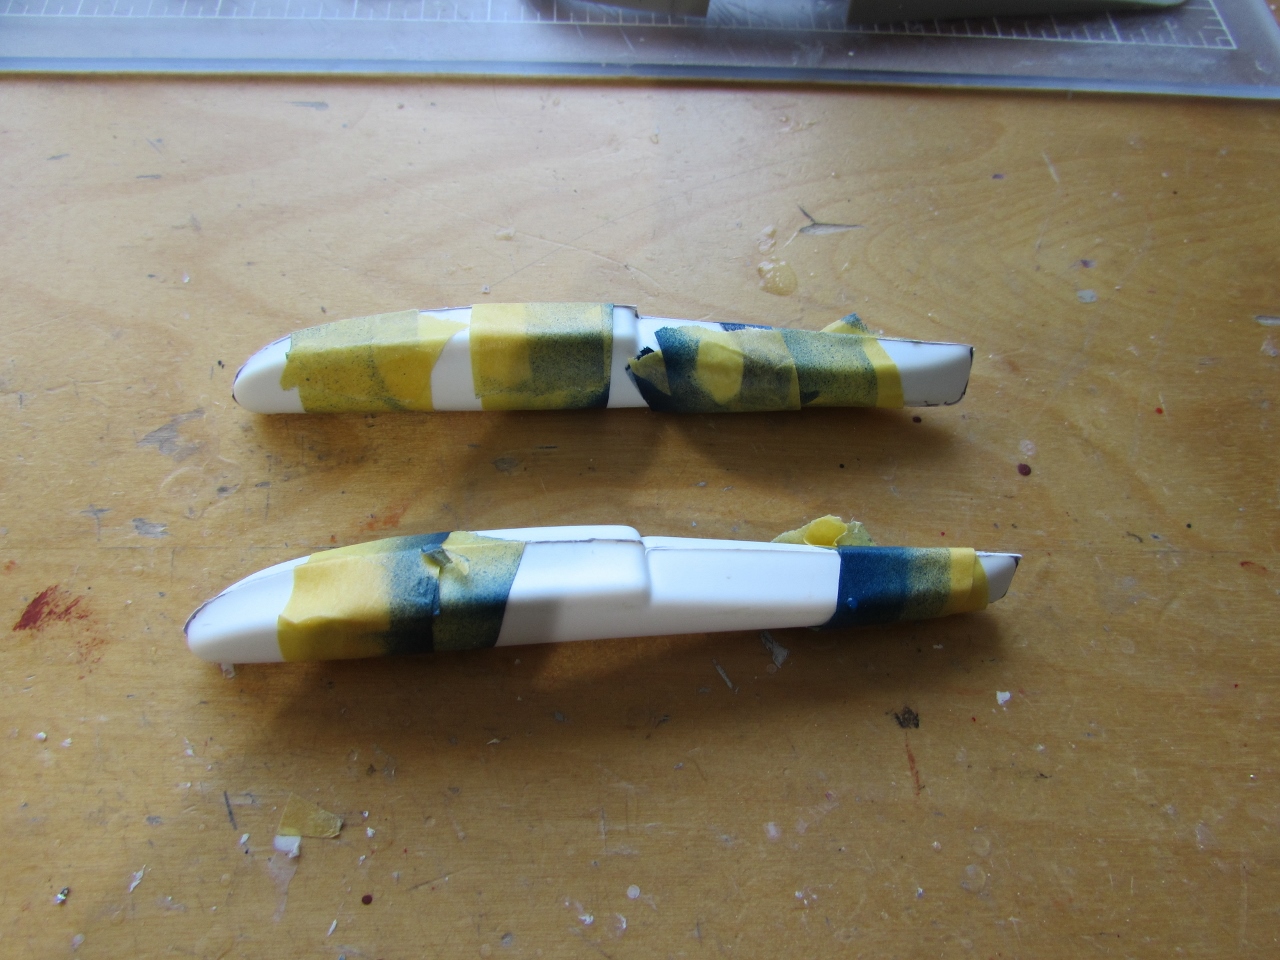
 The Canadian plane had metal cap spinners, thus masks need to be created to paint that:

 As I have been working in parallel on all needed details, everything is ready now to start final assembly:
 The last piece of the reconstituted canopy is put in place:
 It's not perfect, but much better than the ill-fitting vac or the original incompletely-molded transparency:
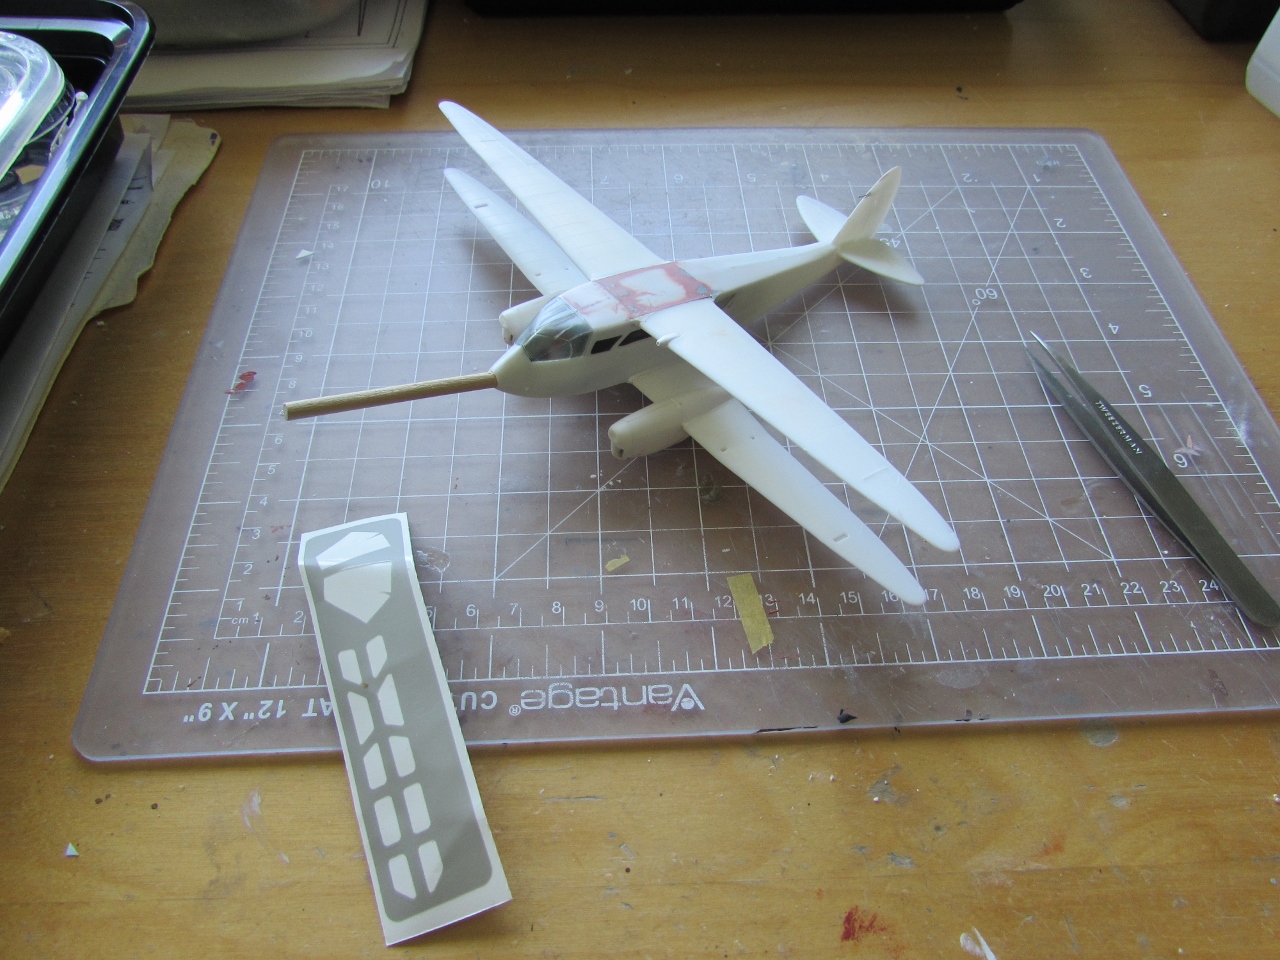
 But before struts, floats and other details are added, the Arctic Decals vinyl "metal" frames will be added. These would be very difficult to do once the struts and floats are in place (as the side windows require frames too). If you, like me, have separated the doors, do not forget to give them their frames too:
 I have two editions of the frames, one is a duller, which suits the Canadian plane, and the other shinier, which befits the Uruguayan one:

 Frames were applied.
The wing struts are on on both models.
The floats have been glued to the Uruguayan machine. A couple of more float struts that link them to the aft fuselage have to be added later when the glue has set.

 An interesting thing happened today. As I was at it with the models, a dear friend (thanks, David) sent a video of a family he knows playing Pachelbel's cannon in D major, that they had learned during the pandemic. I found that inspiring, and extraordinary, those kids playing the string instruments and that music, that if it is well known, is not for that less beautiful.
That lead me in turn to Bach (who was born when Pachelbel was in his 30s) and his sublime creations.
This may sound a bit out there, but as I was looking at the models and the photos in my references and listening to Bach, I felt that the extraordinary structure of the Baroque music, its blend of precision and freedom, earth and heaven, was somehow shared, in a minor way, by the machines and models we love.
I was a kind of synesthetic perception, a superimposition of music and object, machine and angel in one.
 Aft float-to-fuselage struts are added, as well as rudder control horn and rod, and tail rigging cables:
The two models have now their floats attached. This was a bit of a demanding task, but it's done, and things look good. Rigging will be the next step. Although it doesn't seem like it, there is still a long way to go:
 I know they look exactly the same, but meanwhile the nav lights (including a teardrop one below the nose) and four water rudder actuators were added, as well as the nose light on CX-ABI, and some climbing steps:

 CF-AEO receives wind-driven generator prop, wing rigging, opened cabin door, beaching wheels, Pitot and propellers.
Decals will follow.

 And now CX-ABI is also ready for the decals, after the addition again of rigging, props, wind-driven generator prop, beaching wheels, Pitot, cabin door and this case P.E. aileron actuators.
To their hangars they go until the arrival of the decals, where they will be cozy and well-fed:

 The Post Office is producing miracles! The last envelop from Finland took 75 days to arrive.
But these two arrived together today in about 2 and 3 weeks!
 As usual, neat and well-produced work:
 Decaling begins. Although the carrier in these decals is almost inconspicuous and sometimes just seems to disappear, the big letters are separated and trimmed individually, to minimize potential carrier shade:

Dragons from Manx Air Charters, my in-laws flew in one of them, and gifted me the photo.
May be a future project:

More images courtesy of Ivor Ramsden:


 And what about another one..


(These props are for the Canadian Dragon, the Uruguayan Dragon used Fairey-Reed pressed metal props that will require the same scratching I just did for the DH60)


I have edited the text at the beginning, and will repeat it here since it's relevant:
The vac floats for the Canadian model floats, which I thought were coming form the generic Aeroclub sheet that many times have saved my scratch projects, actually came from the Execuform vac kit of the Fairchild Super 71, that used the same Fairchild floats as CF-AEO. I had built the Super 71 on skis, saving the floats, which now have found a new home, or... plane.


To attenuate the undesirable effect of that, the windows are glued in place, masked, and the interior painted, thus the only clear and reflective surface will be the individual windows, not the strip.
Once you paint the interior, do not forget to remove the internal masks:


The other upgrade parts (besides the nice and comprehensive decal sheet) you see in the bag are white metal nacelle fronts with a lip that some had, an instrument panel -superseded now by P.E. more recent offerings-, a green translucent film and some thin electrical cable:


The bottom skin and the engine nacelles are glued on:


It's important as you all well know that you get a nice basic alignment from all angles.
This planes had beaching wheels (4) according to photos, their axle locations have been already drilled in the floats:

A slot is cut at the step:


I have a number of photos of a museum example (the ones on the Fairchild Super 71), and although they are a good general reference for details, the water rudders they have do not correspond with photos contemporary to the planes they were in. I followed period photos for mine.
Yet another example that shows how very careful you have to be taking notes from restored planes and museum examples:


The process of adding the relevant details to the floats (stiffeners, battens, braces, spreaded bars, beaching wheels' axle location, rudders, reinforcements, etc) has started:


I shall re-hydrate with my sports drink of choice these days: Firestone's Luponic Distortion IPA:


I would have paper masks over vinyl masks any time, but sometimes you use what you have at hand. I truly dislike vinyl masks, fine on flat surfaces, trouble most of them on curved ones.
Notice that the Dragon is about the same size of the Gamma:


I have done some extra digging, and found that actually at the very beginning the DH89 was just named Dragon Six, not Rapide, due to its engines.
It's only later on that it was called Rapide:

The top wing of the second model is glued on:


Coiling fine styrene rod on a toothpick.
Put that into running boiling water for a few seconds (avoid hurting yourself, if not confident or overconfident, don't do it):


Once the glue has set, may reinforce with a very tiny droplet of CA glue:


The model on the right is the silver/blue one from Uruguay, thus gloss light grey is used as the silver will be the first coat. The one on the left is the red/blue Canadian one, therefore white is used as red will be the first color to go on:


The ones on the outer side are the color of the flying surfaces. This is valid for both models.
The floats tips are painted black (later to be masked to paint the aluminium color), and the exhausts are given some touches with "burnt" hues of Alclad:


I fabricated and added the four aileron linkages. For the other model I have the same features from a P.E. set:

The Canadian model gets its first color. Floats get a coat of acrylic varnish. Ancillaries are painted at this time too with their corresponding colors:

The Canadian model did not have the light on the fuselage nose (where I am inserting now the handling stick), so before I apply the new color that has to be filled and blended-in:


The wing struts are on on both models.
The floats have been glued to the Uruguayan machine. A couple of more float struts that link them to the aft fuselage have to be added later when the glue has set.


That lead me in turn to Bach (who was born when Pachelbel was in his 30s) and his sublime creations.
This may sound a bit out there, but as I was looking at the models and the photos in my references and listening to Bach, I felt that the extraordinary structure of the Baroque music, its blend of precision and freedom, earth and heaven, was somehow shared, in a minor way, by the machines and models we love.
I was a kind of synesthetic perception, a superimposition of music and object, machine and angel in one.

The two models have now their floats attached. This was a bit of a demanding task, but it's done, and things look good. Rigging will be the next step. Although it doesn't seem like it, there is still a long way to go:


Decals will follow.


To their hangars they go until the arrival of the decals, where they will be cozy and well-fed:


But these two arrived together today in about 2 and 3 weeks!


Dragons from Manx Air Charters, my in-laws flew in one of them, and gifted me the photo.
May be a future project:

More images courtesy of Ivor Ramsden: