
http://wingsofintent.blogspot.com/2017/01/172nd-nieuport-28-nucoa-completed.html
In spite of their old age, certain kits still posses some charm and dignity.
You can see my Airfix Sopwith Pup in this blog, and Revell's Nieuport 28 is another of those.
I already took advantage of one Nieuport 28 and gave it a civilized
life, modeling as it looked in the 20s in the US, its home after the war:
While researching liveries for it, I discovered
a NUCOA plane, used to advertise the margarine brand. The colors of the brand
were an attractive blue and yellow, so I decided to build a second model using
the same kit.
And who, you may ask, provided this old kit? Yes, once more
Evil Genius Sönke Schulz from Marzipanland generously gifted it, from his
sekreten kolectionen stashed at his Volkano. And once more, I am grateful for his
kindness.
Fortunately, not much needs to be done to obtain this other
civil conversion, just get rid of the guns. The rest are refinements you may or
may not deal with. I went for a little more, as usual, improving things here
and there, as you will see in this step-by-step article.
I concocted a drawing of the logo (the only marking on the
plane) and sent it to Mika Jernfors of Arctic Decals, my poor martyr friend
from whom I commissioned a set.
A view of the simple, contents:

Labor begins with the customary cleanup, which includes
getting rid of some ejector pin marks:


Yet another good think about this plane is that it had little in terms of external details (thus less work for the modeler): the ailerons were worked by a torque linkage, therefore no control horns and cables are needed there. The elevator mechanism was hidden inside the fuselage. The only detail that needs addition is the rudder control horn and its cables. Even the rigging is quite simple on this one.
On the other hand, the wheels and wheel axle are quite coarse. The wheels are supposed to be pressed into the axle, a toy-like feature that may benefit from re-working. The wing struts have, where the binding was in the originals, some spurious recessed detail that looks frankly awful (an unnecessary to start with, a mystery why the master maker even bother). All in all a project that may not be time-consuming, and being the cockpit opening very small, not much detail is really needed there either.
The receptacles for the bridged struts are filled, since they are impractical. The "bridge" on the struts will be cut off or new struts made, since the kit's are not really good:
 A new seat is made from an after-market set:
 The cockpit interior is dealt with using some photoetched parts, mainly from the Tom Modelworks set for French planes:
 Some elements are made from styrene sheet, rod and sticks:
 The rudder is given a metal control horn:
 The kit's prop is quite dubious, so a new one from wood is carved:


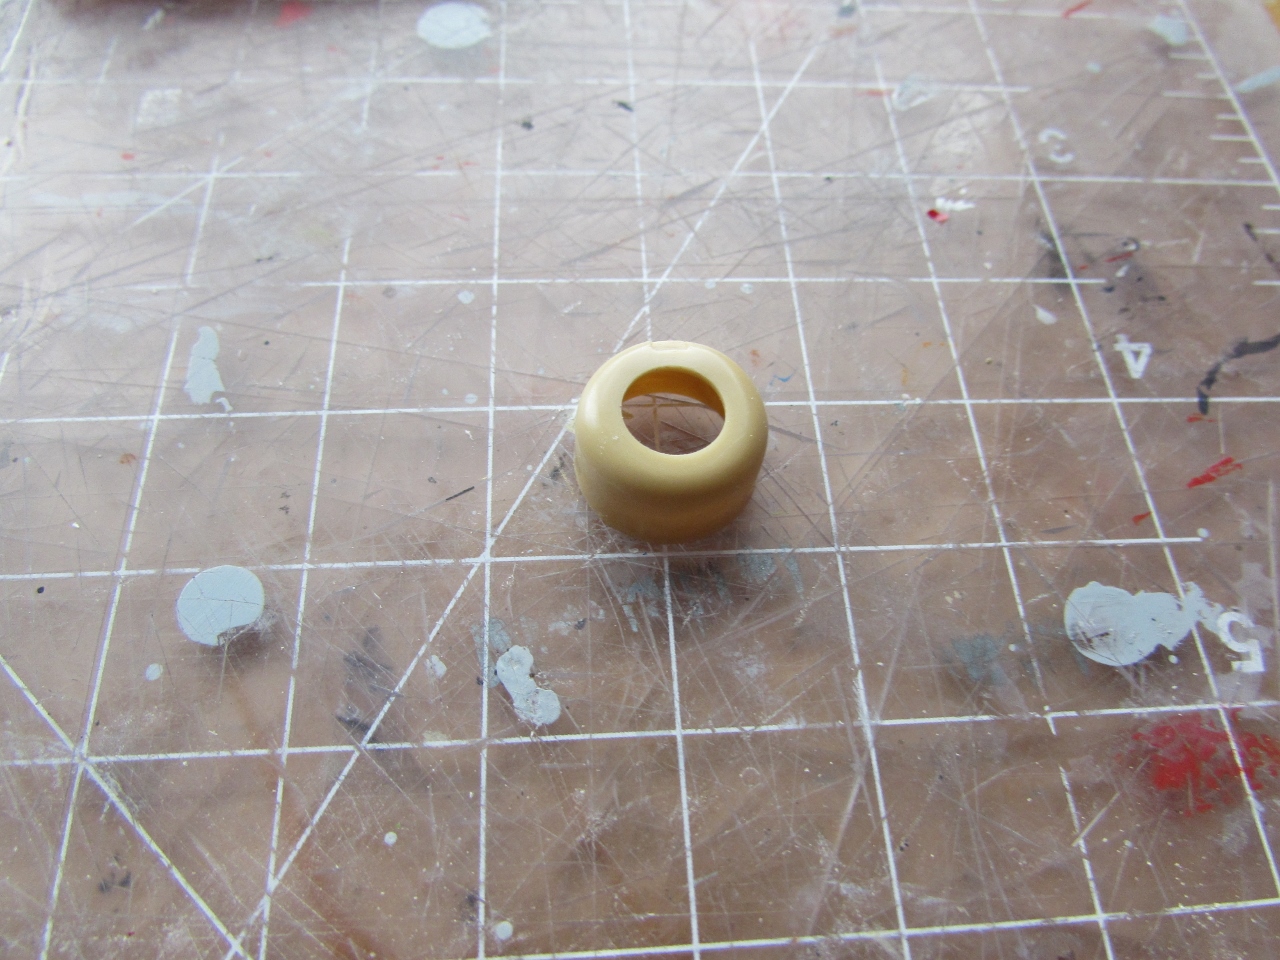
 The kit's prop, with exaggerated hub:
 The carved prop:
 The prop is stained and varnished, and a boss added:
 But if you can't carve a prop, there is another solution, called the Lübeck-Puget engineering approach, that is, lengthy and complicated. Here it is:
Select a suitable diameter metal tube:
 Remove the stem from the back of the prop:
 Working gradually and manually, drill a hole of increasing diameter on the center of the hub. Do n ot use the Dremel, it will melt the plastic. Work very carefully until you reach the same diameter of the tube:


 Cut a section of the metal tube and superglue it as an insert:
 Superglue a plastic rod/tube:
 Very carefully now, once the superglue is set, gradually remove the excess of plastic around the metal tube. Too much force and the blades will brake loose:
 Cut the excess plastic rod and insert a metal pin. You may find a prop boss and glue it on top later on, once the prop is painted.
 The landing gear is modified, some parts are discarded and new ones made:

 The kit's wheels' axle tips are cut off and glued to the wheels, but not letting them protrude excessively as the kit would have it. The back end is cut flush, and two thin styrene circles are punched and glued on. Later a hole will be drilled for the new axle:


 A generic brown is applied to the interior parts, and details will be picked-up later on in their corresponding colors:
 The work continues:

 All in place now:
 The fuselage halves are glued together:
 The lower wing is glued in place:
 The seam is treated with liquid primer to make it smooth, since part of lower wing "Nucoa" decal will be in that center section:
 The pre-assembled landing gear is glued in place:
 The upper seam is also treated:
 Components ready to be primed:
 Tail and wing struts are replaced with metal ones:
 Primer on:
 White is airbrushed in preparation for the yellow and blue scheme:
 The yellow color is applied, later to be masked to apply the blue:
 Blue is airbrushed:
 The parts ready for assembly:
 Layout:
 Top wing glued in place, after adding the windshield and headrest:
 The model is rigged and a few parts and details added, it is now ready for the decals that will come from Mika Jenfors:


 Mika from Arctic Decals sent the requested items, with no little sense of humor as you can see (bottom of sheet, text in black, referring to the brand of the margarine):
 I highly recommend this set to whomever is willing to building the kit with really minor mods. Mika can be contacted using the section at the right with the links (Arctic Decals)
On the other hand, the wheels and wheel axle are quite coarse. The wheels are supposed to be pressed into the axle, a toy-like feature that may benefit from re-working. The wing struts have, where the binding was in the originals, some spurious recessed detail that looks frankly awful (an unnecessary to start with, a mystery why the master maker even bother). All in all a project that may not be time-consuming, and being the cockpit opening very small, not much detail is really needed there either.
The receptacles for the bridged struts are filled, since they are impractical. The "bridge" on the struts will be cut off or new struts made, since the kit's are not really good:


Select a suitable diameter metal tube:


To be continued.....