

(Photo from the Gallica archives, L'Anne Aeronautique 1937-1938)
When the kit arrived, I was pleasantly surprised with the
contents, which include the said decals plus resin and photo-etched parts. The
molds are very nice and with very good detail. More will be told as the build
advances.
As research started I was kindly helped by Paolo Miana, aviation writer and historian of superb quality; to him, my deepest gratitude.
My thanks also to Fabrizio D'Isanto, always kind and helpful.
It is important to note that I-ENEI will require the modification of the nose, to represent the "solid" one, sanding and rounding up the small faceted widows, but other registrations, like I-LUAL, I-META, I-MOTO, I-ORSA, I-LUPA, I-ABMI (and the kit's LN-DAK) can keep the faceted note as comes in the kit, no need to modify. BUT many of them had a shield in front of the engine that regulated the passage of air.
The registers mention many more civil Ca.310, but I did not find photos of most of them.
Kit box:


Most parts are separated from the sprues and given a cursory cleanup:


The fuselage sides interior has nice detail:


Normal plan, small things make bigger to help the modeler:


The raid version I am intending had none of those:

The cockpit of the civil version was simpler compared to the bellicose
version, which is fortunate, since I don't want to spend what remains of
my eyesight dealing with it:

I assume that for those raid flights an extra tank was carried, and possibly a navigator.
In any case I added the aft bulkhead:
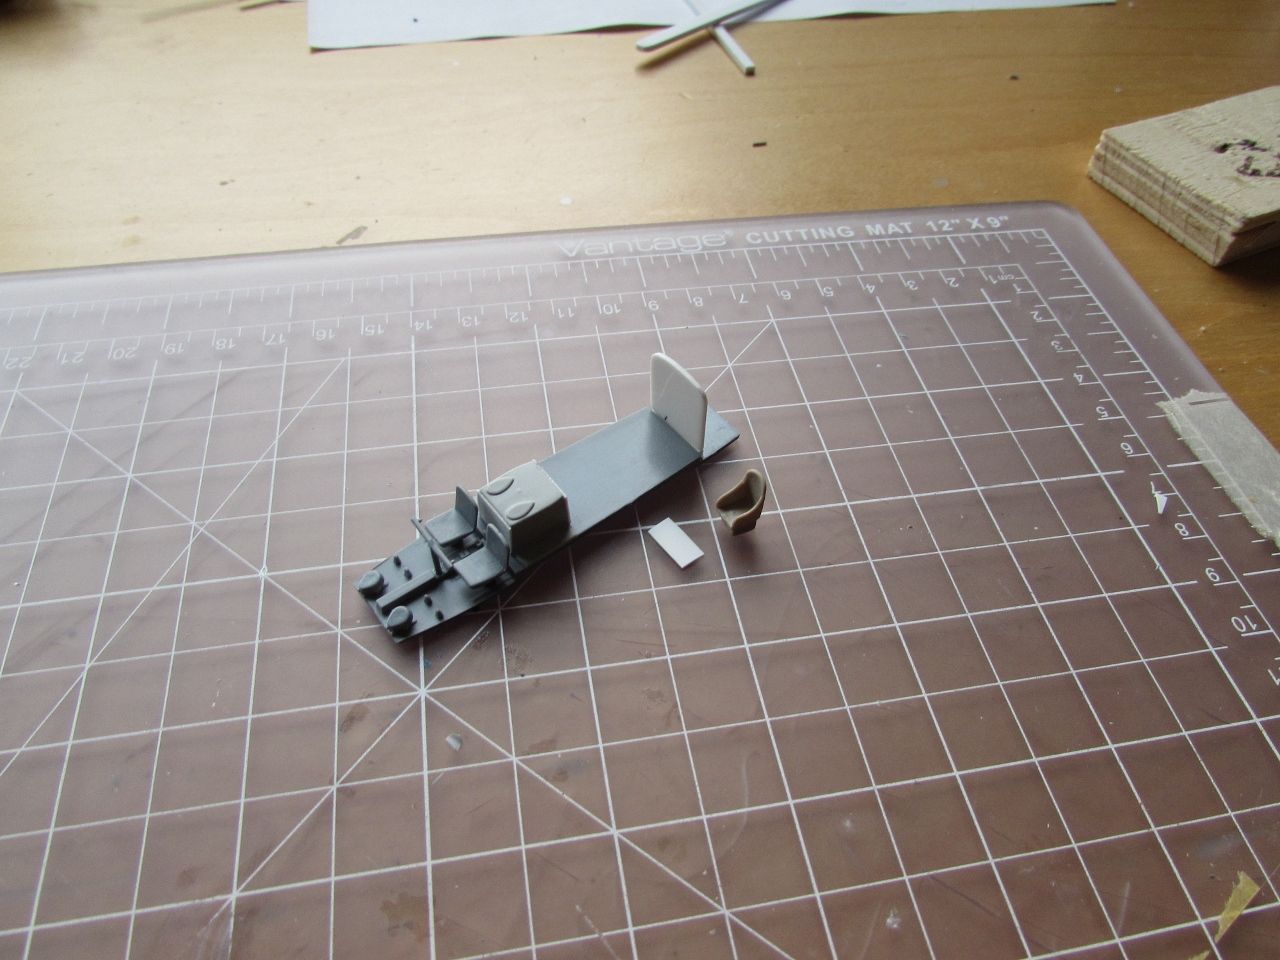
OK, scratch that. I found the necessary information. I-ENEI carried four people for the intended London-Cape town flight, but crashed in route, so out with the fuel tank (the flight was in stages) and in with the additional four seats. A coat of grey is given to the interior:


The civil version -as per photo- had two different types of control wheel. Fortunately, the kit has a circular one for some part of the bellicose version that can be trimmed to exactly match the photo (to the left here):


Tape out and engine cowls assembled:


Beautiful mold, this kit, even in the small details:


Whilst the transparencies are given the acrylic bath, the messiness starts with the putty and the sanding...:

Since I can't commit to painting for a few weeks, details are next. Here the wind-driven generator:


The exhausts are a bit fiddly and took me a time to deal with them properly:


The clear nose surface is sanded smooth, since this version had a metal nose, not a glassed one, and then glued to the fuselage. The nose is sightly smaller than the fuselage, so you may add a former there or sand the fuselage down a bit. The canopy is glued in place. Its fit is near perfect, but needs to be squeezed laterally just a bit. Aftermarket masks have been purchased:

The nose is blended with the fuselage front, masks are applied:

The kit doesn't have or shows provision for the installation of the tailwheel fork. I added a couple pieces to provide support. It puzzles me that some details are so well engineered and others are not.
The tailwheel is a fork with pips for the wheels have, but the tailwheel doesn't have dimples, so I drilled wheel axle for the pips to lock in:

First coat of primer, and taking advantage of the session, black coat on engines and props:

My life is taking too much time away from modeling. Here the Three Stooges as they stand today:

A cylindrical shape -perhaps associated with the prop pitch mechanism-
seen in photos to the side of the crankcase is added:

Some photo-etched parts that go on the landing gear (scissors and mudguard with braces) are glued in place. The mudguards are supposed to have compound curvature. Yeah, Azur, sure, you try that on a rigid PE part.
There are also (of course flat) P.E. counterweights for the three tail control surfaces. They were replaced with fine piano wire inserted into drilled locations. The one on the rudder has a small triangular reinforcement as per photos. A blob of white glue will be added to produce the "weight":

There are also (of course flat) P.E. counterweights for the three tail control surfaces. They were replaced with fine piano wire inserted into drilled locations. The one on the rudder has a small triangular reinforcement as per photos. A blob of white glue will be added to produce the "weight":

It's always good to check photos of the original...where you may find out that the landing gear legs had no scissors, so those were removed:


 After masking the areas mentioned before, red is applied. In turn some of it will be masked and more aluminum color sprayed. As explained, this was done in three stages to facilitate masking, which would have been too complicated otherwise:

 I accidentally dropped the model (we are remodeling, someone made a big noise) on the floor.
One of the mudguards fell off never to be found again:
 Since those photo-etched mudguards were flat, I took the opportunity to mold more accurate vacuum-formed ones on some spare wheels:

 They are partially shaped while still attached to the backing sheet to facilitate the task:

 They are trimmed to size:
 And glued on. I also discovered while looking at photos that the mudguards in this case did not have the reinforcement little bars:
 Further masking and third stage of painting will follow:

After some head-scratching it was obvious that the simple approach of airbrushing a color, masking, and applying the other color, won't work. It will have to be a 3-stage endeavor. First the fuselage side trim, karmans and tailwheel area need to be painted and masked:


One of the mudguards fell off never to be found again:


I managed -in the middle of the general dismantling and schizophrenic run-arounds- to apply the third coat of paint.
The masks are taken off revealing the complex scheme (look at the pile of individual masks in the last photo).
Since my usual setting is disassembled, this is nigh-time and chaos reigns, the photos are so-so, but give an idea of the nice scheme:


And they are spectacular!
They even include the "metal" frames for the door and window:


To be continued.....