(For the completed model, please go here:
https://wingsofintent.blogspot.com/2020/07/noorduyn-norseman-forest-service-revell.html
It all started when I realized that I needed a pair of
floats for a De Havilland D.H.89 Dragon Rapide project.
Since there are no aftermarket EDO
floats for it, I acquired an old Noorduyn Norseman. The floats in the kit are
not accurate, but can be improved upon.
But the boxing came with floats, skis, and wheels, so no
harm was done requisitioning those floats. And besides the design sort of grew
on me.
A quick search rendered a few attractive subjects, from
which I chose one plane used by the US Forest Service. I think that is a good
cause for any plane, to take care of nature, instead of obliterate it.
Photo from Bill Larkins Flickr photostream:
This is, as many of you know, and old mold, originally a
Matchbox release, and then squeezed a bit more by Revell, which is my boxing.
It is not a bad kit, but the flying surfaces suffer from Ribitis, that is, the
inflammation of the ribs, in all flying surfaces.
The parts were carried to the doctor, who happened to be
Sanding Sponge Bob Doctor, that gave the patient a firm and repeated scrub
under water, until the inflammation disappeared, leaving a more acceptable
skin.
So, without intention or premeditation, I found myself in
the process of building a chubby Noorduyn Norseman.
Other than show what I am doing, I won't abound on
information since this kit has been with us since Victorian times. It is so
old, that Revell actually blotted the original brand an date engraved on the
molds.
To the right and in the foreground, the original accordion wings, to the left and background, the sanding has already started:
There is a difference:
All surfaces follow the same treatment:
The floats that come with the kit (that I snatched and will be using somewhere else) are not accurate, and need re-working:
All flying surfaces sanded down, all parts cleaned up and ready for assembly:
The detail on the fuselage is nice. Pity I don't know what was inn the interior of the Forest Service plane, so I can't open the door and hatches as I often do:
The now blotted original branding:
And now the flying surfaces are more like photos of the original plane:
Whatever parts come in halves are glued together, and the seams tidied-up even if they are not pertinent to the specific subject modeled. The smaller parts had an awful fit, being the locating devices out of wack or too big in the case of the pips:
The floats work for the other build continues:
My subject had lights on the wings, thus they are drilled and home-made lenses are provided:
Comparing photos of my subject with the kit, the most evident detail that has to go are those additional hatches. There are deleted:
Airscoop hollowed:
Correction of details,continues, checking against photos of intended plane:
Details are added:
Rigging holes for the tail feathers:
The kit's top window is occluded, and the new position, a bit back, is marked in pencil.
I did not cut it yet, since I can't corroborate my subject had it, I keep looking:
Meanwhile the medium hinge line in the back door (only in one side) is filled:
The modified kit floats for that other project -and the culprits of me starting this kit- are almost ready:
The locations of that looks like steps in photos are drilled:
An Engine & Things resin engine will substitute the kit's:
The kit's prop is a... try, but falls short of reality, having the counterweights as vertical pips for demolding reasons and a starving boss:
So I made another crossing alu tube and resin prop blades donated by Lars Opland of Khee-Kha vac kits fame:
Here the little nut on the axle:
Counterweights:
And the securing bolts, that once the superglue is set will be trimmed back to size:
I decided to remove one of the aft doors.
This of course means the I will have to develop some interior, concocting what a Forest Service plane may have had.
One photo of these planes shows what it looks like a spray bar, another a tray on the belly with many channels in its back edge, possible for seeding, or to deliver spotted dicks to the crews on the ground.
I am a bit puzzled as to how the door was held once opened, and although some photos show long hinged bars, others show not trace of this device:
(Photo from Alberta Aviation Museum)
https://www.albertaaviationmuseum.com/otw_pm_portfolio/noorduyn-norseman-iv/
Fully opened it looks something like this:
The remarkable thickness of the Norseman fuselage is apparent in photos.
Some door treatment is necessary to lend credibility (also to the fuselage walls in the opening). Capping and boxing to hide the gaps will be also required.
Let's see... what would a Forest Service plane carry in the cabin...
May be an Argentinian plane would carry this:
A pirate's treasure chest?:
Post office mailboxes?
Since they sometimes have to fight wildfires, a fire hydrant may come useful:
Marine Wildlife! Hum, may be not for a forest, unless it's a kelp
forest, but planes will not do well in such environment. Sort of damp
down there.
And in any case, the current administration is cancelling protection
and funding for wildlife care, and to National Parks, and to the
environment protection in general. We are doomed!
I now: nothing like an Alpine Yodeling-Accompanying Band to cheer us up!
Just a bit of structure will be added:
The new engine and prop are given a base color coat:
Styrene strips are glued inside the door:
Then sanded flat:
The liner is glued:
To give the impression of the same thickness on the fuselage walls, ribs are shaped and glued...
...thus producing the required illusion:
In general, we have to thin the plastic for our openings in models, this is the opposite case!
A substitute is made for that tailwheel holder:
US Forest Service planes had a faring protecting the tailwheel. You may think of it as a fat ventral fin located immediately before the tailwheel, since these planes often delivered as explained above liquids, or seeds, and other stuff that may have harmed it.
The first coats of diverse colors are applied:
A bit more painting ensues:
"Wood" decals are applied to the brown areas:
Using a very nice Arctic Decals Hamilton Standard prop set, the logos are added to the prop:
The transparencies are ok, clear,but still produce quite a distortion. They are bathed in acrylic polish:
Interior in progress:
The clear parts are already glued on the fuselage sides; cabin almost done, lacking only the cargo packages* that are delayed by the sore state of the mail services.
*Packages consist of Eddie Izzard's DVDs, several samples of Monty Python's Big Red Book, Sasquatch fodder (organic, consisting mostly of dehydrated and powdered right wing politicians), Didgeridoos, Tour D'Argent and French Laundry food rations for the crew, Gin & Tonic making kit, Toilets and bidets, Lao Tzu's Tao Te Ching, Stock-books for stamp collectors, Tea sandwiches, Silver spoons, crocheted teapot covers, stuffed alligators (to scare any potentially aggressive wildlife), Cricket bats, bats (for Halloween decoration), Watercoloring supplies, Paint-by-numbers booklets, Telephone guide, Martini olives, The ghost of christmas past, Anti-flatulence pills for Martians.
And we have a fuselage:
Masking transparencies:
Main legs and tailwheel hook in place:
Home-made tailwheel fairing as per photos of intended subject and smaller legs in place.
This modular approach has to do with the wheels/skis/floats capabilities:
The fuselage is going through its spot fixing, since there a few sinkholes and seams that need care:
The first coat of primer revealing as usual that a bit more wok is needed:
The areas that receive the control surfaces are slotted. I real pleasure.
May be current manufacturers could learn a trick or two from these decades/old molds.
I rather build this kit, even with it-s shortcomings (rib detail, for example) than contemporary kits that leave a lot be desired:
The wings and tail are assembled. The tail parts will be glued in place to be colored as a whole, but I think the wings, that are painted in the same color, will be left apart until later to facilitate airbrushing and avoid too much masking:
The tail feathers are on.
I am playing with the aspersion system seen in photos:
This year the Monarchs are very late and extremely low in numbers. This is consistent with reports from other many places in California. Last year they were decimated by an unusually high attrition level caused by the parasitic tachinid fly.
The Norseman had sheeted leading edges, this is incorporated on the wings. Some detail is also added:
There were scissor actuators, and the tanks had some detail too which will be added later on:
Gloss white is applied to all parts in preparation for the final colors:
Some color is on:
The next colors are applied now to the fuselage:
The wings are given their landing lights, their navigation lights, the very small masts at the tip that will anchor the antenna wire, the flap scissors, and the pips that come from the fuel tanks. Once in place the Pitot will be added to the left wing:
Masks are off. Engine, cowl and main wheels are in position:
Tailwheel, tail rigging, nose climbing steps, exhaust are added:
Now we shall wait for the decals, the addition of the last bits, and the Grand Finale after that:
New Pitot made of tube and wire:
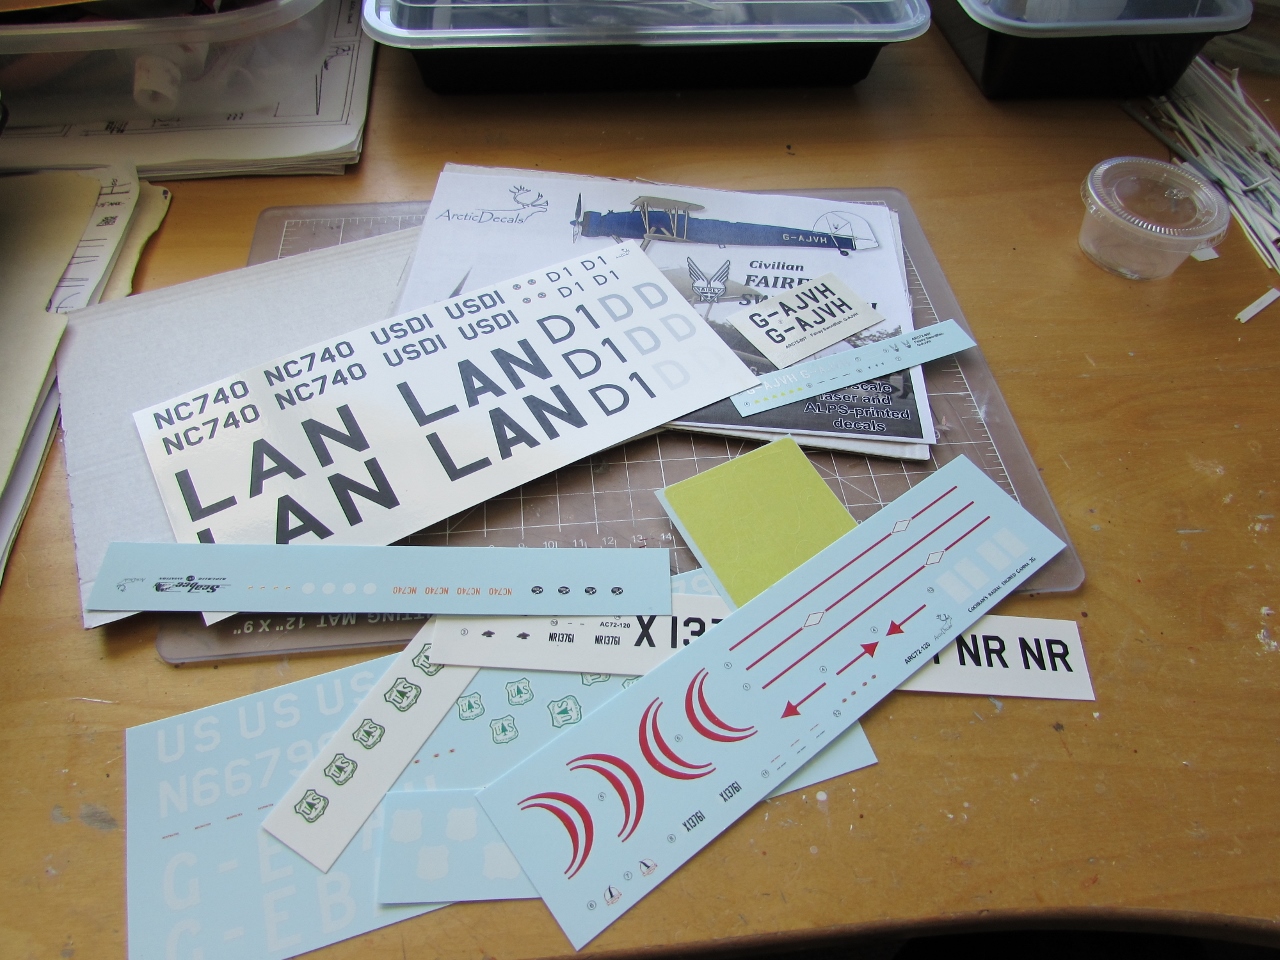
Yeepee! the other envelope with decals arrived!
The world post offices have proved Eisenstein theory of relativity!
The envelope send 75 days ago arrived almost at the same time as the one sent about two weeks ago!
Nobel price for the Post Offices!
A future project:
Now I will be able to complete several projects!
Application of the decals, antennae, and last bits is in progress:
To be continued....