
http://wingsofintent.blogspot.com/2014/05/scratchbuilt-172-junkers-k-16-airliner.html
How can you not be touched by the old photographs of these chubby, lumbering, stumpy monoplanes making their way through grass airstrips. Interestingly enough, the metal, corrugated skin monoplane formula that this plane embodied was being advanced since early in aviation times by Hugo Junkers, a brilliant man that is more often (and more unfortunately) associated with WWII, obscuring the fact that he despised and rejected the nazis, who ousted him from his own company in the 30s.
The basic design configuration of the K-16 (1921) -a
two-passenger plane- is a bit reminiscent of the Focke Wulk A16 that I modeled
a time ago and you can see it here:
The FW A16 flew later on (1924) although with three/four
passengers.
Also following the same formula is the Russian Tupolev
Ant-2, of 1924 (two passengers) that was one of my firsts scratchbuilds long
time ago:
Again -as in many other occasions- my gratitude goes to fellow
modelers -among them Matias Hagen and Sönke Schulz- for their help with this
project.
The basic material of this build is "corrugated"
styrene sheet, and although close examination reveals that the corrugations do
not exactly follow reality, they are close enough for 1/72 and convey the
proper effect efficiently.
The usual "kit" is made. Thanks to Matias for that lovely engine:


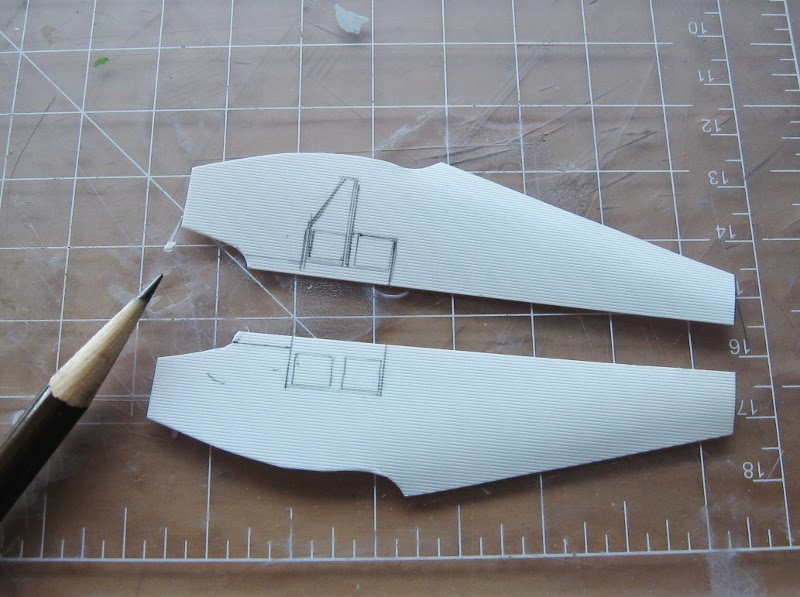


This is why some sections had to be removed, to make room for the windows and add flat panel areas present in the plane:

The cockpit + cabin "frame" is glued in place:
 Now a bit of attention to the flying surfaces:
 The tail surfaces are slightly curved and sanded at the leading and trailing edges:
 Spars are glued where the separation line is:
 Spars and end ribs are glued and trailing edges thinned-down:
 To accelerate drying times and prevent distortion due to glue fumes vent holes are practiced:
 The interior is painted:
 The control surfaces are cut from the horizontal and vertical stabilizers, to pose them later at a slight angle:
 Found a white metal spade joystick, and made the pedals and instrument panel:
 Worked out an instrument panel on wood:
 But then I realized that Junkers used metal ones. Since I have no photographs of the cockpit (and only schematics for the cabin) this is of course an educated guess:
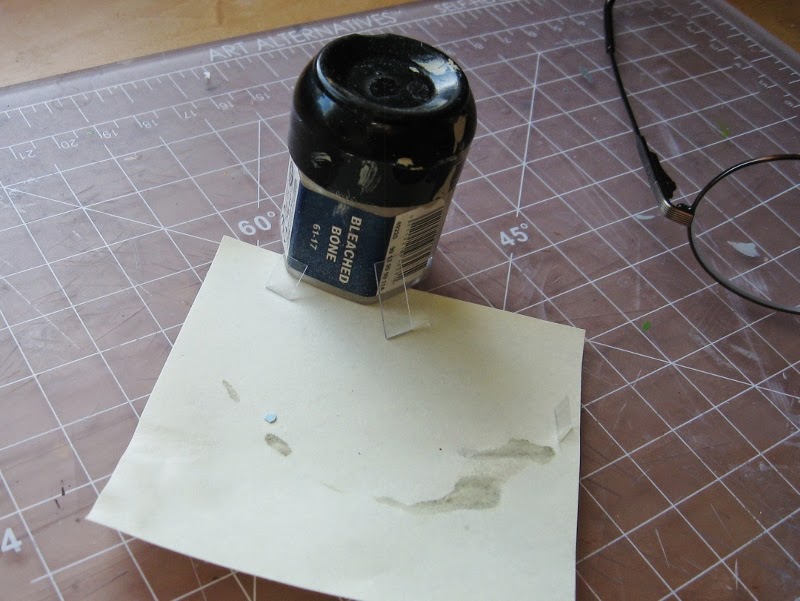
 The transparencies are cut and given a bath in Future:
 Wings in their basic form:
 Tip cut off :
 New plastic block in place later to be contoured:
 Almost done:
 The interior in place minus inst. panel:
 Clear bits are glued:
 Also to the door (watch out because some machines had non-corrugated doors):
 The three wing panels are glued, the Contrail airfoiled rods are prepared to make from them the landing gear legs:
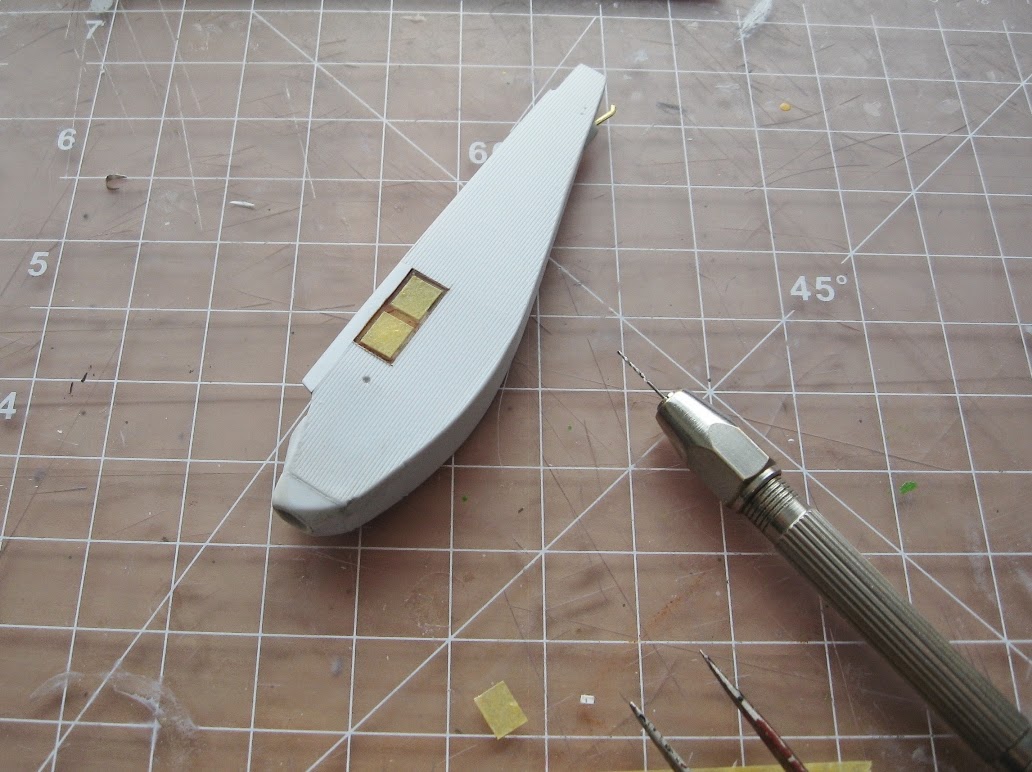
 The frames for the windows are in place and the wrap-around sleeve section is starting to be glued to the landing gear legs:
 Wing with the reinforcement strips, fuselage halves glued, LG legs with sleeves:
 The floor is glued and the roof section that covers the cabin is painted. Legs continue to be prepared:
 Idea of the proportions:
 The legs are completed, the instrument panel is about to go in:
 Top fuselage cover in position:
 Getting there:
 Tailskid and fairing in place:
 Fuselage front; the section between the engine and firewall still needs to be added:
 The nose/engine interface almost completed:
 interface ready:
 Metal control horns in place and control cable locations drilled:
 Windows masked:
 Fuel lines are added, and the positions of landing gear legs, handles and steps are drilled:
 Testing the flying surfaces:
 A view of the ongoing projects in parallel with the K-16, the Potez 62.1 airliner and the Goodyear Supercorsair racer:
 Painting begins, applying gloss black on the LG legs and as a base for the Alclad paint on the fuselage. The tail surfaces have been set apart, and will later be painted red together with a motif on the nose, after the aluminum color is airbrushed and masked:
 The metallic paint is airbrushed:
 After masking the red color is applied:
 Wing bands are painted:
 Tail is attached:
 Legs are given locating pegs:
 Ancillary parts are readied, some decals in place:
 More decals are applied, and the landing gear is secured in place and painted. You can see other parts ready to be added, but this is not yet over. The door has to be attached, and some "handles" that the plane had on the wing tips and fuselage (five of them), plus the multiple-part windshield that was especially provided for this machine as it was entered in the 1925 Rundflug:
 The first part of the windshield is in place, the part that connects the top of it with the wing -made to size- is having the customary application of future:
