
http://wingsofintent.blogspot.com/2017/07/modified-northrop-gamma-experimental.html
There is no such thing as too many Gammas.
I know, I just finished the Conqueror Gamma that Jackie Cochrane commissioned:
http://wingsofintent.blogspot.com/2017/05/conqueror-gamma-conversion-completed.html
But, since I had another kit...

During the 30s nobody knew with certainty what would happen
to passengers, crew and pilots flying for hours around and above the 33,000
feet height mark (that's about 10.000 meters, you normal people).
May be you would be overcome by the irresistible desire of leaving
Birmingham, Alabama, to go to Florida, or you could feel compelled to put a
beer bar, or suffer the compulsion of buying dinghies, or the overwhelming
desire to ride bicycles in the snow in Canada.
The advantages were obvious: to fly above most of the
weather and turbulence, at higher speeds (less air density = less drag) with higher fuel economy and less stress on the airframe. Not to mention to be closer to the angels.
Pilot Tommy Tomlinson made a number of flights in a
specially modified Northrop Gamma.
You can read a detailed and illustrated article by Edward M.
Young in The Aviation Historian
(issue 12 2015) that also covers flights in other machines.
This sort of weather plane can be made modifying the
venerable (although a bit vetust) 1/72 Northrop Gamma kit from Williams Bros.
The origin of mine is very satisfying: it came as a surprise
birthday gift from Andrew Nickeas of Fogland.
It has raised panel lines (I engraved them) but can be built into a very
decent replica, especially if you add detail and accomplish a neat painting and
decaling job.
With a little bit of ingenuity, research and work, you can
squeeze so many different versions with beautiful liveries of this kit that you
will be surprised. Some require minor touches and self-made or commissioned
decals, some require surgery and scratchbuilding impetus, like the versions
with inline engine. You can have the model representing real planes on skis,
floats or wheels, even in registrations from another countries. The kit itself
provides from the start several versions, but you can add a long (and very
appealing) list. I will leave to others to make a detailed list, since I am not
so much of the chatty-chatty but more of the buildy-buildy type.
Among the Gammas -all beautiful no doubt- perhaps the most
stylized are the 2G and 2D variants. To the latter belongs the
"Experimental Overweather Laboratory" flown by TWA to study
flight at high altitudes, pioneering and heralding the era of the now customary
33,000+ region for everyday passenger flights. Flying "over the
weather" was the goal then. Needless to say, it required superchargers
(for the piston engines), pressurization and control of temperature and
breathable air mix (due to the low level of oxygen at that height).
Before its high-flying career, the TWA machine NR/NX13758 was
doing the mail route and flew regularly with the airline, together with Gammas 13757
and 13759, all D models.
In 1936 modifications were introduced for high ceiling: a
turbocharger, a new engine, and a set of instruments for the observer/engineer
inside the fuselage ahead of the pilot.
The 2D is a variant that unfortunately can't just be shaken off
from the old William Bros mold, and the modification will take some little effort.
As with the Conqueror Gamma I posted before, modifications
are surely needed, none of which is really beyond the skills of a modeler that can
call her/himself such.
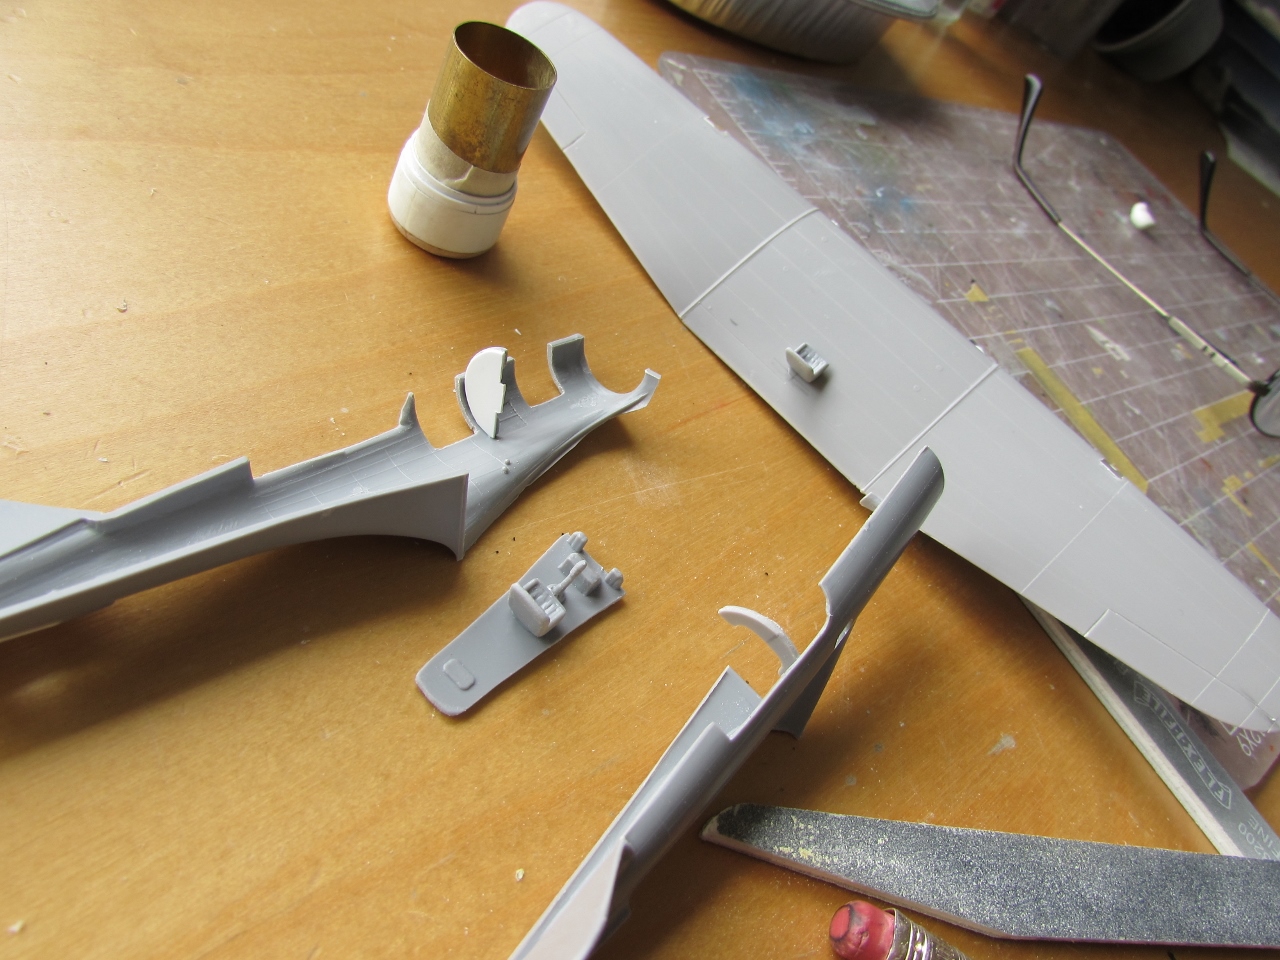
Modifications include:
Wing: engraving
of ailerons, modification of three aileron ribs, drilling new landing lights
under the wing. Deletion of kit's landing lights and conduit under central
panel. Addition of two conduits running parallel in place of former. Panel lines
engraving if desired.
Fuselage:
re-location of cockpit, blanking of old positions. Re-shaping and re-location of
cockpit floor. New turtledeck. New canopy. Loop antenna (only for the later livery, with bands on vertical tail). Hatches and interior
if desired. Conduit on the right upper fuselage. Antenna wire under the
fuselage.
Fin/rudder:
changing of hinge line to balanced variant.
Nose/ Cowl:
adaptation/replacement of kit's parts to match photos. As it is in the kit, the cowl is too
small for this version. Many variations can be observed in shape, decoration and details related
to turbocharger and exhaust.
Decals: William
Brothers produces now a decal sheet that includes this variant (and many
others), but not for all the decorations of the TWA/Weather Laboratory during
its life, so pay attention to your references and over all, trust only photos. The
William Bros set has some hiccups, and may be questionable regarding the color
choice of some lettering (Experimental Overweather Laboratory is very likely
black, not red, as easily deduced comparing it to the adjacent TWA logo on the
fuselage). Decals come as NC, but do not have the NR visible on most photos on
the real plane with the Experimental Overweather Laboratory lettering; the
"R" can not be chopped from another reg. on the sheet, for the wing, since it is outlined in green, and not in black. Neither for the rudder, where you will have to look for another solution. "Air
Express" comes in black, when it was actually red. The little TWA round logo is missing, it goes on the cowl on both, left and right side. The are is a small lettering -also missing on the decal sheet- the reads "U.S. Mail AM2".
Nevertheless, it is a good set, and I encourage you to get
it, since it is useful for other liveries.
Beware that there were mainly two liveries in which the "laboratory" flew, one has the three words "Experimental Overweather Laboratory" on top of each other, while the other has "Overweather Experimental Laboratory", one word after the other, and as you can see the first two words were transposed. Arctic Decals is producing a complementary/corrective set as I write this.
Beware that there were mainly two liveries in which the "laboratory" flew, one has the three words "Experimental Overweather Laboratory" on top of each other, while the other has "Overweather Experimental Laboratory", one word after the other, and as you can see the first two words were transposed. Arctic Decals is producing a complementary/corrective set as I write this.
Propeller: the
plane flew with two and three-blade props, the latter, a Curtiss, with and without spinner.
Once more, study the photos so you don't end up combining features of the plane
at different stages of its life.
At it:
Erase the conduit underneath the central panel, not accurate for this version:
At it:
Erase the conduit underneath the central panel, not accurate for this version:


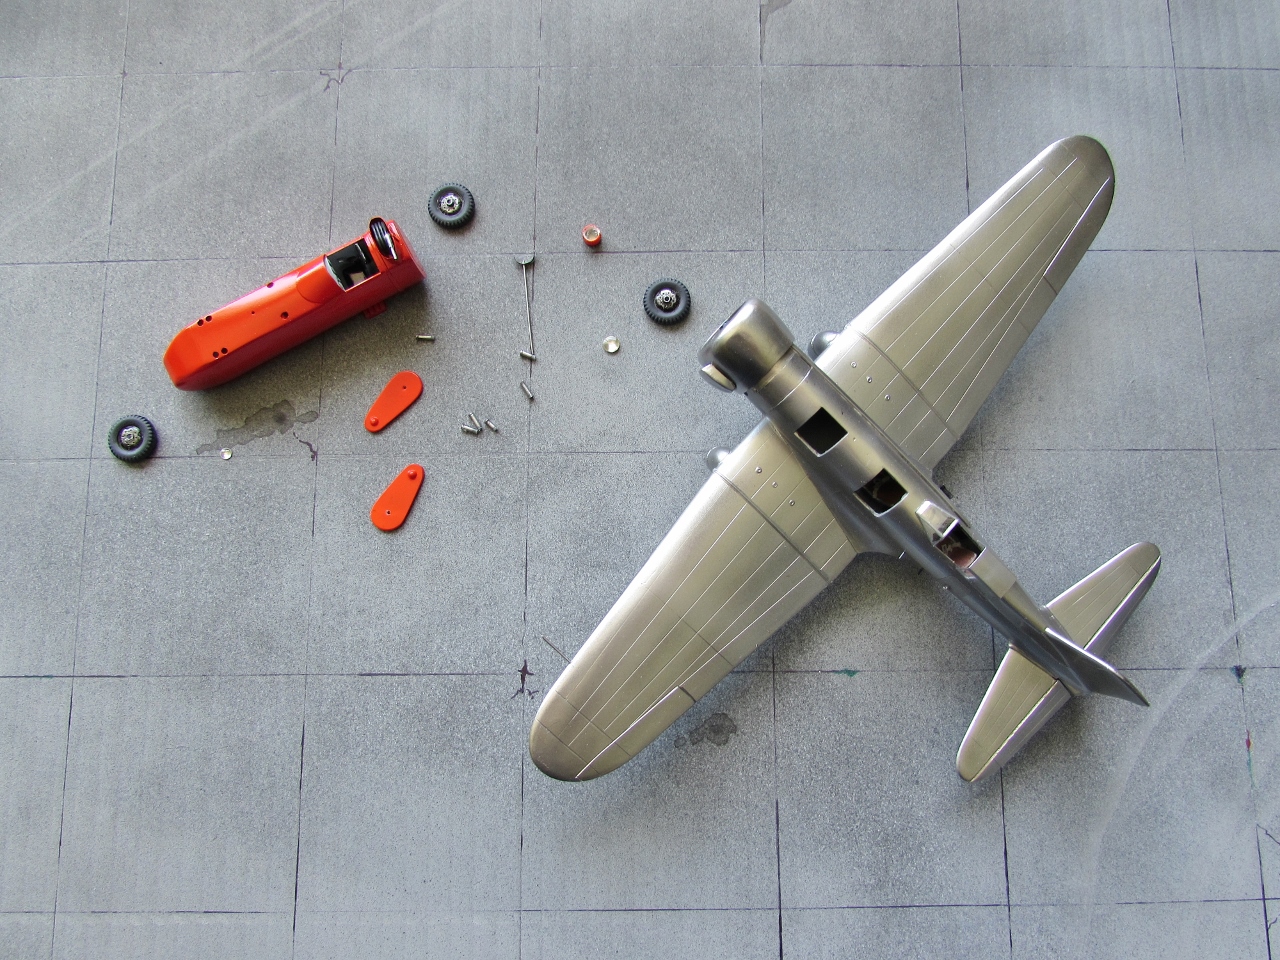
That's not a problem, and parts are cleaned up quickly:


To be continued.....