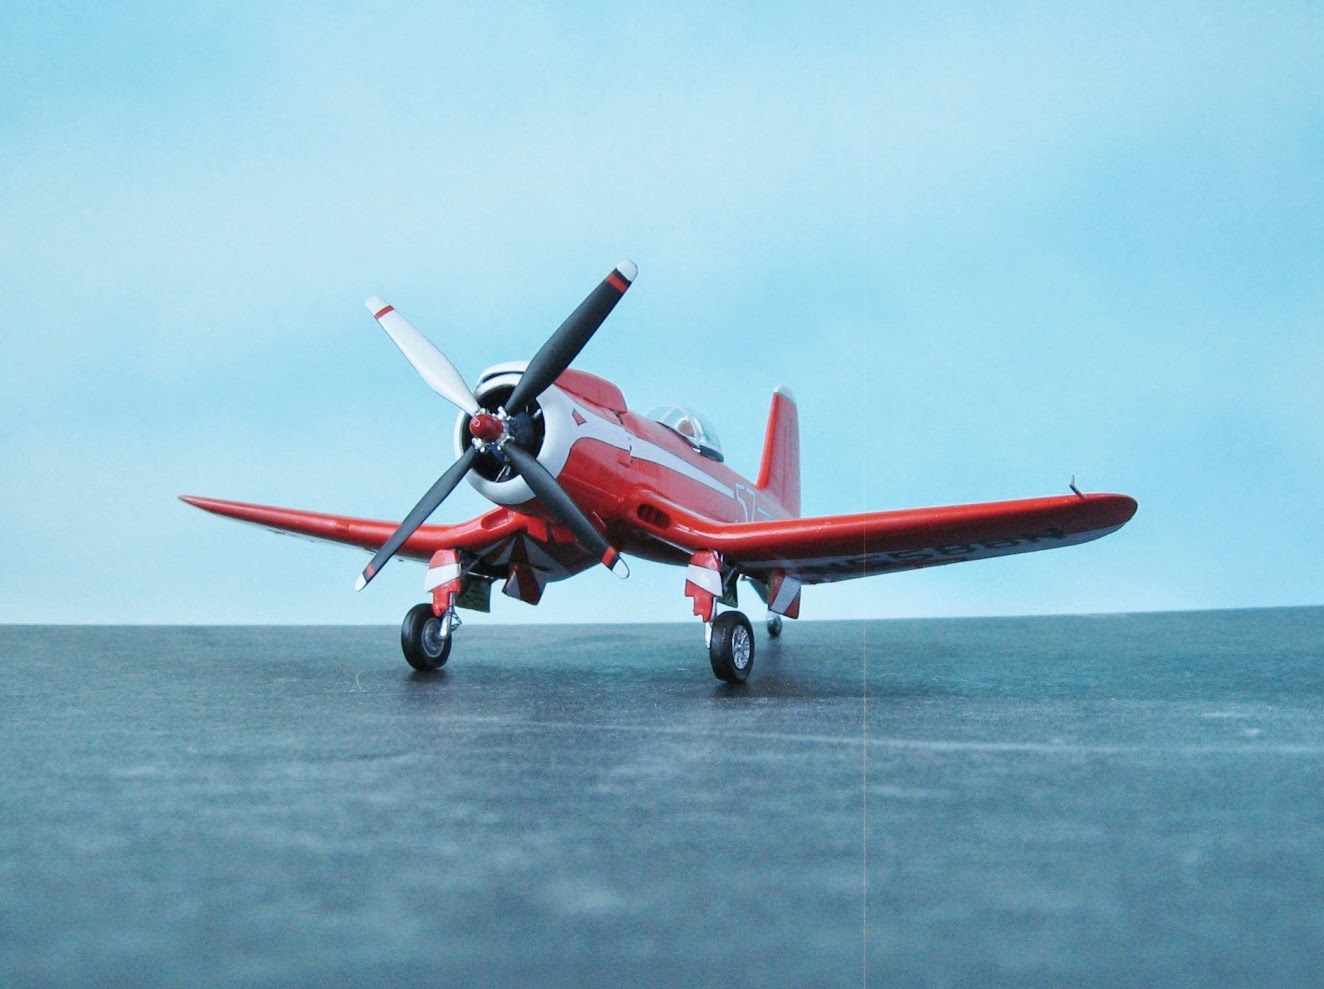
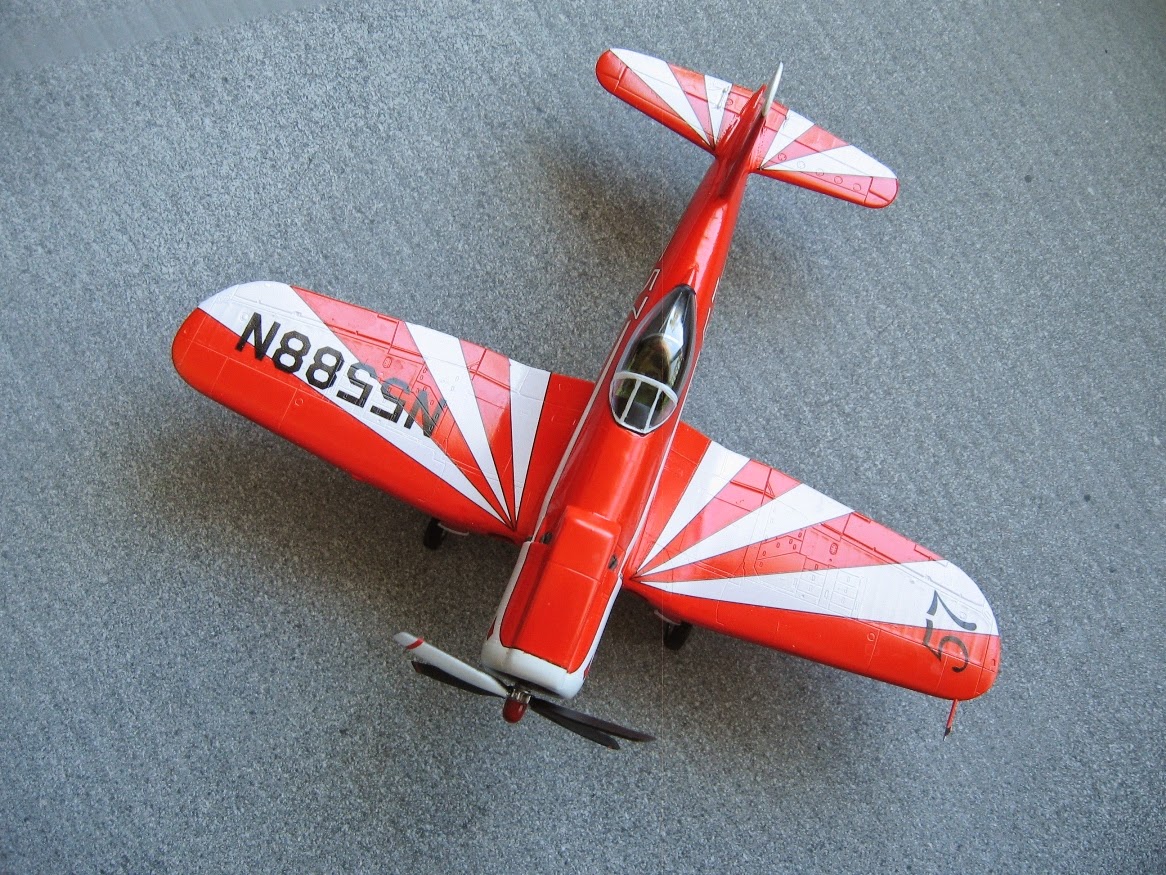
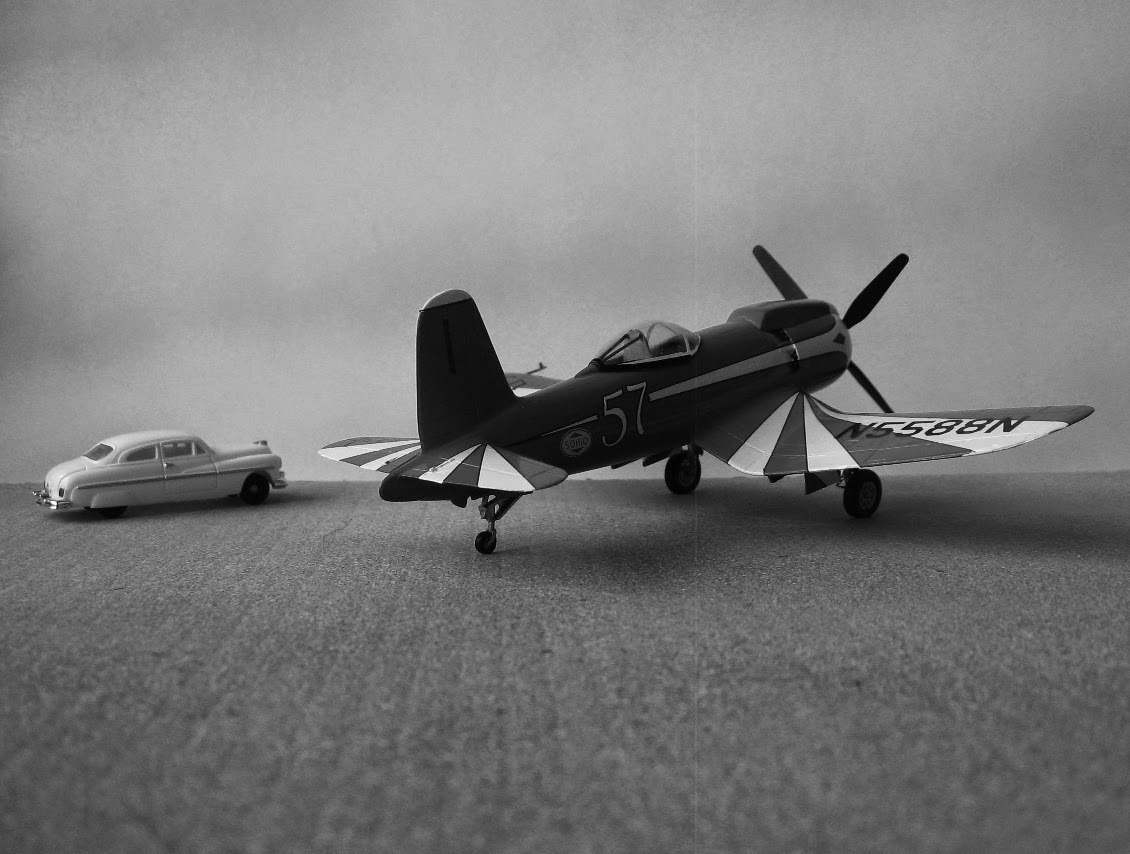
(This is the building article, the completed model is here:)
http://wingsofintent.blogspot.com/2014/05/scratchbuilt-172-loening-special_23.html
Inspired by the reading of The Pulitzer Air Races* by Michael Gough (a very thorough, intelligent book packed with information) I started this project, depicting the specially modified Loening M-81 that participated in that race.
(*I'll -hopefully- be able to review it in the next issue of Skyways Magazine)
Racers (like the many ones I built in the past) have a special appeal, even if -as in this case- are converted existing airframes. For racing purposes the standard Loening monoplane got new wings of less span and chord and different planform, plus a refined elevator and other details.
It did not fare particularly well (you may read its story in the book) but had the merit of being a monoplane -in a biplane supremacy time- with adjustable stab incidence and bear a squatty stance that had its charm. The wings were separated from the fuselage by a very small gap, and it had no dihedral whatsoever.
I was aware of the existence of the an old kit by 12 squared (O.O.P. now), a nice model but with some minor accuracy issues, and the Pro-resin release of the "normal" versions, but I decided to go scratch when I found a nice plan and specs at the Dec 20th 1920 issue of Aerial Age Weekly.
The procedures, materials and techniques are the ones I have been describing and portraying here often, so the building report will be summarized.
I carved the wood propeller and used a Hispano Suiza white metal aftermarket engine -plus wheels and seat- (thanks, Armando Gil!) and the customary styrene sheets and rods. Home made decals were designed and printed as well.
Already the flying surfaces have been engraved, structured and closed; other components lay around:
Closed fuselage:
Tail feathers in place:
The landing gear is tried and the wing halves are given guiding tubes and rods:
The wing structure:
The fuselage midway:
As you already saw I carved a wood prop. Here is how do you scratch a laminated, multicolored prop:
Cut blanks from very thin plywood (about 0.5 mm):
Glue the blanks together with cyano glue:
Drill the center hole at this point, and then carve the shape:
Start to sand in order to get thin tips, a little above, a little below, converging at the tips:
Side view for clarity:
And then little by little carve the prop's "angle" or "twist", coarse pitch close to the hub, almost none at the tips:
The laminates will start to show nicely:
You can use a photoetched boss:
I use spray can clear enamel to varnish the prop:
A general view of the components:
The nose piece is carved from wood, later to be primed:
Dry test in situ, now the part needs to be primed and a radiator grille fashioned:
Decals are printed. The tail flash will need a white decal in the middle (the decal paper is transparent):
Instrument panel:
The seat is readied and the cheeks on the front fuselage are in place:
But what if an earlier type prop has to be carved, you ask yourself? (well, may be not, but here it is anyway):
Earlier props have a different planform, somewhat banana-curved:
In this case, you start to sand the tips downwards, ONLY:
So the bottom of the prop is still flat, while the top comes to meet it:
This generates a different visual pattern on the surface:
front
back
Mostly ready. Only fine sanding, varnishing and an etched prop boss need to be added:
The build proceeds.
Nose with radiator face:
The nose is glued in place, some putty applied. All cockpit parts are already glued. Since the Loening had external control cables (for a racer, arghh!) the control horns for the cockpit outlets are made to be later installed in the pin you can see protruding on the side, that connects with the joystick:
The engine is given longer exhausts:
Expansion chamber tubes located in the racer on top of the cylinder banks are fashioned from household copper electrical wire:
The thinguies on top are added:
Painting begins:
The strange continuous-width fuselage:
At this point a modeler may feel induced to think that the goal is near, and be lulled into a premature sense of achievement. But the completion, although near, is not quite yet reached. Still to go: attaching the wings to the fuselage, addition of two struts per wing, the tail struts, the external control horns, clear windows, rigging of control cables (all external), and mounting of the engine, ancillaries and prop. As Master Po used to say: "Little Grasshopper, there are no easy models":
The side windows are put in place:
The wings are added:
Rigging of the elevator:
Rigging of the rudder:
Rigging of the ailerons: