Not long ago I scratchbuilt two Arup flying wings, the S-2 and the S-4:
The S-4 is presented in that previous model on its original colors as it
appeared on Popular Aviation during 1935, the year of the S-4 debut. Later on,
the plane was repainted on a Sears-Roebuck livery, as seen in one photo (the
only one I was able to find) with many publicity inscriptions on it. As usual,
very long hours were devoted to research, not all of them in vain.
The plan featured in Popular Aviation is not really accurate, and
comparison with photos of the plane show a number of things to correct, as
usual.
So here I present you with yet another iteration of the Arup family, with its
surprising shape.
This cute little thing in the shape of an Argentinean
empanada (turnover) would no doubt be an unusual sight in any model collection. And more than one fellow modeler will be surprised when you tell them that the Arup wings flew extremely well. That the type did not prosper beyond a plethora of newspaper articles must be attributed to mankind's known disregard for wonderful things, especially when they are unusual.
Construction start with parts' preparation. The tail surfaces were in the original flat jobs, just tube and covering, no airfoil:
A leading edge and two ribs are glued to the lower wing surface:
It is with great satisfaction that I converted a bomb into a more peaceful and useful spinner. Some of the fuselage parts are glued together. The interlocking of the tail surfaces is tested:
A line was scored, a hole was drilled, and then the tip was separated:
Another leftover part fortunately fitted the bill for the engine cover, and so did a prop from the spares bin:
The fuselage assembly continues:
Starting to look like that there might be a model somewhere there:
More work on the nose, and construction of several cockpit elements:
The wing surfaces are cut out to allow for the fuselage body to be inserted:
The upper and lower halves of the wing are glued together. The partial door is cut out from the fuselage (the remaining of the door opening is on the lower surface of wing itself as seen in the photo above) and the door is given its stirrup:
Wing ready:
Dry fit test. The S-4 had some small amount of dihedral, the S-2 did not:
The interior parts are painted:
Once the cockpit parts have been added, the dorsal, ribbed cover of the fuselage is prepared and glued. The fuselage pod is then glued to the wing. The Ailerons are engraved:
Little gaps are filled with Milliput. The anchoring points for the landing gear are drilled:
The diverse surfaces that make for the panels of the fuselage nose and roof are patterned, cut, glued and refined. Also visible in this image the airfoiled plastic stock for the landing gear members (9 of them, three for each wheel):
Some components for the landing gear are fashioned:
General view again. The fin/rudder in position. The engine has been given an exhaust ring and a black wash. The model is ready to be primed:
Primer is airbrushed:
The model and ancillary parts are airbrushed:
Ready for the addition of the remaining bits (stab, stab rigging, nose elements, access door, wheels and windshield and windows. Ready for decaling:
The stab is in place, some of the window panes are patterned, cut and glued:
The windshield panes are in place:
Glass area is completed, engine, engine shield, prop, spinner and access door are glued in place:
Only tail rigging and decals are to be added:
The tail rigging is added:
The spectacular decals I commissioned from Mika Jernfors of Arctic Decals
www.arcticdecals.com
arrived, as usual of the highest quality and well protected!:
Application begins:
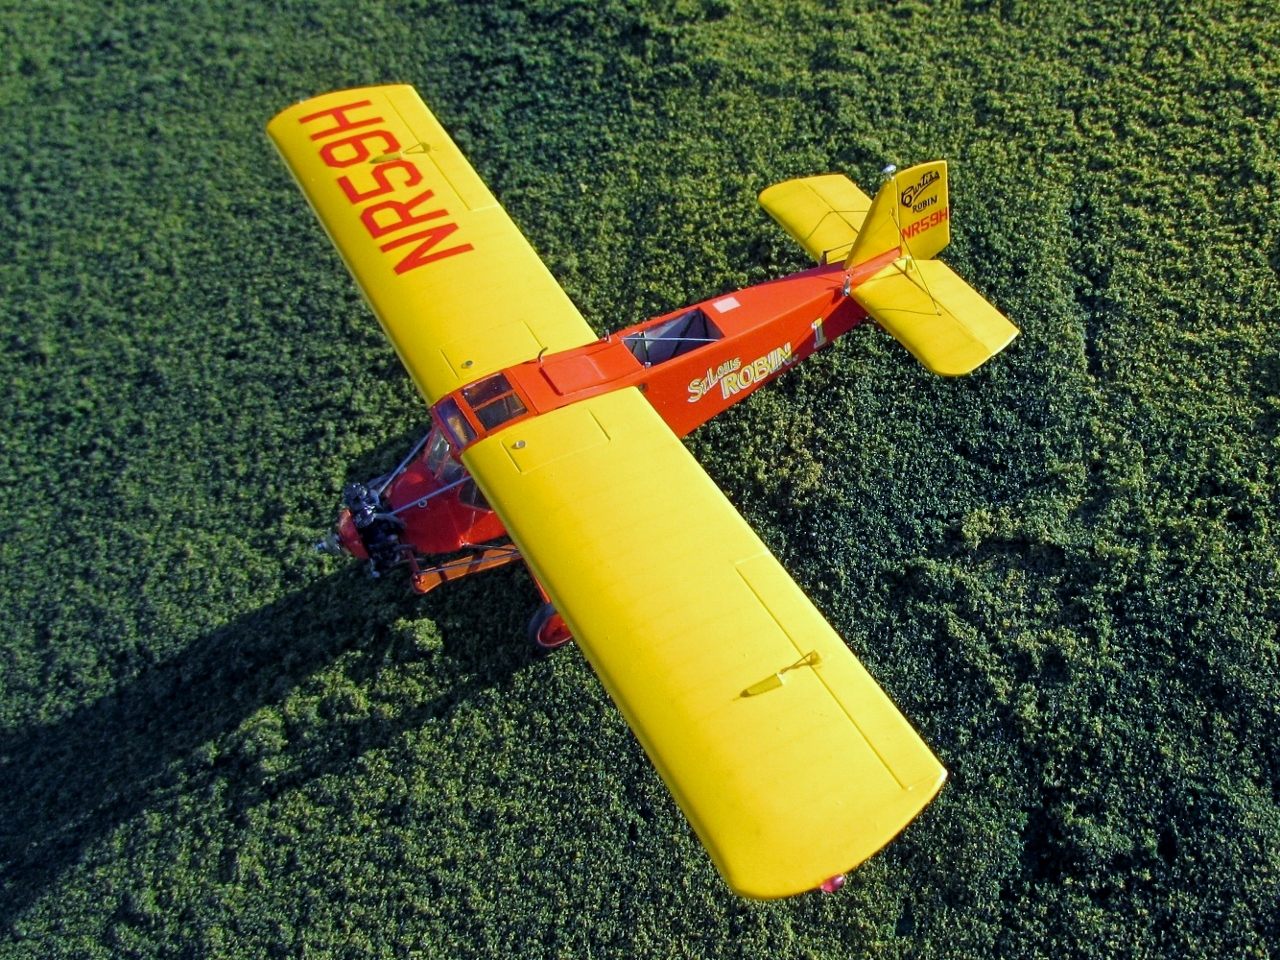
The completed model is in this post:
http://wingsofintent.blogspot.com/2016/02/scratchbuilt-172nd-arup-s-4-in-sears.html