
http://wingsofintent.blogspot.com/2017/06/scratchbuilt-avia-bh-epx-172nd-scale.html
From "Flight" magazine, April 21st, 1921, p. 271:


These are all cutie little pies, but the first ever one has the
charming ungainly looks of the prototypes. It came in two flavors: inline
(Austro-Daimler of about ~35hp) and rotary (Gnome Omega).
The first one is what I am representing here, in more or
less its mature stage, since it changed a bit since its fabrication.
This was a pioneering machine: monoplane to start with, and
with not so much bracing or wires, all in 1920.
Construction of the model follows my usual approach, which
presented with a "scratch-kit" after only about three hours of work.
The usual approach:


Elevators are separated to be posed deflected downwards. Rudder and elevators are given metal control horns. The pilot's seat gets a joystick:

Provision for the engine:


The engine is painted:


Instruments are added, seats are given belts, the spreadbar of the landing gear is readied, tailskid parts are glued:

The fuselage top sections continue to be added. A step is carved:


The parts so far:

Almost ready now, just a fairing on the nose needs to be added:

The engine bay is also covered. The landing gear is glued in place. The exit holes for the tail surfaces' control cables are drilled:

The aileron control horns are added. This was a rigid linkage present only on the top side of the ailerons, which, by the way, were not covered in linen but plywood:


The tail goes on and wing spars are in position:


Color is airbrushed:


A windshield is fashioned, first giving a tiny piece of clear plastic the curve of the fuselage top with a slow rotary tool:


Beautiful day for modeling!

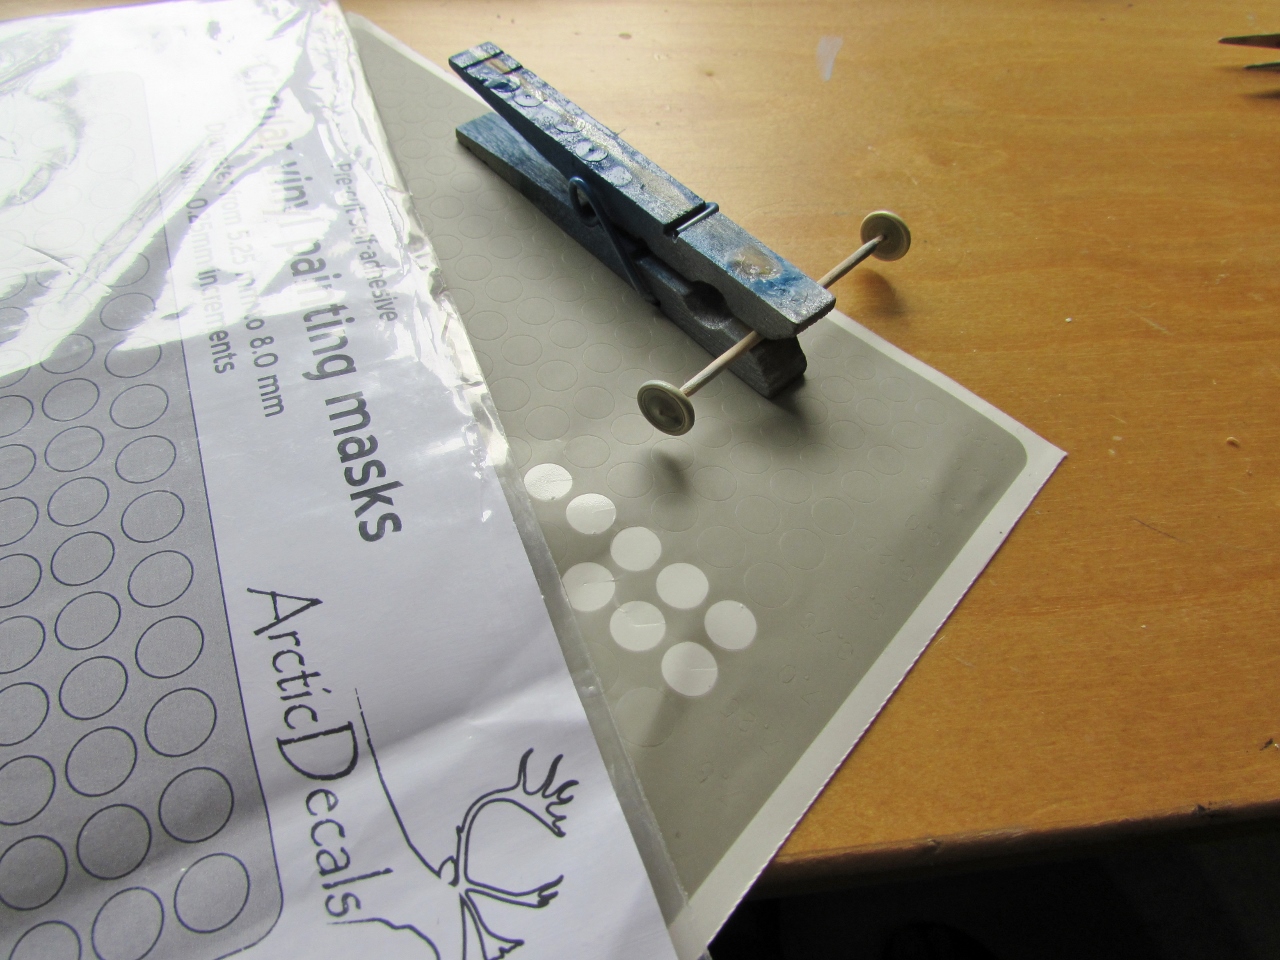
Build finished, but waiting for the decals to arrive from Arctic Decals:

The decals from Arctic Decals arrived just in time!
They cover two projects, the Tipsy and this scratchbuild:


No comments:
Post a Comment