

(According to Paolo Miana's book (that translates as "Airplanes That Have Made History, Ansaldo SVA"), this is a heavily retouched photo of the second Brescia A.250 racer (250hp engine). The number 4 had actually a star background. In this photo the number has been altered to follow the decoration scheme of #3). This link will take you to Kees Kort (varese2002) flickr page, that features #3:
https://www.flickr.com/photos/varese2002/42416308151/in/album-72157636093418425/
(The completed model can be visited here:
https://wingsofintent.blogspot.com/2020/11/ansaldo-brescia-racer-converted-pegasus.html
Racers are like the spicy dish on the menu of civil aviation, the curry or jalapeño of winged apparatuses.
One may even refer specifically to Italian racers as the pasta alla puttanesca plate.
I have build very many models of them, as they are just beautiful.
Long time ago a slightly bizarre one caught my attention, a (drastically) clipped wing version of the Ansaldo SVA biplane, called Brescia, as it was designed to compete in that city's famous races.
In one of my excursions to the surrounding modeling grottos (in this case during a trip to Palm Desert) I spotted and promptly acquired a Pegasus 1/72 kit of the SVA-5 with the purpose of conversion (that is to obtain a more civilized version).
I have a few Pegasus kits stashed somewhere, and to be sincere they don't make a wonderful impression on me (and for what I can tell on many others as well), but having built veritable monsters that even today invoke nightmares in my mind (Merlin and the old Dujin kits, to name just two) this is not really a bad kit. Yes, it has a lot of flash, no locating devices whatsoever, some of the parts are a bit coarse, and there is not much in terms of interior detail, but I think they are perfectly buildable with some work and patience.
In this case to obtain the racing version the wings and horizontal tail will require complete reworking, the interior a bit of improving, and a few external details added, as well as new decals.
During my research I came across a wonderful publication by Italian aviation historian Paolo Miana and his team:
https://www.gliarchiviritrovati.it/home/prodotto/gli-aerei-che-hanno-fatto-la-storia-ansaldo-sva/
That made me immensely happy, as I have purchased and used as references before two of his titles:
"Gli aerei che hanno fatto la storia – SIAI S.64",
https://www.gliarchiviritrovati.it/home/blogs/gli-aerei-che-hanno-fatto-la-storia-siai-s-64/
that I consulted for my Savoia S.64:
https://wingsofintent.blogspot.com/2014/07/scratch-built-172-savoia-marchetti-s64.html
and his book on the Savoia Marchetti S.79 racers:
"Lost Archives - Pictorial history of SIAI - Chapter I - the Sorci Verdi".
https://www.gliarchiviritrovati.it/home/prodotto/siai-s-79-capitolo-i-i-sorci-verdi/
That were helpful in building two of them too:
https://wingsofintent.blogspot.com/2015/04/savoia-s79-corsa-adaptation-from-172nd.html
https://wingsofintent.blogspot.com/2015/04/savoia-marcehtti-s79-corsa-completed.html
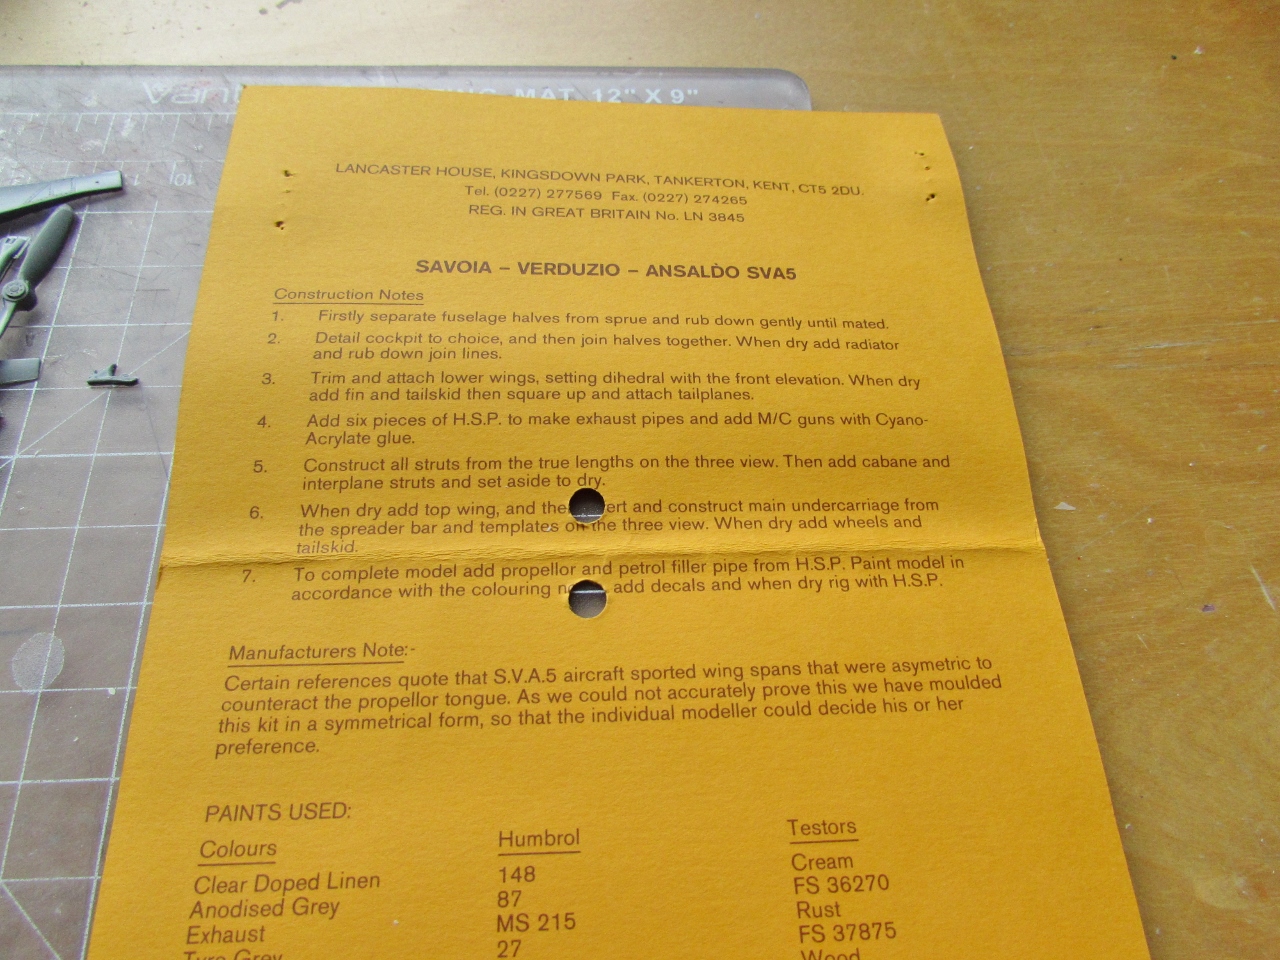
A bagged kit, conveys a sort of vintage flavor...


The "instructions" let you know that you have to fabricate your own struts. Again, do not panic, easy peasy for any modeler with a bit of experience:


Some additional notes:

The kit's horizontal tail comes in two halves, but the plane had a single unit:


Rounding, shaping and cutting the tips of discarded spare bin struts, the little fairings that were attached to the this plane's wing strut ends are made. Eight are needed. I made two sizes to see which works better:

The landing gear axle has no locating devices to lock on the wheels:


The divots for the former location of the struts were filled and sanded, but now the rib detail has to be restored. Two pieces of tape and later on putty are applied, then sanded down. The joint at the center of the wing panels is treated the same way:


What? no toilet in this racer? Unbelievable! Then a seat it is:


A new laminated tailskid is made:

Some more work:

A base color is airbrushed:

Oils are used to confer the aspect of wood:

The modified wings (at the top of the image) are primed:

A wind-driven speedometer seen in photos attached to a wing strut is being replicated, here some the basic parts:

Assembled, to be painted. The disk will be the dial of the instrument:

Continuing with the conversation regarding Pegasus kits, I finally found two that were in the dungeons. I bought them with the intention of course to convert them to civil versions. The Tutor is, as you can see, a very nice kit, especially considering it age (it was released in the 80's):


But the Junkers D-1 was a bit of a disappointment. I wanted to convert it to a Junkers J-10, a post-war civil version, which is, as I quickly realized, not really possible from a practical point of view:


The fuselage halves are glued together, and the prop is readied:

The fuselage as explained had a little chin absent in the kit, so this is added as a pre-formed slab of styrene to be finalized in place. The arrows point to features absent in the racer, thus those will be erased in time:


The larger radiator needed is made:

The radiator is glued on. The exhausts in the kit are not properly distanced, they should have grouped 2-2-2, so a couple are plugged to be later re-drilled. Progress is slow, but hopefully these details will help the final look of the model:

Details not pertinent to this version were deleted from the fuselage, and the landing gear was made and attached:

A coat of primer:

The wings are on, and the tail group is assembled, as it will be painted separately. At the bottom is the Fokker C.IV wing still needing work:

It certainly looks funny:


Gloss white enamel airbrushed as a base for the red. Also painted are the strut lengths (the kit provides none):

In a feat that redefines brilliancy, I forgot that I painted the model white to mask the area where the race number goes before repainting in red, and just airbrushed red everywhere. I also forgot to paint and mask the radiator before applying the red color, but heck, what are a few blunders between modelers? At least I remembered to paint the tail group a different color. And yes, I also forgot to paint the upper wing:

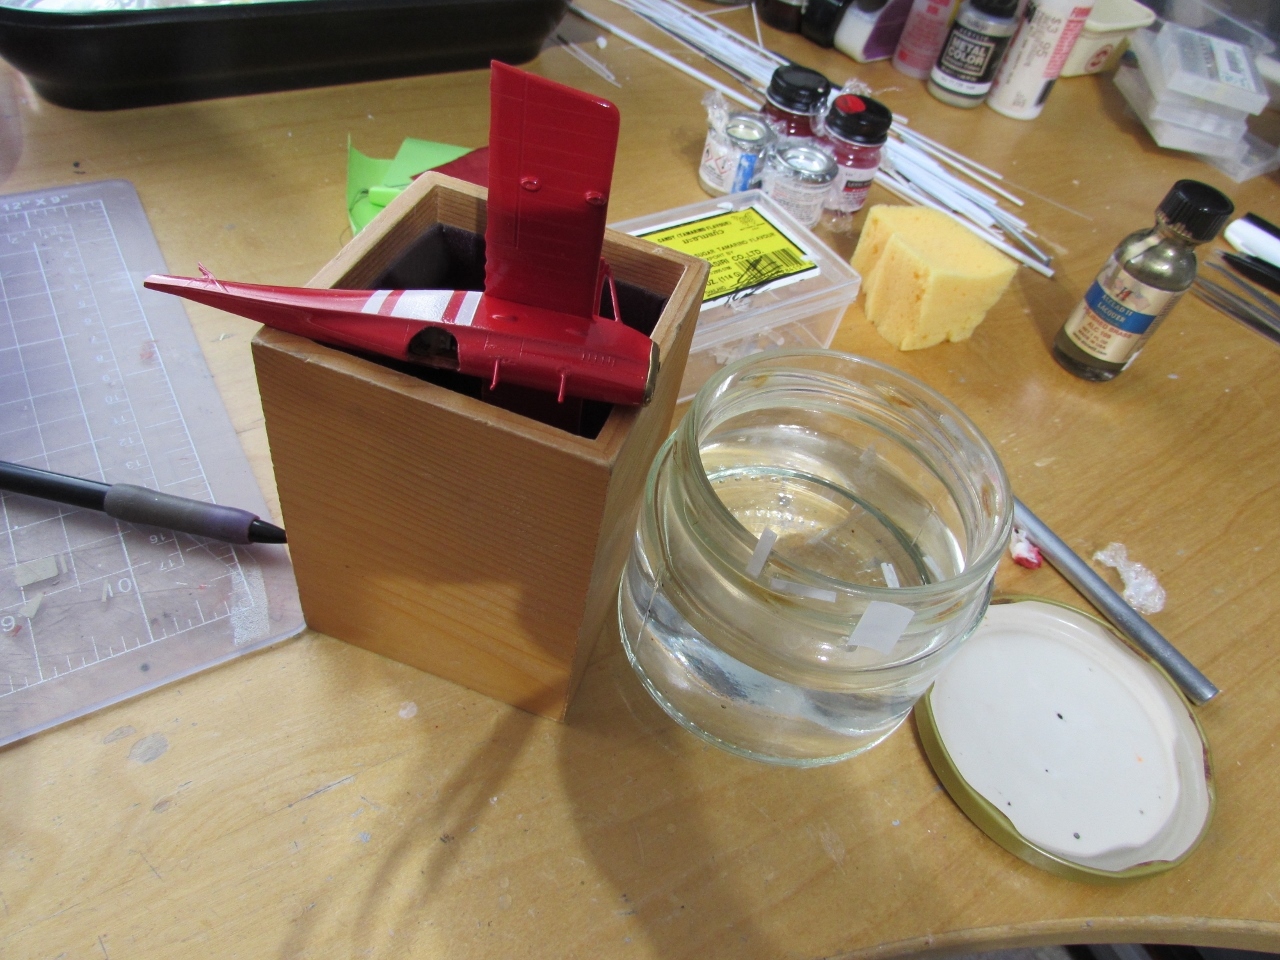
Paying for my sin of having forgotten to mask the white, I am applying 12 carefully measured and cut white decals. As most white decals and decal paper are a bit translucent, a double layer is needed. You see here the first set on the model and the second on the rim of the glass jar. I was able to mask the fuselage and paint the radiator too:
And after the two layers of white, a third with the race number. Adjacent to the technical pencil you can see part of the tail group, which has received two of its three "tricolore" bands:

Not to far now:

Tail struts and exhausts added. The windscreen is in the making -the shape is a bit unusual- (almost invisible at the tip of the tweezers), as it is not provided in the kit:

The top wing is glued in position, and the labor of measuring, cutting, adjusting and gluing the struts begins:


I made another speed indicator, a bit smaller:


To be continued....
Mille grazie.
ReplyDeleteI think the impeccable gloss finishes on most of your modelling work describes some approximation of a -vastly- superior "die-cast" metal look. They have an unique charm as a result.
Forza.
Thanks! Gloss finishes are not always applicable, but I tend to go high as after a few weeks the shine tones down a bit, making it more realistic.
Delete