(This is the step-by-step building article, for the finished model please go here:)
http://wingsofintent.blogspot.com/2016/10/modified-delta-2-172nd-macchi-castoldi.html
It was 1973.
Delta 2, the Italian kit manufacturer was perpetrating the
kit of the Macchi M.C. 72.
How that atrocity escaped the full force of the law, it's a
mystery in the history of kit manufacturing.
In my long modeling life I came across some pretty nasty
kits, but this one is up there at the top.
Or at the bottom, depending how do you look at it.
What I mean, this is a disgrace of a kit. Not even "la
mamma" will love it.
So much so that when David the Immeasurably Tall -a dear
friend- wanted a Macchi Castoldi M.C.72, I scratchbuilt one for him some time ago:
But no good deed goes unpunished, so how did I come across
this nasty little kit?
You guessed! It was sent by Zonke, the Evil Genius from
Volkania (actually Sönke Schulz, from Marzipanland). He did it again, trying to
torture me with horrible kits, many times half-built...sigh.
Below is how this kit arrived from him: he had joined
several parts, the fuselage for example, with no interior (making it for me
even more complicated to install one), he assembled the floats and covered them
with putty (the least those despicable parts deserved, by the way), and
half-sanded these things. Well, thanks again, Z, once more you had made it more
difficult. And I love to sand what you have left un-sanded! did I tell you?
The prop axle was missing. There
is a decal sheet that (surprisingly) seems usable, and a piece of clear plastic
sheet stapled to the instructions to fashion the windscreen, I am told by Mr. Psarras, the kit expert in residence.
This abomination of kit was concocted AT THE SAME TIME, THE SAME
YEAR, that the Airfix Sopwith Pup I am building in parallel; please
compare:
http://wingsofintent.blogspot.com/2016/08/sopwith-pup-aerial-derby-racer-airfix.html
The engineering of this Delta 2 awful kit is incomprehensible. They
may have gotten help from the engineering community of Puget
Sound, known as The Irregulars. But we shall not speak of them in
the night as I write this, lest we conjure their presence.
Once more we have to persuade a wildly crooked thing into a
fair model, kissing the sleeping beauty back to life (sleeping beauty is having
a really bad nightmare in this case).
As sent by Z:
Decals and clear sheet stapled to the instructions.
The fascia background color is very likely incorrect. I can't see any fascia on any photograph anyway. The "MC 72 181" small lettering should be white, not black. Since the decal is using white ink for other images, one wonders why the decal designer committed this lame mistake, and how passed the eye of supervision:
How intelligent: put the parts numbers, on relief, exactly where the tongue has to go into a slot. Brilliant:
The wing and stab are glued to the fuselage, since a lot of filling and sanding will have to be performed. The floats were checked and then some spots that Z missed were puttied:
\
The stubs on the fuselage that are supposed to butt-join the stab halves are so out of whack that one wonders if anyone was paying any attention:
Needless to say the wing is no better fit. Some of the panel lines on the fuselage have been left, since they are color/material/panel demarcation lines on the original plane:
"Mind the Gap", as in the British Underground, could be the building motto for this despicable kit.
In fact, to say that it's despicable is an understatement akin to enunciate that a volcanic eruption is "unsubtle":
Meanwhile a cockpit interior is fashioned. The cockpit opening is too big, another of the many faults to be corrected on this kit, so two sections of styrene are contoured to partially fill the gap and restore it to normal size. They will be added once the interior is painted:
The kit had some awful radiators as separated parts to glue on the floats. Z as I said before had already puttied and sanded them. Here and there more putty applications are needed:
Some styrene fillets are applied and the stab gaps also filled-up:
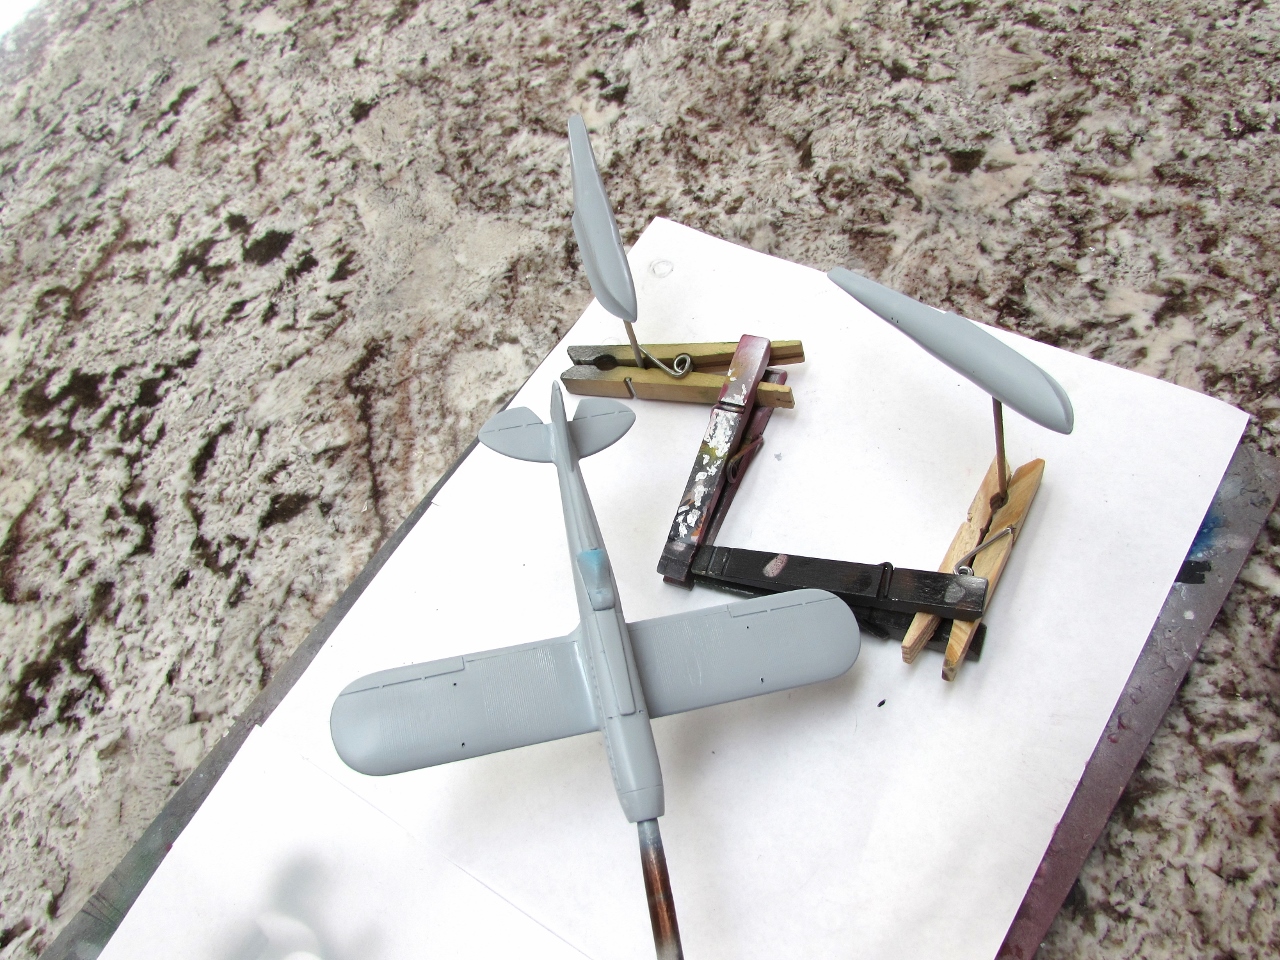
The extremely thick struts are sanded down. On the left, the leg already sanded:
The general view of the affair so far. A lot of surface work has yet to be done to be able to proceed to general assembly:
The interior is given more detail and some color. Side panels are added:
Then the too gaping cockpit opening of the kit is closed with the previously prepared styrene parts. These -that are a bit thick on purpose- will once set sanded to contour:
The additional pieces to correct the cockpit opening are sanded to shape:
Putty and filler had to be applied to correct the kit's many gaps and exaggerated surface details:
The first application of primer -to spot blemishes- goes on:
The primer revealed some spots that needed further attention, and at this time a too prominent "panel line" -caused by the horrid way the wing halves mating was engineered- is filled-up:
After the sanding corrected the blemishes, the model is ready for another light coat of primer in preparation for painting:
Second primer session:
White primer is now applied before the color coat:
The floats and struts are glued and the parts aligned:
The locating holes for the struts are too big, especially on the floats, and will have to be filled with Milliput:
The missing prop axle is replaced. Two lengths of flat wire are cut to replace the kit's over-scaled parts for the floats:
The flattened wires installed. The kit's parts are discarded:
Full moon yesterday:
Last light coat of primer:
The floats' bottoms are masked (they were white). The front oil cooler is painted brass:
The oil cooler is masked and then the overall gloss red applied:
Masks off:
The black paint is masked on the back of the prop and the metal color airbrushed:
With dry transfers applied on a clear decal piece, the tiny registrations are made and laid on the aft fuselage:
Application of the water radiator decals starts. Two aluminum-color patches on the very nose are also applied as decals:
The old decals, of which you can use only the rudder flash (the others are wrong), surprisingly did not shatter (this is an old kit). But the behavior of the tricolore once applied on the rudder was mediocre, requiring a number of applications of setting solution. Needless to say the decal was a slightly smaller size than the rudder, so matching colors have to be applied with a brush. Sigh....
All other decals on the model are home made:
A windshield is patterned, cut, folded and given thin decals strips as structure:
More "radiator" decals are applied:
A project in parallel:
A trolley is built to pose the model on:
To be continued...


No comments:
Post a Comment