
http://wingsofintent.blogspot.com/2014/03/scratchbuilt-172-nungesser-hydravion.html
Back to weird, as it should be.
After some wandering around toying with more plane-like subjects, the usual stints and dabbling into related fields (the cars and buses), is back to the roots time.
For years all those who know me had to endure the shower of esoteric stuff upon their modeling heads. I am sure they miss it, so here it is some more of that.
There is beauty and beauty. There is the predictable, boring, repetitive beauty of the known types that have been modeling far beyond saturation, and there is the gourmet, secret pleasure of the beauty hidden in more selective subject choices. I'll just say to you, as an example of what I mean: Farman Jabiru. A subject one day I hope to honor.
Meanwhile today we gather to celebrate an even more arcane type: a winged creature born in darkness and shrouded in secrecy, but coming now to light in all its splendor, the Nungesser Hydravion.
How strange in so many ways is this apparatus, regarding not only its appearance but also its provenance. Reportedly it was created by or (more likely) made for Nungesser, the famous French pilot -although no other sources than the Gallica archives state so-. Design-wise, is of the canard type; they probably thought that if a duck floats, then a "canard" -duck, in French- configuration would be optimal (or at least safer) for a flying boat. Interestingly enough, is a tractor canard, that is, the engine "pulls" from the front of the "fuselage" and therefore does not push from behind as in other canard designs. No details other than the ones that can be surmised from the very few photos are found or provided. Nevertheless, this extremely attractive weird ugly duckling surely deserves to come to life in model form.
As usual, I started by having to draw the plans for it, very
carefully studying the photos, comparing, and tracing, and erasing, and
re-tracing, etc.
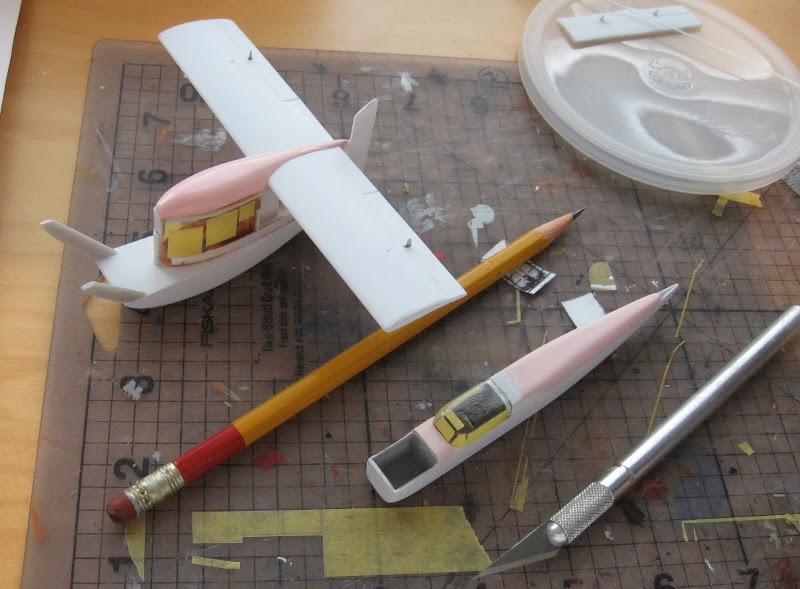
This bird was all wood-covered, save a panel in the upper
front of the "fuselage" that looks like formed metal sheet.
Window-doors with three hinges each are seen in both sides, along with profuse
windowing ahead and after them. The radial engine is fixed, as one can safely
assume from the exhausts connected to the cylinders and gracefully curving out
and back on both sides. I had the file on this subject for years now, waiting
for the odd chance that more material will be eventually revealed, and although
that was the case for many of my files that sat quietly in the dark, in this
case the mystery remains.
Work begins as usual with styrene sheet and strips:


Dry fit:


Gabriel: Hi I have been following your work for a while. C an you tell me the best adhesive for vacuform kits?
ReplyDeleteI use Model Master liquid cement (the one with the needle dispenser) when the parts are thick enough and also Plastruct Bondene and Tenax 7R when the parts are thin. As you know, the cement has to be applied sparingly especially on thin vacuformed parts.
ReplyDeleteHope this helps.
Hello,
ReplyDeleteyour Nungesser Hydravion look's "terrific", I like.
how do you do "home-made "wood" decals" ?
Hello there
ReplyDeleteAnswered to you directly, Stéphane.
Best regards.
Un projet extrêmement original
ReplyDeleteMerci!
Delete