
http://wingsofintent.blogspot.com/2015/02/amodel-172-scale-kalinin-k-5-completed.html)
Amodel is by now a well-known kit manufacturer. I have built
quite a number of their kits and I am fairly satisfied with them. They are
accessible and they are mostly OK, if not really refined, with somewhat thick
sprues and parts' attachments. Their transparencies are not pristine, their
decals are quite so-so, their instructions are not thrilling. And that goes as
well for about half the manufacturers, so it is not a big deal for me most of the time. Thus I was pleasantly surprised when I opened the box of this Kalinin K-5, which I got thanks to the good offices of Mr. Malabamba (he wishes to remain anonymous, hoping not to be associated by anyone with me).
This is clearly a much better kit than the previous (years ago) Amodel releases that I have built so far.
This is clearly a much better kit than the previous (years ago) Amodel releases that I have built so far.
The part count is high, the molds are more refined (not totally sharp as in much expensive brands), the transparencies a vast improvement on what I have seen before, and no doubt better decals, although my sample had a bad area (shown in the photos bellows).
Congrats to Amodel for releasing civil kits.
Nice subject choice:

Well-molded bits and nice decal sheet:


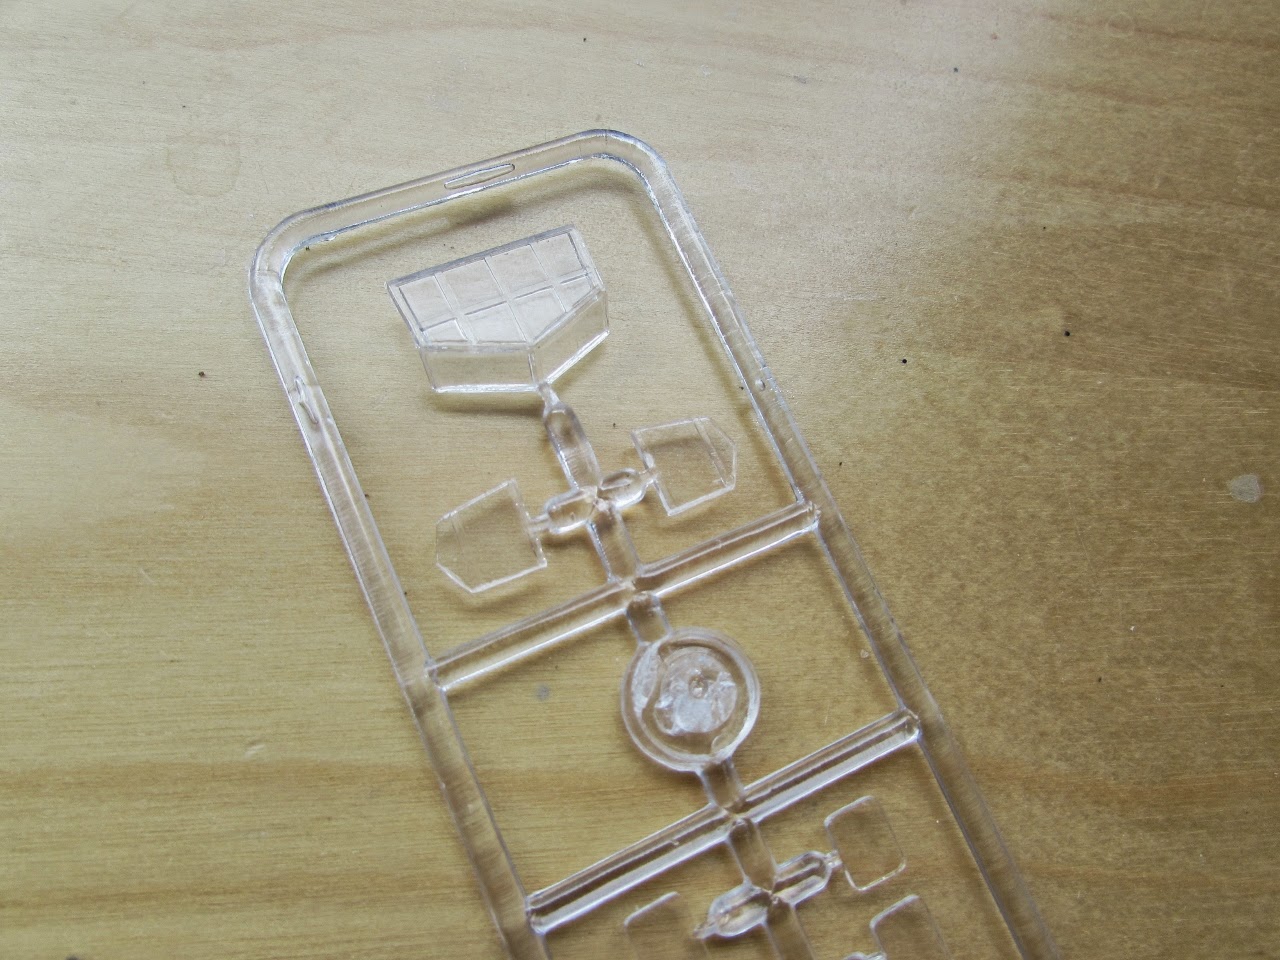
Much better transparencies than years ago:

Some fine detail in the parts:


Better instructions:

Minor flaws in my sample of the decals:

As I become more familiar with the kit I'll posting more, and hopefully some actual building may occur at some point too.


 In the same way, the cockpit-to-cabin door is drilled out and another one fabricated to be posed open:


 The interior is given a coat of light gray. The model has a well-appointed bathroom!! so the details were enhanced a bit:

 A few more details are added. As you can see I found a position for that ill-fitting part at the roof of the cabin. What is the purpose of that part and why the fit is so bad and so poorly indicated in the instructions remains a mystery :


 Then once they had set, with a very sharp blade the excess is carefully removed. Some of the separation panels are given the treatment too:
Some parts are separated from the sprues and given a clean-up.
The wing trailing edges are kind of thick, and will need thinning before joining the upper and lower halves:

Halves are glued together:
Props are carved, that thing happens...:
The multiple parts that make for the seats are separated, cleaned-up and glued:
The seats are glued to the cabin floor together with the steps that go to the cockpit, and the cockpit is also assembled:
The plastic is soft and there are some mold lines around the parts, so they have to be cleaned-up.
Here we see a few of the parts that had sink holes and needed putty and sanding:
As you can see the engine cylinders are provided with some detail; unfortunately these parts are mostly "tubes" as you can see in the sprue. The problem is that if you want to use them, you will have to clean them, due to the mold seam lines. And they are tiny. AND they are many. I am thinking of replacing all of them with soldering wire:
The passenger cabin door is cut out and a new one made to pose it open:
Some of the problems you will have to solve:
At this point I can further comment on some issues. The fit is annoyingly indifferent, as with almost all Amodel kits. It is not a bad fit, but it is not very good either. This is aggravated by some vagueness on the instructions too. Some parts won't fit at all, like the one indicated above. Also indicated in the photo above is the fact that the instructions have the engine upside-down. Color calls are generic and non-existent for some areas or parts. Once more: check your photos. But wait, there are not really many (not to mention good) photos of this plane around. I managed to see some on the Net, searching in Russian. Yes, in Russian. As you may have noticed, the livery of this (and perhaps all) K-5 is not particularly stellar. I wonder why Amodel did not chose the inline engine variants, which have a little more color. The instructions call for white as the overall finish color. I strongly disagree with that. Photos shoving people with white clothing (like naval officers) clearly contrast with the color of the plane, which seems aluminum.
The left wing had a bit of a mold shrinkage, so some putty was applied:
A decal with floral motifs was printed to be applied to the cabin walls:
The "wallpaper" decals are applied:

The clear parts are given the customary floor polish bath and let to dry. The fit of the windows needs to be adjusted, they are slightly bigger than the openings:
 Curtains are printed and cut, and their installation begins. The elevators are given some downward angle:
 Some representation of diagonal structural members that cross the window panes are added, and then more curtains:
 Progress is made and the details are incorporated:


 The fuselage is closed:
 General view of the components, still a way to go:
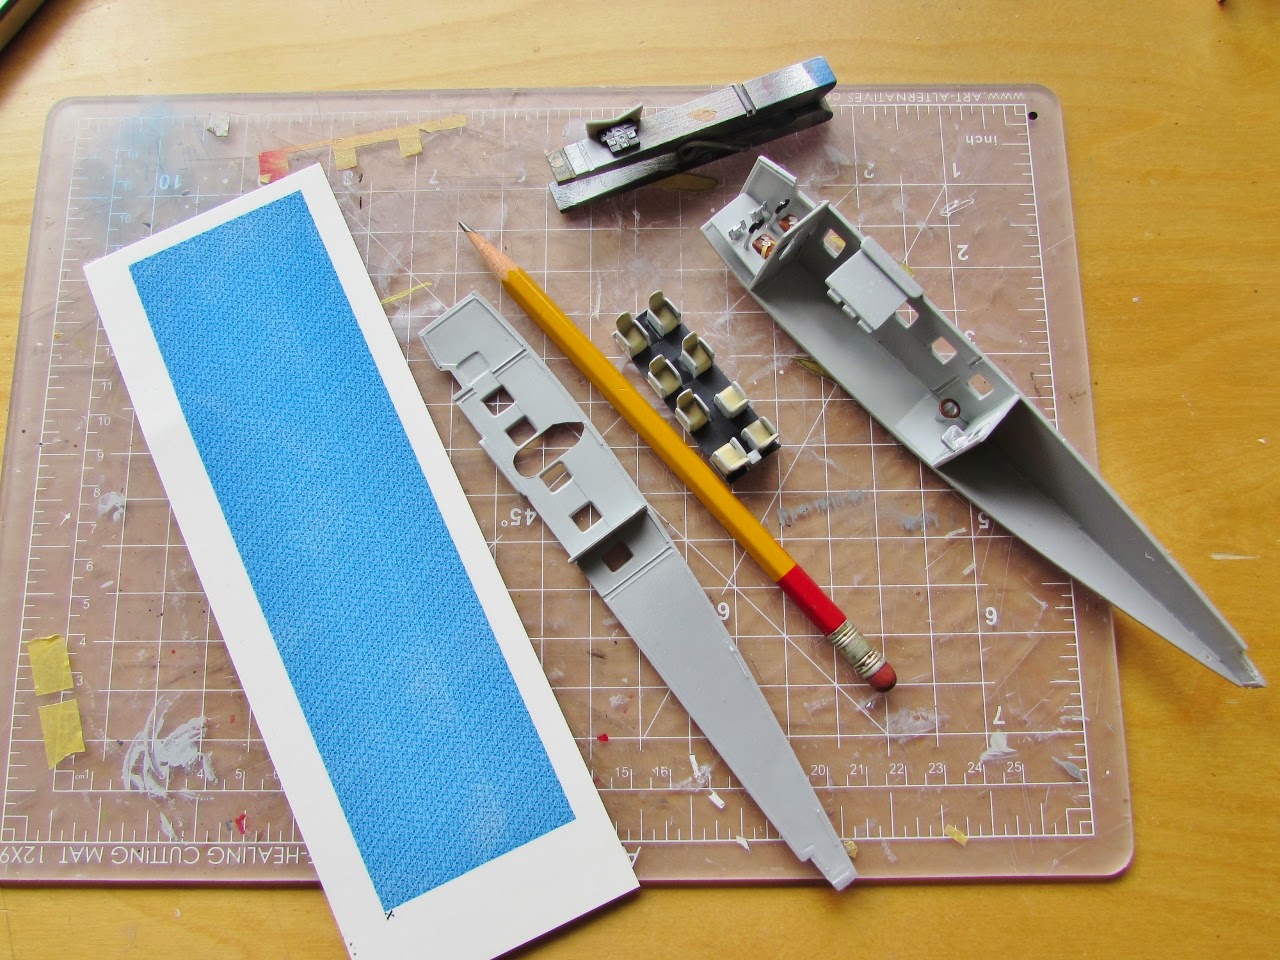
 The fuselage firewall was not provided for in the kit, so one was fabricated and added. This usually helps with dust contamination. The nose "louvers" were not accurately molded and the space they had behind did not match photos, leaving a gap that needed filling:
 Metal horn added to rudder and control leads exit points drilled:
 The elevators were also given control horns:
 The tail feathers and landing gear are glued in place:
 New navigation lights are fabricated to substitute the kit's ones, and a Venturi is added since the kit provides none:
 Positions for handles drilled, this detail is absent from the kit:
 The wings are attached to the fuselage. The dihedral is kept in check whilst drying by metal-pinned struts (not glued yet):
 Primer is airbrushed:

 Two tones of Aclad paint were airbrushed, one for the "metal" surfaces and other for the "fabric-covered" surfaces. At the same time the black elements of the plane were painted too:
 Handling the model with care, a large number of external details have to be added: the cylinders, one by one (that need to be cropped a bit short at their bases in order not to interfere with each other), the oil coolers, landing legs:
 The control cables for the rudder and elevator:
 Decals being applied. The kit's decals had a minor glitch, as shown at the beginning of this post, and one image was useless, but all the other decals in the sheet were OK. The decals behaved superbly, being very thin and opaque. Watch out, though, because for that same thinness -which is good- they are touchy, and may fold if not handled correctly. The instructions have you position the registrations under the wing inside the line marked by the wing struts, but a photo clearly shows the same reg. starting just where the struts attach and going towards the wingtip. The registrations are missing the "dash", which is visible in photos and should precede the "N410" as in the photos below. Again, this dash is absent from the wing regs. decals, but present in the fuselage regs. decals:

 At this point other details were added, like struts, Venturi and Pitot devices (not present in the kit's parts), the door, etc.
One insert photo featured in the instructions shows spoke wheels, perhaps as an alternative (the kit provides the normal, solid wheels). I have done a large number of spoke wheels for my models, so I decided to order an Eduard set of 1/48 photo etched spoke wheels needed to match the bigger size of this model. They were very flimsy and I did not like at all their rendition of the "spokes", so I gave up (something I very seldom do) on those spoke wheels this time, will see if I can get a PART set which to me, being the metal thicker, is much easier to handle.
Still more is needed, like aileron control cables, cockpit clear parts, detail work on the engine cylinders, propeller (hand made from laminated wood), navigation lights (hand-made replacements), etc., but now this article is carried over to the finished model post.
http://wingsofintent.blogspot.com/2015/02/amodel-172-scale-kalinin-k-5-completed.html)
The registrations of this particular plane -which was a propaganda machine- by the way, are not in Cyrillic, but in the Western alphabet:
One insert photo featured in the instructions shows spoke wheels, perhaps as an alternative (the kit provides the normal, solid wheels). I have done a large number of spoke wheels for my models, so I decided to order an Eduard set of 1/48 photo etched spoke wheels needed to match the bigger size of this model. They were very flimsy and I did not like at all their rendition of the "spokes", so I gave up (something I very seldom do) on those spoke wheels this time, will see if I can get a PART set which to me, being the metal thicker, is much easier to handle.
Still more is needed, like aileron control cables, cockpit clear parts, detail work on the engine cylinders, propeller (hand made from laminated wood), navigation lights (hand-made replacements), etc., but now this article is carried over to the finished model post.
http://wingsofintent.blogspot.com/2015/02/amodel-172-scale-kalinin-k-5-completed.html)
I think the wallpaper should be red, and probably the bottom of the wings, ha ha!
ReplyDeleteDear John:
DeleteYou are a rascal
:-)