

(This is the building article, for the completed model, please go here:
http://wingsofintent.blogspot.com/2017/07/modified-vacuum-formed-joystick-models.html
http://wingsofintent.blogspot.com/2017/07/modified-vacuum-formed-joystick-models.html
Post-WW1 conversions for carrying passengers mostly consisted of putting on a sort of "hat" in the guise of enclosed
cabin, conferring to the lines of the plane a strange, if ultimately lovable
look.
Long ago I made this "limousine":
(scroll down quite a bit once there:)
And then these ones:
The Rumpler C.I (or 5A2) was converted to a limousine by
that same procedure. It was used by a short-lived German passenger airline know
as Rumpler-Luftverkehr, or "that airline" for us not ready to venture
in the pronunciation of German.
My dear friend from Marzipanland, a province of Volkania,
Sönke Schulz, and your humble have been interested in this machine for some
time. Beware that at some point in the 30s a spurious hybrid (also named D290)
was concocted for Lufthansa propaganda purposes and exhibited at a German
museum, easy to tell apart from the original for many details, the most obvious
perhaps a strange vertical stabilizer that has nothing to do with the Rumpler
C.I, and wings that belonged to a C.IV.
Painful and slow research provided now with data enough to
build a model of the original.
Many of you know my love for vacuum-formed kits. I got a
quite nice Joystick Models (England)
Rumpler C.I from Jeff and Liz in the Palm
Desert area. You can see
the kit in the photos below.
The kit is interesting, and as vacs go quite good. There are a couple things, though: the plan included in the instructions doesn't match the kit parts (or vice-versa), sometimes for more than a 1/4 inch. Those instructions do not have an exploded view or any indication as to where things go, but it's easy enough to guess. 


You may like to replace the vac engine molded into the fuselage. In this case an Engine & Things item. I carved a laminated prop, but also pulled a plastic spare from the bin (thanks Jim). Now inoperative Aeroclub provided long ago the needed exhaust (thanks Armando). Metal Strutz (thanks Andrew!) will replace the kit's too flimsy ones:

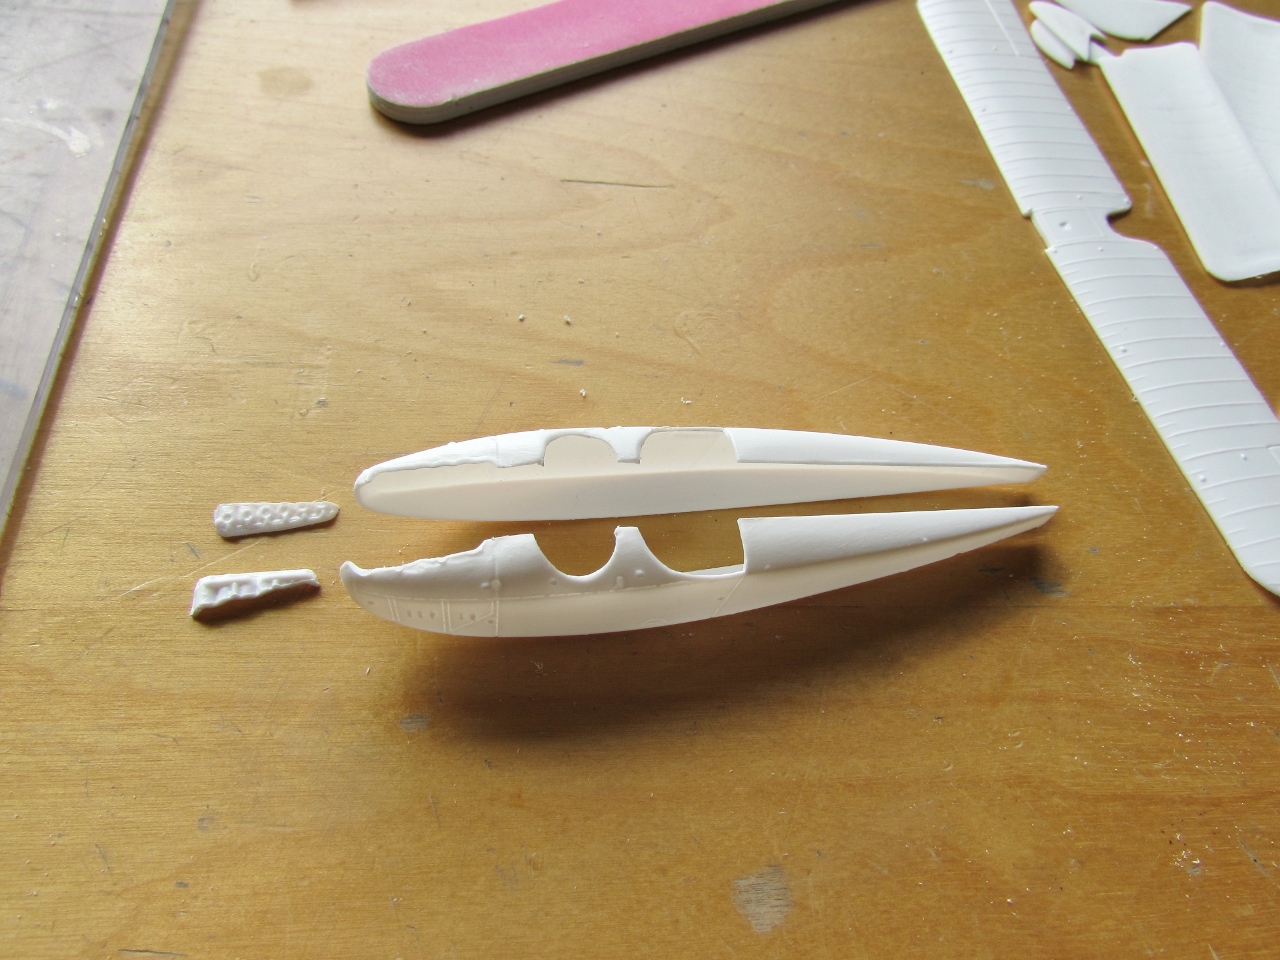
Fifteen minutes later, all the relevant parts are extracted from the main sheet, although as we know some sanding will be involved to true the joining parts and thin the flying surfaces.
You may notice that there is no provided undersurface for wings and stab, due to the original thinness of those surfaces in the original plane. You must concoct some way to represent ribs underneath, may be some faded colored pencil, engraving, application of strips, etc.
As you can see some interior is provided:

The trailing edges are thinned with some exercising sanding:


I made a new vertical stabilizer, since the kit's is "one-sided" and more difficult to fix than to make a new one:


The block is given preliminary shape. It will eventually be used to produce a vacuum-formed part:


The fuel tank was relocated outside to create room for the cabin, on the fuselage aside the pilot, in the form of a sort of airfoiled saddle that looked more like the buttoned pillow of a sofa:

The wood master is used to create the canopy:


The luxurious interior is fabricated:

Even if I am most likely not use the kit's prop, I felt compelled to fix it (it was a casting mess as you can see at the beginning of the post). Also the stem of the kit's prop was off-set, so it had to be trimmed off:


The intrados of the flying surfaces is engraved using the double-whammy Olfa P maneuver to create the effect of rib tapes.
The fuselage is given some tabs to secure alignment and a firmer bond with more area once the halves are joined:

Parts are washed and let dry:


The general colors of the interior are airbrushed. Later on other colors will be applied:

Some more painting and details follow:

The interior is ready:


The extreme thinness of the wings poses some issues: they can't be drilled to install a locating pin, or drilled deep enough to secure a strut. The strut locations on the upper wing where slightly marked, whilst the kit already had some dimples on the lower wings.
To secure the latter to the fuselage sides, tabs were added:


The cabane is fabricated:


No comments:
Post a Comment