
https://wingsofintent.blogspot.com/2018/08/hansa-w33-civil-tiedemann-flying.html
The cumbersome and ungainly Hansa seaplanes family has nonetheless some charm and appeal, and I had build so far two on Japanese civil registrations some time ago, if of another Hansa denomination (W.29):
Browsing the Net I found some images of a civil machine that
flew for the Tiedemann tobacco company. Tiedemann had a very smart marketing
department then, and the company owned a number of vehicles that wore the
company's colors and symbols in very striking, well-produced and elegant
schemes.
Here is the plane on Flickr:
https://www.flickr.com/photos/fylkesarkiv/8423903774/
 At some point they used for publicity purposes this Hansa W.33 seaplane
that they named "Tiger" -that was by the way the company's mascot-
that had on the tail the Norwegian colors, and on the fuselage the stripes of
the tiger, that cunningly matched the colors of the company land vehicles,
painted as "wrapped" on a number of carefully reproduced tobacco
leaves of different hues.
At some point they used for publicity purposes this Hansa W.33 seaplane
that they named "Tiger" -that was by the way the company's mascot-
that had on the tail the Norwegian colors, and on the fuselage the stripes of
the tiger, that cunningly matched the colors of the company land vehicles,
painted as "wrapped" on a number of carefully reproduced tobacco
leaves of different hues.
Here is the plane on Flickr:
https://www.flickr.com/photos/fylkesarkiv/8423903774/

Looking for a suitable kit candidate I found the Broplan
vacuum-formed offer. Broplan kits have
accessories in injected plastic that need a bit of cleaning. The struts are included. The plan isn't in 1/72 scale, so unfortunately no measures or references can
be taken from it. Some of the injected parts may be substituted if you have airfoiled extruded or metal material, for example, to save cleaning time.
The vacuum-formed parts are well
molded, the plastic has a pleasant, practical and even thickness, and reasonable surface
detail is there.
As this is no mainstream kit from a powerful manufacturer with lots of resources, but a very small enterprise,
you may have to work a bit more here and there and will need some modeling experience.
Two modifications are needed to convert this kit to the
Tiedemann machine:
1) The nose has to be modified as the intended plane had an
underslung radiator, a blanked front, another engine, and an open nose top.
2) The aft position
was of course "civilianized" and had no scarf ring, therefore
it's cleaner on the top following the natural shape of the fuselage,
and having a half-round access door on the left side that was hinged at the bottom
for the access of the passenger.
Other minor changes in detail will apply, like prop and
such.
The package:
The package:


If you think that you may get confused, especially with the smaller parts, you can use the permanent marker to put their numbers (from the instructions sheet) or name on their internal surfaces:


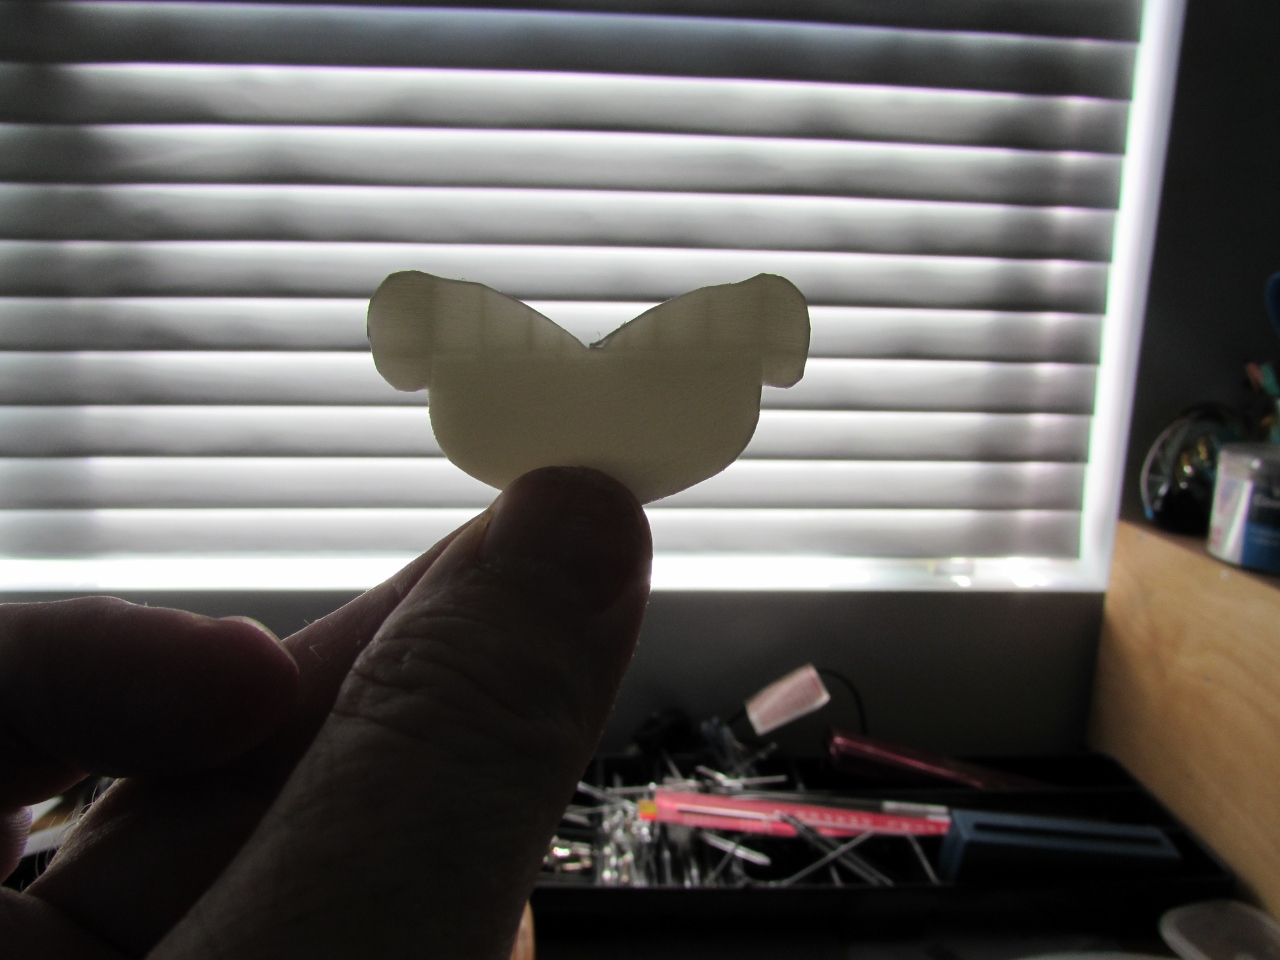


I measured the passenger opening, and it is perfect circle of 9.5 mm, so the fuselage thickness should be right as I cut it:


One of the panels had the wrong detail for this version, so it is masked, puttied, and sanded flat:
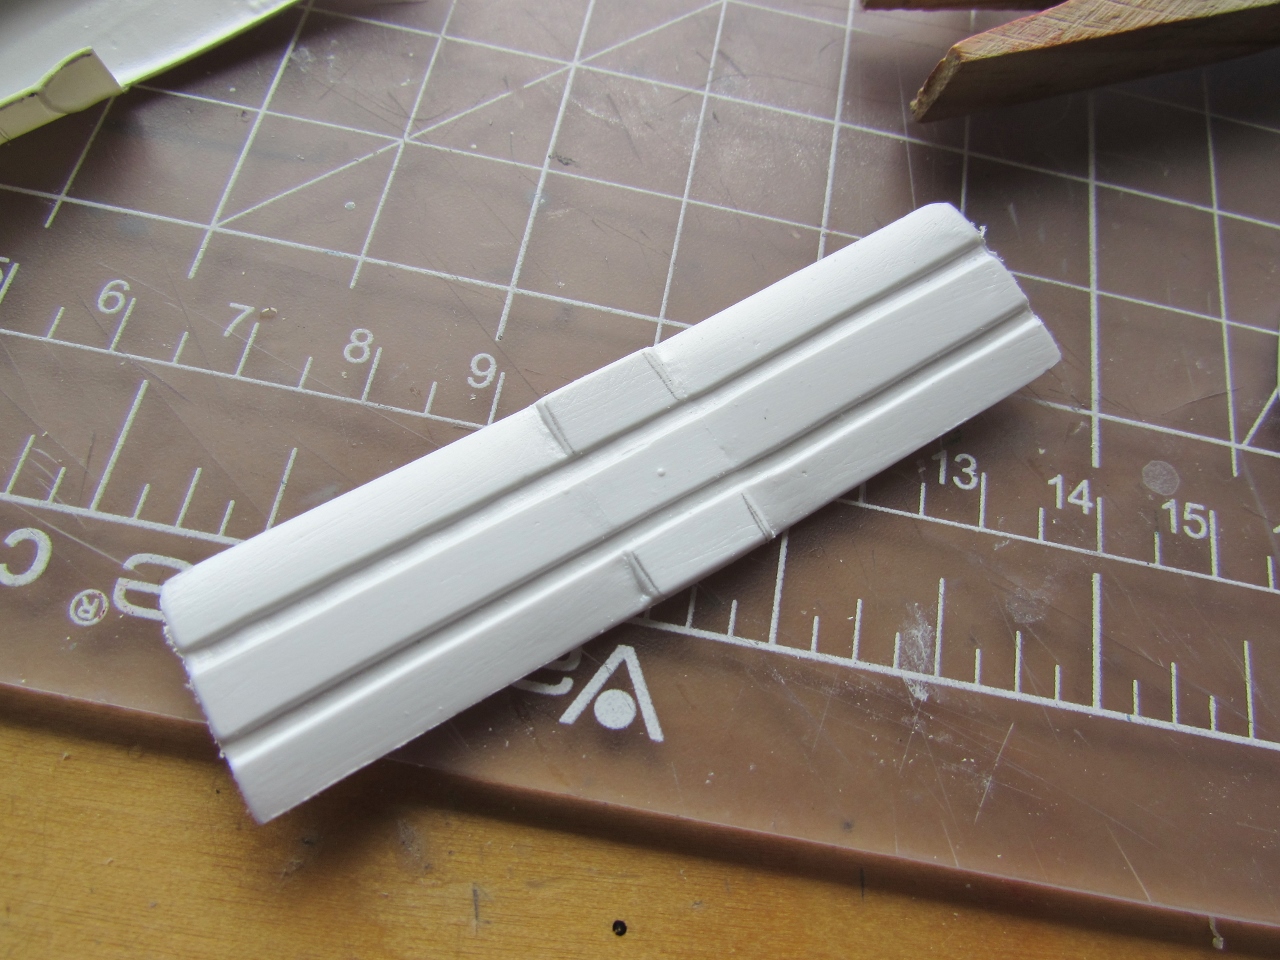
 Parts loosely piled together, to get an idea of the overall aspect:
 And so modifications are made to accommodate the third seat on fuselage and pan:
 Top of the nose:
 Miscellaneous parts being painted:
 The interior of the fuselage sides is painted:
 More detailing work:
 I had to enlarge plan in order to get it to 1:72 to take measures; for example, the track of the floats:
 Tabs, the friends of the vacuformed kit builder:
 Last dry run:
 And glued together:
 Engine top cover and horizontal stabilizer in place:
 If the general assembly is showing a good progress, let's not forget that this model will require a very complex painting and decaling job. In fact, the whole build, with its challenges as it has, is only a canvas for the decoration to follow:
 Tiger did not have (others did) these additional struts going from float to the wing. In any case, they are missing from the kit, as far as I can tell:

 Primer airbrushed:
 White is airbrushed, since it will be the background of several areas:
 The wings and horizontal tail are painted CDL underneath (they will be light grey on top). The floats on a medium grey:
 The white background spaces for the registrations are preserved with masks. Photos show that the plane had those on top only in some photos, and also underneath in some other photos. I am representing the plane with only the top ones:
 The underside of the wings is masked to receive the color bands clearly visible in photos. The rudder had the colors of the Norwegian flag -white, blue and red- and it's also masked in preparation:
 The red color is applied:
 The red now will be covered, and only the center section will be airbrushed with the blue color, the adjacent strips covering the white background:
 The blue color is airbrushed on the rudder, and grey on the upper side of the wings:
 Masks off revealing the white rectangles for the registrations and the completed rudder with the Norwegian colors:
 Some parts are painted. The white areas on the fuselage, and the area under the horizontal stabilizer are masked. The upper side of the horizontal stabilizer is painted as the wings and floats. A gold background is laid on the aft fuselage. Of it, only very faint and narrow lines will remain, since it's only the separation line between the "tiger/tobacco" color bands that will be applied later. Not a simple masking or scheme, this one:
 The upper surface of the horizontal tail is masked, as well as what will become faint and a bit irregular gold lines. The fuselage will be painted a yellow/orange tone, and alternate bands will be then masked over, and the rest given a red/chocolate tone:
 One color applied:
 Alternate bands are masked with flexible Tamiya white tape:
 The red brown is applied:
 Masks removed showing the preserved white areas and the color bands:


 Wings added, and some detail work on floats:

 Floats-to-fuselage struts glued on floats:
 And then to the fuselage. The geometry of the parts and matching to locating holes is well within tolerances, and the whole so far has a good fit:
 The external struts are added. I had to remove the pins from the parts on both sides (float and wing) in order for them to fit properly:
 The remaining set of four shorter struts are made from Contrail stock -the kit parts were discarded since they were somewhat poor- and added:
 Rudder and the six visible control cables are added, as well as the underslung radiator:

 The process of detailing continues by adding engine plumbing and exhaust, windshields, propeller, two grabs at the tail and two at the nose and radiator plumbing. Decaling will be the next step:
 The decals arrived!:
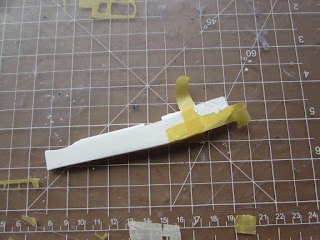
 A beaching trolley is being built:
 The beaching trolley is painted:

Completed model here
https://wingsofintent.blogspot.com/2018/08/hansa-w33-civil-tiedemann-flying.html


Completed model here
https://wingsofintent.blogspot.com/2018/08/hansa-w33-civil-tiedemann-flying.html
No comments:
Post a Comment