

(The step-by-step building and review post is here):
Modelers of the World:
Hear you! Hear you! No more having to totally rework the venerable but ultimately atrocious Arfix DH88!
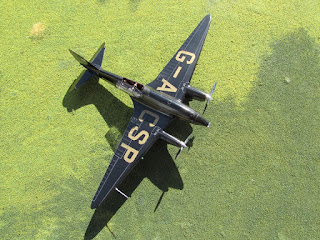
SBS from Hungary has released this beauty of a kit of a much needed up-to-date kit of this iconic racing machine. It is a resin kit, but of very good sort with excellent technology and properties.
This is no doubt an outstanding kit, it is a new class of kit altogether, an order of magnitude above all model aircraft resin kits I have personally seen or built made by a commercial manufacturer.
Hear you! Hear you! No more having to totally rework the venerable but ultimately atrocious Arfix DH88!
SBS from Hungary has released this beauty of a kit of a much needed up-to-date kit of this iconic racing machine. It is a resin kit, but of very good sort with excellent technology and properties.
This is no doubt an outstanding kit, it is a new class of kit altogether, an order of magnitude above all model aircraft resin kits I have personally seen or built made by a commercial manufacturer.
It will not assemble itself, though, so it will still
require patience, care, accuracy and a steady hand.
The price is fair, especially comparing it with other resin
kits that are more expensive ( as much as three times more expensive) and not even nearly as good, not to mention with
parts not keyed but with butt joints.
The SBS kit has slot and tongue, or peg and recess interlocking devices, as in any normal
injected styrene kit. A plus for many modelers not very happy with short-run
kits devoided of such features.
There are a few points that need attention, and they are
described in the building article. So check that if you are interested following the link at the top.
Congratulations SBS Model from Hungary, a job beautifully done.
Now, my wish list:
This is what I would have liked or would like to see in the
future (for re-issues/re-engineering of this jewel of a kit):
-Spare photoetched throttle levers (you get exactly the
number you need, but, alas, as we all know, a few of these truly tiny buggers
will unavoidably go the "Twing" or "Twang" way (depending
on the quantum particle spin at the moment). Hey, SBS, just add a few more to
the fret, costs virtually nothing.
-Two compass faces added to the decal sheet. SBS: you added
the Ratier logos for the props, which is great. Now a couple of compass faces
would be neat, again, that would have had hardly affect cost.
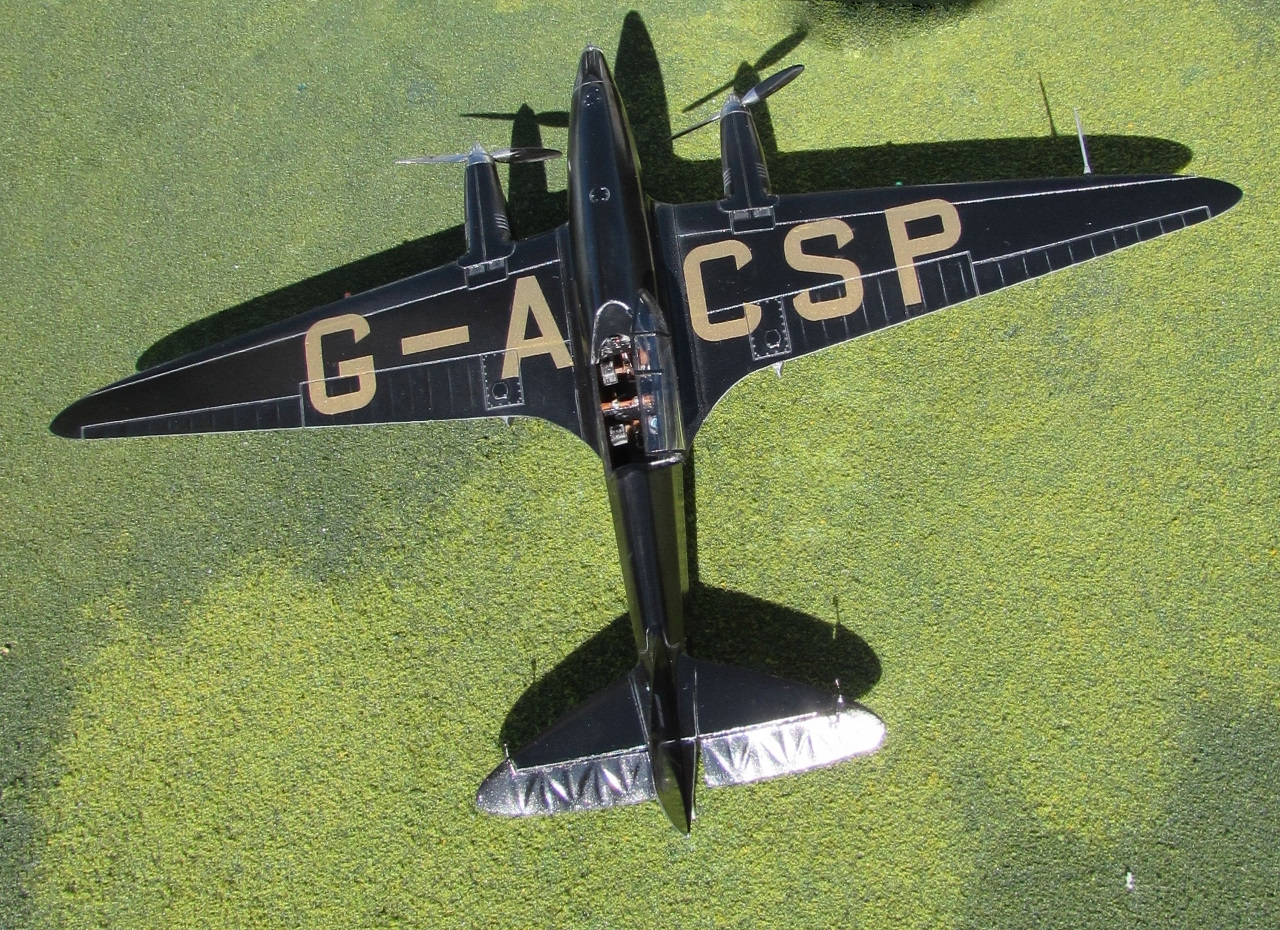
-The fuel caps are engraved on top of the fuselage,
beautifully. But you have to sand that area -since the fuselage partition line
runs in the middle- so you may -almost certainly- have to re-scribe those.
Perhaps the resin parts should have shallow recesses instead, and then
photoetched caps could be glued on?
-The kit omits the mass balances for the tail control
surfaces. At this level of target modeler (not beginners) it is not a big deal to
fabricate them, but may be they could be added as photoetched parts, the
modeler adding a tiny blob of white glue on the mass at the tip to round it up,
and the part glued in a hairline cut between the mobile and fixed parts of the
tail feathers? My guess is that the manufacturer did not add those because they
may have come out overscale or too fragile as resins or PE.
-Being this such a well-known type, a front view is really
not mandatory, you can get one in the Net in milliseconds, but it would be
useful for setting the right amount of dihedral, since there is some little play at the joints.
- And since asking costs me nothing...what about an
optional, sold-apart, engine gondola with an open-panel to partially see the engine?
- And perhaps optional, sold-apart, decals for the other
liveries like Burberry, Australian Anniversary, Boomerang and such? The Aussies would be delighted!


I decided to add the mass balances for the tail control surfaces, made of a thin wire and a blob of white glue. Yes, it is fiddly, and took a few tries:


Beautiful! It's the airplane I like the most of all times!
ReplyDeleteIt's one of my favorites too, Diego.
DeleteSaludos cordiales
Really beautiful plane, and it seems this kit is very good !
ReplyDeleteThanks Denis, and yes, the kit is very good.
Delete