Styrene

Styrene

Wednesday, February 13, 2019

Caudron C-366 racer, Dujin 1/72 resin

When you buy a Dujin kit you are actually buying a kit to produce a kit, that is: you have to create kit parts from some -many times- undefined resin ectoplasm.
Dujin is known for having created an extraordinary diverse lines of very interesting planes, unfortunately in the form of extremely rudimentary resin kits.
If I understand correctly, after the passing of M. Dujin a group of well-meant and dedicated friends is re-floating the line with the addition of much welcome supplementary parts as photo-etched sets and what seems than much better decals in any Dujin kit that I have ever seen.
This has a lot of merit, and -if you ha seen my builds- you know that I heartily support cottage industry, but there are limits.
When I see a Dujin kit I unavoidably cringe, because I know that a lot of work is ahead even before you start.
Yes, the subjects -as I said above- are attractive, and mostly kitted by no one else in the wide world of the kit industry, but the price to pay (not literally, they are not really expensive) in work and frustration is very high, and the results are variable (from just ok to despicable).
This kit is no exception, as you may see:

(For the completed model please go here:

https://wingsofintent.blogspot.com/2019/03/caudron-c366-racer-dujinfsc-172.html


Contents:

 Nice P.E. fret, sort of one-size-fits-all for apparently a number of Caudron racers produced by them:

You will have to cut your own screens to size using the material and patterns provided:

TWO transparencies, bless them:

Looks like a decent decal sheet, we will see:

A few pinholes here and there, of course:


A web that goes from adequately thin to hard cake:

The famous (probably patented) Dujin Banana Fuselage Halves:


After some struggle, the parts are out of their resin traps:

Again a few pinholes:
 After the spa hot jacuzzi treatment the fuselage sides relax and find a more straight position:

Hindering the necessary sanding of the despicable surfaces of the fuselage halves for them to sort of mate is the vertical tail, added to one side, who knows why (to bother us, most likely)

Stats:
Once you have completed a Dujin kit the substance of what it is made comprises 50% of the original resin and 50% of putty, fillers, epoxy and cyano.

 Every single part will have little pinholes to fill:

The stab halves need to be separated. If you trusted, like I did, the line provided in the part to make the cut, then you will end up with the wrong angle, the parts making a "V", instead of the hinge line being straight and perpendicular to the fuselage center line. Sigh....

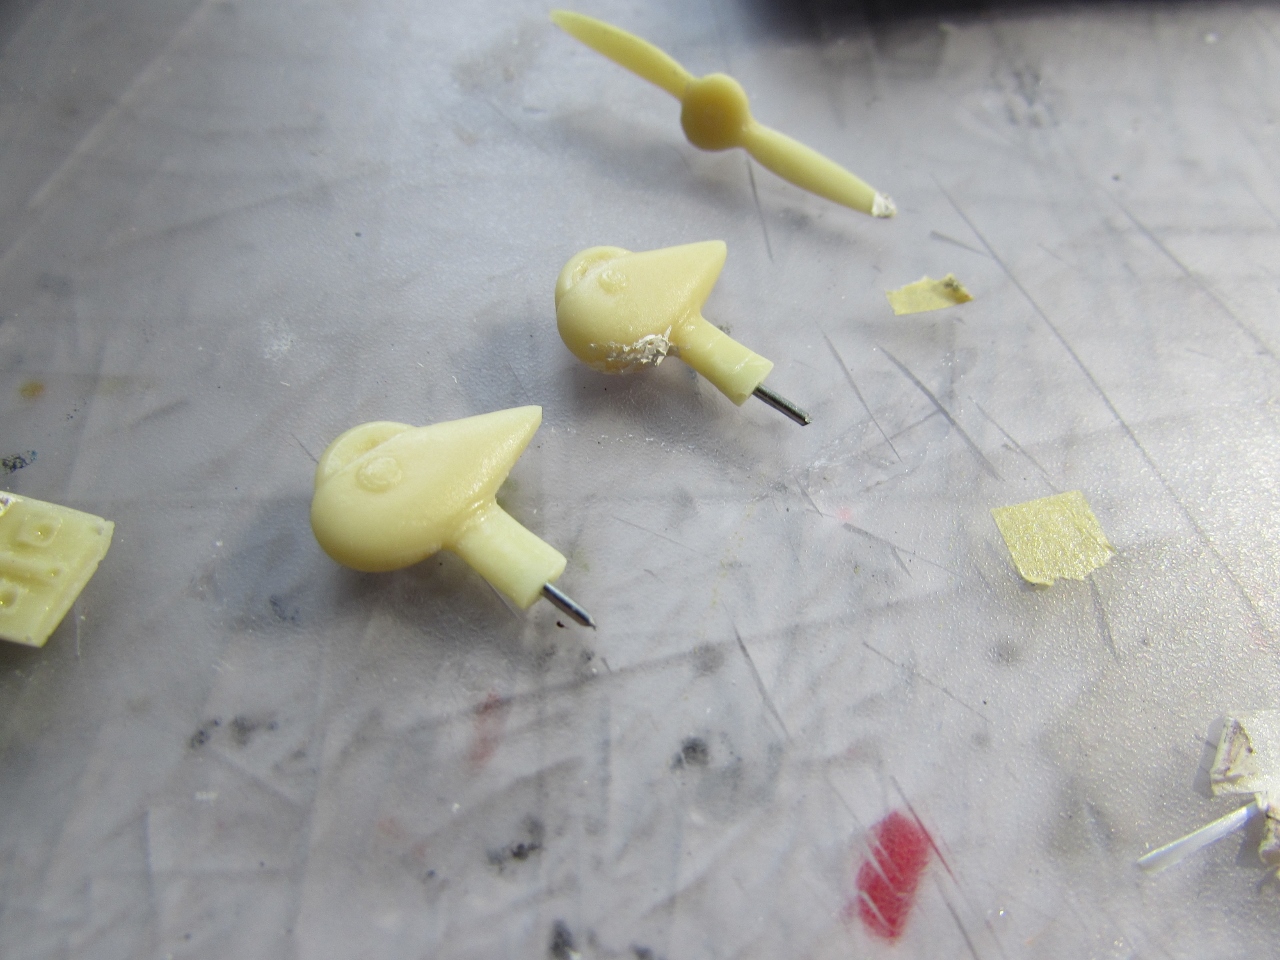
Put some pins on those parts to secure them, otherwise some may not hold:
A bigger void at the nose bottom is filled with CA glue:
 It seems that you have to slide the wing into both fuselage halves as you glue them, because if you join the fuselage halves it is impossible to add the wing:

Dry run:

The transparencies of course are just acceptable; one as you can see can not even serve as a spare, because it got a plastic ridge just where the front should curve down and drop vertically. The "good" one is so-so. It's funny, because it seems that they are providing themselves a spare in case they flop, and not providing two parts for you, in case you flop ;-)

Masking the delicate detail on the control surfaces, putty is applied to the pinholes and later sanded to restore the surface. Annoying, boring, but necessary:
After a couple sanding cycles and fillings it looks ok. The primer will later tell:
 Addition of inst. panel, axle to prop, and preparations for some base paint application:
The dry-run trial of the landing gear legs goes well, yeepee!:
Primer revealed the true nature of the Dujin kit parts, a sight you don't want to see:


I don't like kits that you have to beat into submission, I like kits you can dance with, converse with, have a dialog. This crude piece of resin, where every step presents inconveniences (and not -as it should be- gallant challenges to your mind and hands), is a type of kit I don't want to build anymore. See, you can deal with the simple, bare, plain shapes of a very basic vac kit for example, and add detail to your heart's content, but this misshapen blob is a recipe for frustration and annoyance, not a challenge. The superb photoetched set is wasted on this one, and better used somewhere else. This kit does not deserve the time an energy you may spend on it.  I put this kit at the very bottom of the kits' scale, just barely above the most despicable one I met, which is the Merlin Air Express I had the displeasure to deal with recently. 
 The fuselage broke, bummer:
 Fixed and ready to join the halves:
The fuselage halves are finally glued together holding the wing. I used fast-curing epoxy to be able to adjust the assembly, since the fit was of course dismal. I provided a very thin metal pin to anchor the stabilizer halves to the fuselage to held with alignment, since -you guessed- their locations are slightly mismatched on the mold:
The primer revealed a lot of work that needs to be done, as expected:

Horizontal tail, tailskid, landing gear are added after yet another session with the putty and the sanding sticks:
 Canopies are prepared:
It's incredible that anything resembling a model could be produced from this kit, but here it is, after more primer:

A white base coat is airbrushed:
Color airbrushed:


Completed model:

https://wingsofintent.blogspot.com/2019/03/caudron-c366-racer-dujinfsc-172.html


No comments:

Post a Comment