Stairway to Heaven
(The building article is here):
https://wingsofintent.blogspot.com/2018/02/london-bus-type-b-1920-keilkraft-172nd.html
Some time ago and thanks to the good offices of Dogs R Us (aka Christos Psarras from Flowery) I acquired a few Keilkraft vehicles with the purpose of posing them in photos and dioramas with my 1/72nd models. These are very nice, cute vehicles of yesteryear, and the molds vary from simple to medium to somewhat complex, especially for the time they were released.
In fact, many of these kits are better than much more recent kits in the market, with decals that are extremely good, and again far superior to many contemporary efforts.
Why it is that kits issued decades ago, with limited technology, do still surpass in quality more recent -and even contemporary- efforts that are in a few occasions just sad? mysteries of the kit industry.
I pulled this London Bus out of the stash to build a suitable company for my ongoing Fokker F.II (a real so-so kit).
I am making some slight improvements as I go, even if this is actually a companion piece that will be photographed in the background or in a not prominent position.
Contents:
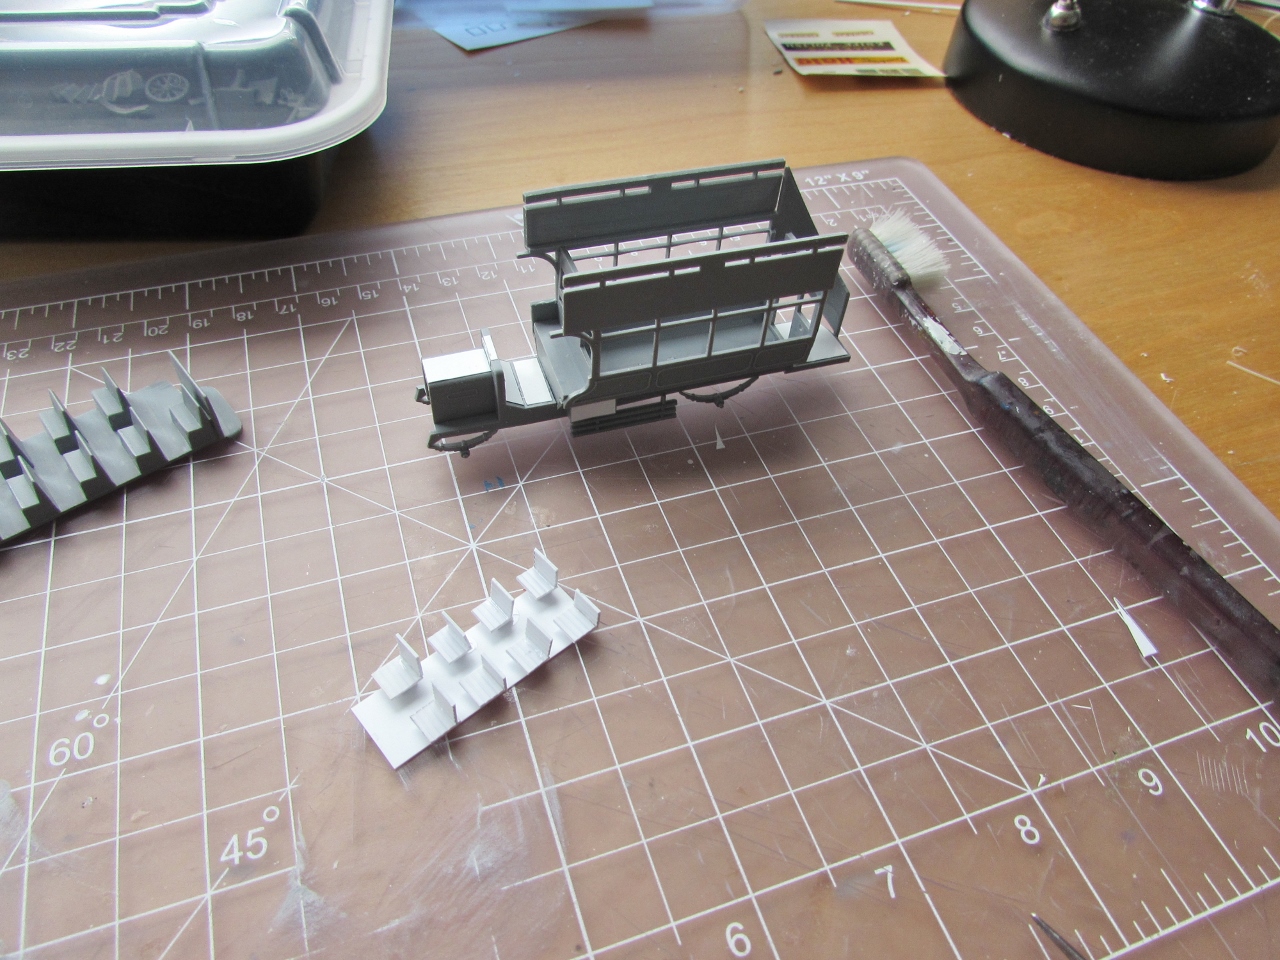
Nice detail, especially for the time:
Small bits just as tad chunky, as one would expect:
Parts separated from the sprue:
The upper deck was riddled with ejector pin marks, so I made that tool to sand the narrow passages between seats:
Main parts united:
The bottom is not quite the sight:
So a piece of styrene is used as a cover:
The lower deck is not part of the kit, so one is fashioned. Other areas of the model are covered with "plates" made of thin styrene sheet to hide the joints:
The mudguards, quite thick as they come, are thinned down:
A crank is made. The side of the stairway to heaven is glued on:
Axles are added:
Axles are removed (I decided I will put some metal ones for the wheels to turn):
Windows are measured and cut (kit has none):
Very good decals, even the gold ink (not really visible here) is perfectly printed. Maybe many more recent manufacturers should turn on the time machine and go ask these guys how they managed, decades ago, to produce decals seldom seen nowadays:
Oops, no ceiling:
Easily corrected with a piece of thin styrene sheet:
Primer session now:
Some masking and several colors are needed:
Painting or the red color -in the same session with other projects.
Black will follow, then some metal for the radiator, and other tones for floor and seats:
Third color for the chassis, fourth for the two decks' floor, fifth for the radiator:
Masks off:
Still to paint are the seats and hand-picked details.
More progress. Interior and all windows in, stair added as well as radiator:
Axles' holes are drilled and rods added. Wheels are mounted. Still not completely accurate, but better than none -as the kit comes:
Decals and some details are added, like radiator cap, lights, pedals, etc.:
To be continued......


Flowery??? Which sense? Nice bus! Glad you'll make the wheels turn, one is never too old!
ReplyDeleteflowery= Florida
DeleteAnd I'll bet he's going to sing the "wheels go round and round" song too, Christos.
ReplyDeleteYou, rascal!
Delete"Oh, the wheels on the bus go 'round & 'round..." Living with a kid, you never know what you will learn....
ReplyDelete;-))))
DeleteBeautiful model of a not so beautiful kit! Kudos to you!
ReplyDeleteThanks Dieguito!
DeleteDid those buses have windows?
ReplyDeleteGoogle it and find out.
DeleteI did.
It takes the same time than asking.