

If there is a modeling paradise, the kits the blessed build there will most likely be from SBS Model. A beatific harmony between subject and production, detail and engineering, beauty and quality.
(The completed model can be seen here:
https://wingsofintent.blogspot.com/2021/09/macchi-m33-1925-schneider-trophy-sbs.html
Their latest release in an ever-improving wonderful series of civil subjects is the Macchi M.33 1925 Schneider Cup entry.
You can have a brief glimpse of the M.33 and other competitors in this clip:
Italian seaplane racers in general are elegant, streamlined, almost gallant, and invariably leave a trail of "ohs!" and "ahs!".
Their charm is so irresistible that I have built or scratchbuilt several of them:
Some time ago I scratched (heaven forgive me) the Macchi Castoldi M.C.72:
https://wingsofintent.blogspot.com/2014/07/scratchbuilt-172-macchi-castoldi-mc72.html
Then I wrestled the horrid, despicable Delta kit of it:
https://wingsofintent.blogspot.com/2016/10/modified-delta-2-172nd-macchi-castoldi.html
Until the beautiful SBS kit was released:
https://wingsofintent.blogspot.com/2017/07/sbs-macchi-mc72-hydro-speed-record.html
I also faced correcting the very many shortcomings and inaccuracies of the Savoia S.65 Karaya kit:
https://wingsofintent.blogspot.com/2020/02/savoia-s65-schneider-cup-modified.html
And sometime ago I scratched the Macchi M.67 (again, heaven forgive me):
https://wingsofintent.blogspot.com/2014/07/scratchbuilt-172-macchi-m67-racer.html
Other Schneider planes I built:
https://wingsofintent.blogspot.com/2020/07/supermarine-sea-lion-schneider-trophy.html
https://wingsofintent.blogspot.com/2018/07/supermarine-s-4-schneideer-cup-1925.html
When SBS Model released their M.33 I was indeed excited as they do a very good job with their masters and their castings are fantastic. There is in general quite a bit of material available for Italian racers, but not a lot on the M.33, given its not stellar performance on the Schneider Cup (came 3rd in the Baltimore 1925 contest at the hands of pilot Giovanni de Briganti -whose last name strangely translates as "brigand" or "bandit"). Only two M.33 were built, and only one could participate, as their tune-up left something to be desired, and their tired powerplants were far from being the dernier cri, a no-no for that highly competitive environment. The trend went more and more also in favor of floatplanes, to the detriment of flying boats. Still, its clean and pleasant lines make the M.33 a very desirable model. I found a couple pages in Ralph Pelgram's "Schneider Trophy Seaplanes* and Flying Boats" (Thanks again David for that wonderful gift) and Le Fana Nro 100, plus other bits here and there.
*British call floatplanes "seaplanes", instead of using it like everywhere else, as the generic word for floatplanes and flying Boats.
SBS Model kits have become a synonym with superlative quality, and are among the very best resin (or any other media, in fact) kits in the market, with added beautiful cast metal and photoetched parts, plus excellent decals, and very good instructions, at a price in general similar to lesser offerings. So to me is just a given that whatever they do release in the civil department, I acquire.
SBS' M.33 is the latest on their ever-evolving range and quality, let's see what's there:
Sturdy cardboard box and contents well protected:


Parts perfectly cast and protected with tabs:


The cast is made to facilitate the extrication of the parts:


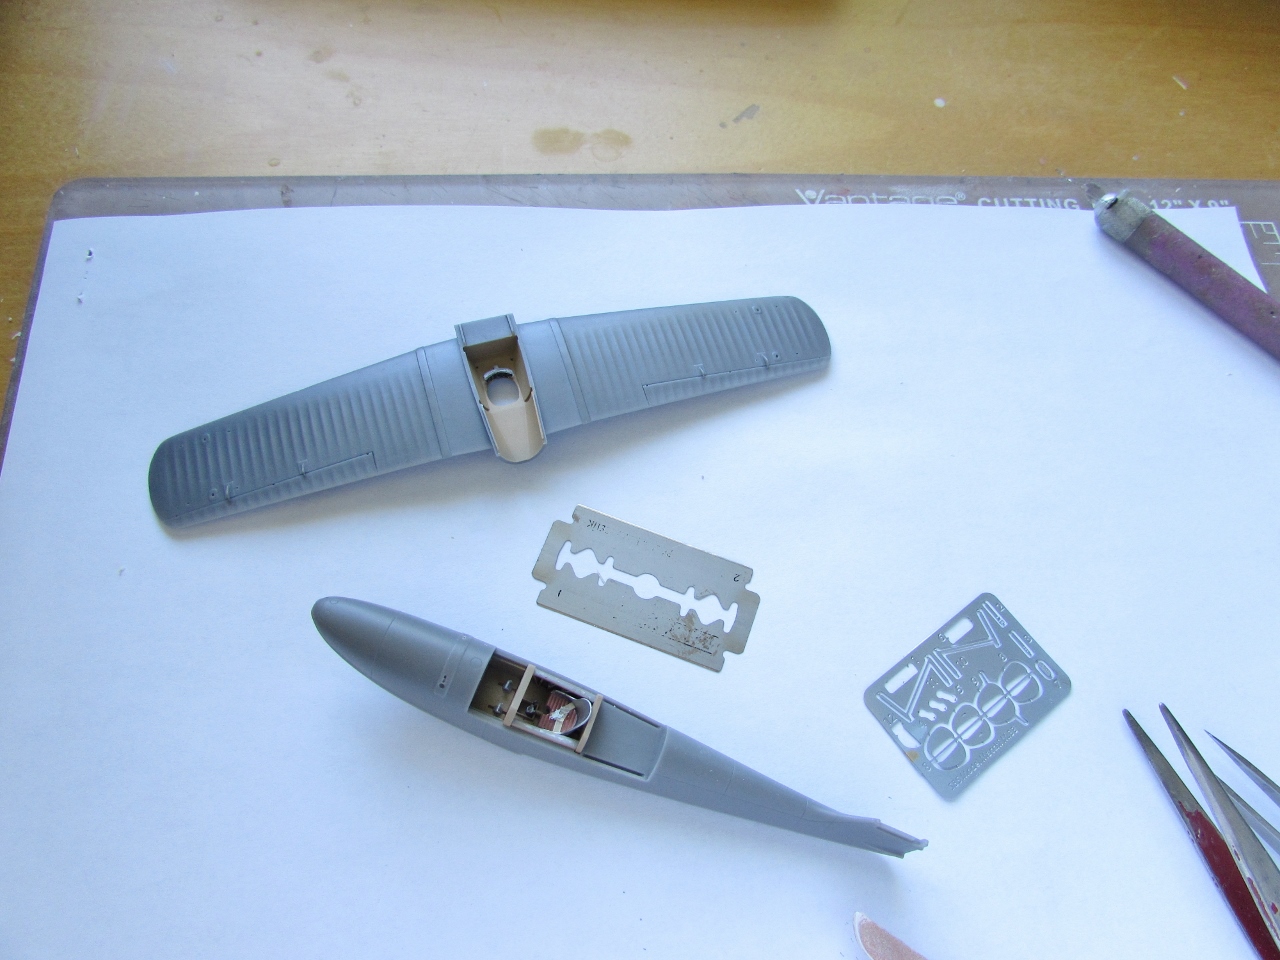
Most parts are now separated from their casting blocks. I think I will leave some of the remaining still attached until after they are painted. You can see that you get some spares, like a radiator half, a prop blade, a rudder pedal. This is always welcome and appreciated, as it gives the modeler reassurance and if not used in the model, they may find a place in some scratch project, as I have done with spares many times.
Care needs to be taken especially removing the bigger parts, like the engine nacelle two main components, as their casting blocks are thick. The resin used is of superb quality, and will respond to sawing/cutting/drilling/sanding beautifully:

As per instructions, the holes for the rigging are drilled. They are marked already on the parts, all but the stab. The position for that is a bit outboard of the middle hinge, according to photos. The spinner is removed from its casting block and drilled to make possible to hold it for painting:


SBS did not commit to a specific interior color, not too relevant as very little will be seen once the fuselage is closed. The plane was made of wood, so I will go a grayish brown, to be safe. The prop was made of wood, but it looks black in all photos, perhaps it had some coat as spray and water are notoriously damaging. The prop has in some photos metal guards, so you may like to add those:

The fit of the stab is perfect (dry-run). The fin has two dimples where two pips go, to help location and gluing. Nice!:


The headrest fairing is next glued:


Preparing the metal parts for a priming session. The metal cast is superb. Notice the pips going in different directions to properly follow their anchoring points surfaces:


Look at the precision of the casting:


The metal parts are primed. Color was applied to some details, the prop blades (one is a spare) were painted an almost black wood color:

The small photo-etched keel is added, as well as the sub-fin:

The latter is absent in most photos, but this one from the race seems to shows it, if faintly:

The prop blades metal guards will be painted next:

The components of the little instrument panels are being prepared:

A coat of aluminium color:

The instrument panel assembly is glued underneath the wing. The interior parts (bulkheads and side panels), once the photo-etched bits were added, just slid into place, rudder pedals (one spare), joystick and sit also in place:

Now, a philosophical question: glue the tail feathers on, and use the decals for the Italian tricolore, or keep them apart, mask and paint them, and then add them? What Oedipus would have said if the Sphinx would have asked him?:


A coat of primer. I decided I will paint the tricolore so the tail is airbrushed first with white:

I am trying for the light blue color on the fuselage. This is a mix of Alclad and light blue lacquer.
This is a lighter version (on a random scrap):


Nice shine. A few touch ups and it will be ready for the paint:

After masking the white band, red is applied:

The tail feathers are ready now. Nothing wrong with the kit's decals, but it's easier for me this way:

The base paints for the metal color are applied, using two tones to end up different metallic hues:

The windshield clear resin part is separated from its casting block (caution here, the non-usable part is quite thick and somewhat brittle) and the pre-cut masks are applied:


The wing float bottoms are masked and aluminium is airbrushed on top. The rest (spinner, engine, windshield) is given different hues of aluminium, then the wings in turn masked to apply the very light blue fuselage color:

More masks are applied to be able to paint the planning bottom:


The tail is on, and all the photo-etched parts have been added to the engine nacelle:


The nacelle is in place. This is a somewhat delicate operation:


The nacelle cabane and tail rigging wires are now in place. Good thing that SBS included a spare for each set, as I lost, never to be found again, one each, and had to resort to those spares:

The floats are next. Beware that their struts are perpendicular to the bottom of the wing, not to the water (that is, the rigging wires are of equal to each side -but of different lengths on front and back):

I have mentioned before that the approach with this kit is not as usual, that is to struggle to improve things, but the opposite, that is to say not to mar this exquisite kit, thus I work on it only a little bit every day, never rushing things:


As I had painted the tail feathers myself, the only decals I used were the number 7 and the small lettering in front of it. These went on perfectly, the decals are of very good quality. My dwindling vision had indeed a hard time adding the photo-etched rigging, and some positioning and inserting requires having a hundred eyes -like the character in the TV series "Marco Polo"- and may be an equal number of hands. I found that most of the "wires" in my build needed shortening a teensy tiny bit, but the ones in front of the wing floats were almost too short. I still have two more to attach, but my eyes are already very tired. May be tomorrow I can complete the build:

Model is now complete (link at the header). The eerie skies continue:

She looks a beauty, Claudio. I see you applying your usual high quality approach to her. I am amazed that there are so many of these esoteric models available! Keep up the good work :)
ReplyDeleteMartin
Hi Martin!
DeleteA nice kit from which a nice model can be made no doubt.
Hi Claudio, It is a remarkably graceful and competent-looking airplane. And your model, as usual, is brilliant.
ReplyDeleteAs you said, the M-33 didn't do well at Baltimore, placing third, well behind first and second, but it must have been lovely to watch it fly.
Decades after the race, given a different name, it won some sort of immortality as Porko Rosso's airplane in the Studio Ghibli movie of the same name. Porko's competitor, "Curtiss," the pilot and his airplane, don't do so well.
Really great model.
Mike
You are very kind, Mike.
DeleteIndeed, Miyazaki's Macchi M.52 bears certain resemblance with the M.33, which no doubt was its source of inspiration.
Thank you very much for your comprehensive work and explanation on this litttle jewel. Congrats for your first class work!
ReplyDeleteThanks!
Delete